

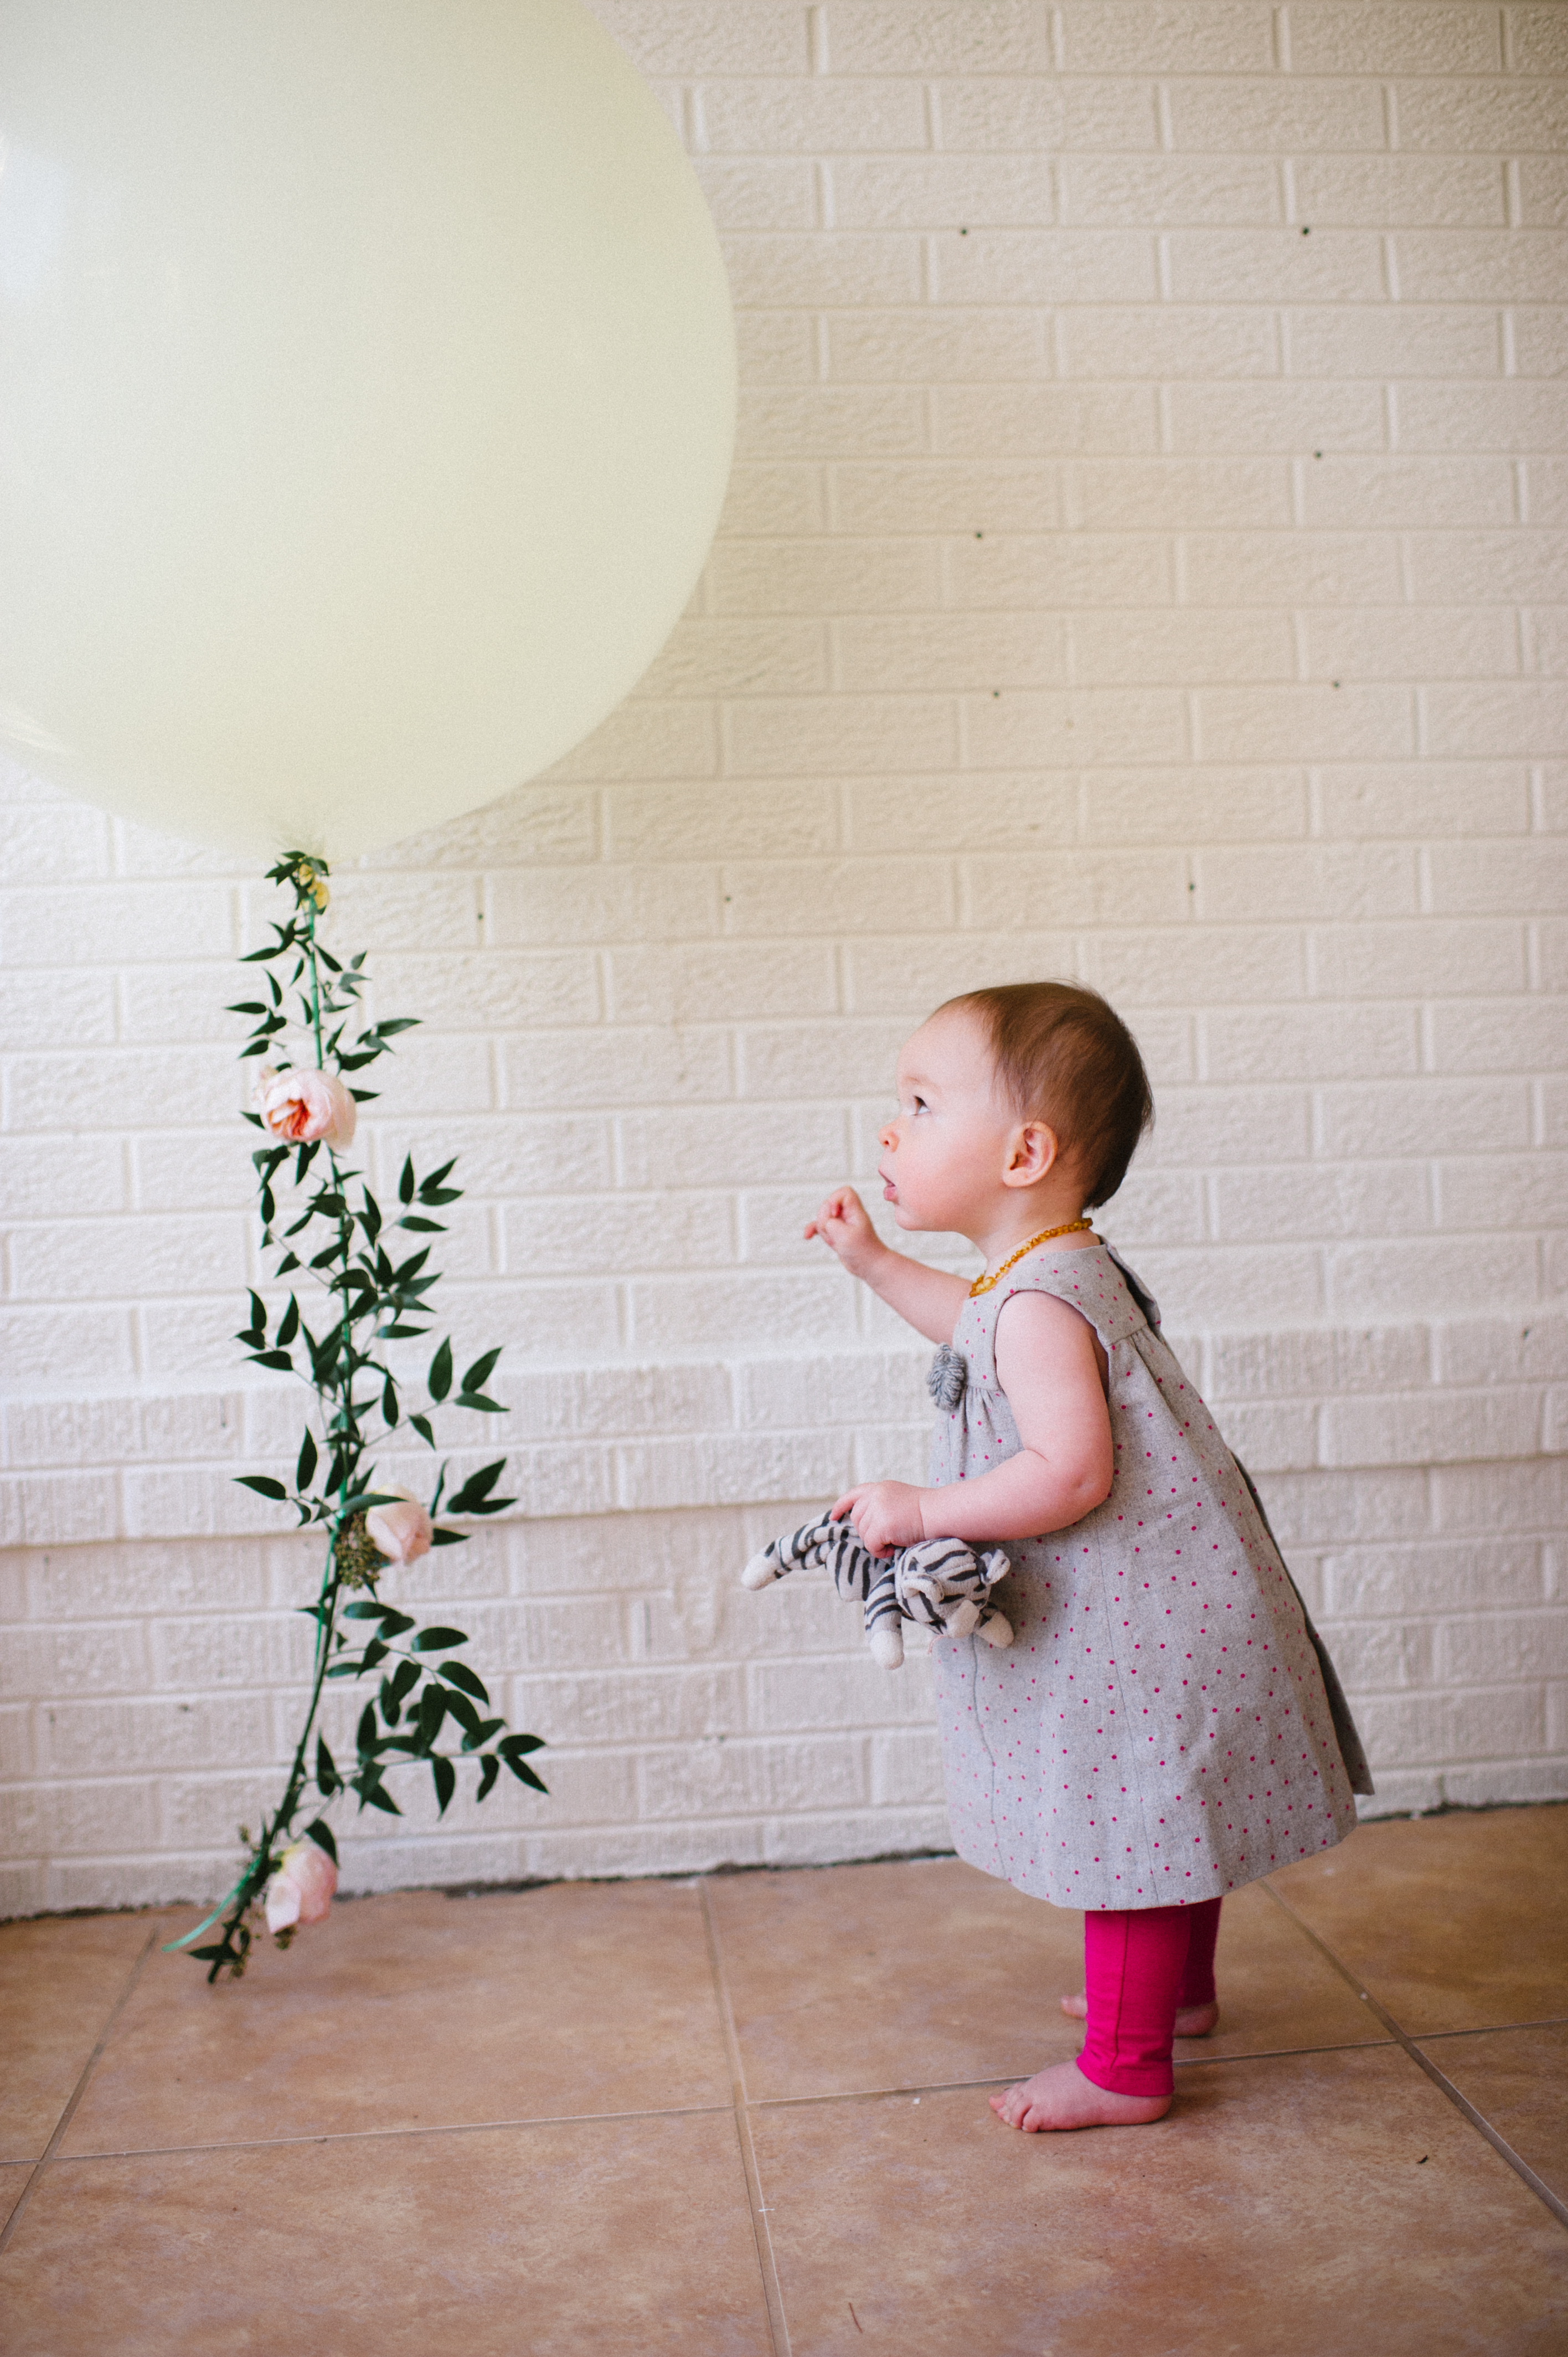
We are absolutely loving the trend of Geronimo balloons – whimsical, feminine and wonderfully round – a great way to add festive balloons to your party with a special twist.
If you’ve been following our blog, you know we teamed up with Photographer Michele Hart for a styled shoot + birthday party to tackle some DIY projects. When Michele came to us with the inspiration of Geronimo balloons adorned in garland we had to join in for the fun!
Read below for the step by step guide, drafted and beautifully executing by the talented ladies at Plum Sage Flowers. We had so much fun and the final product turned out beautifully!
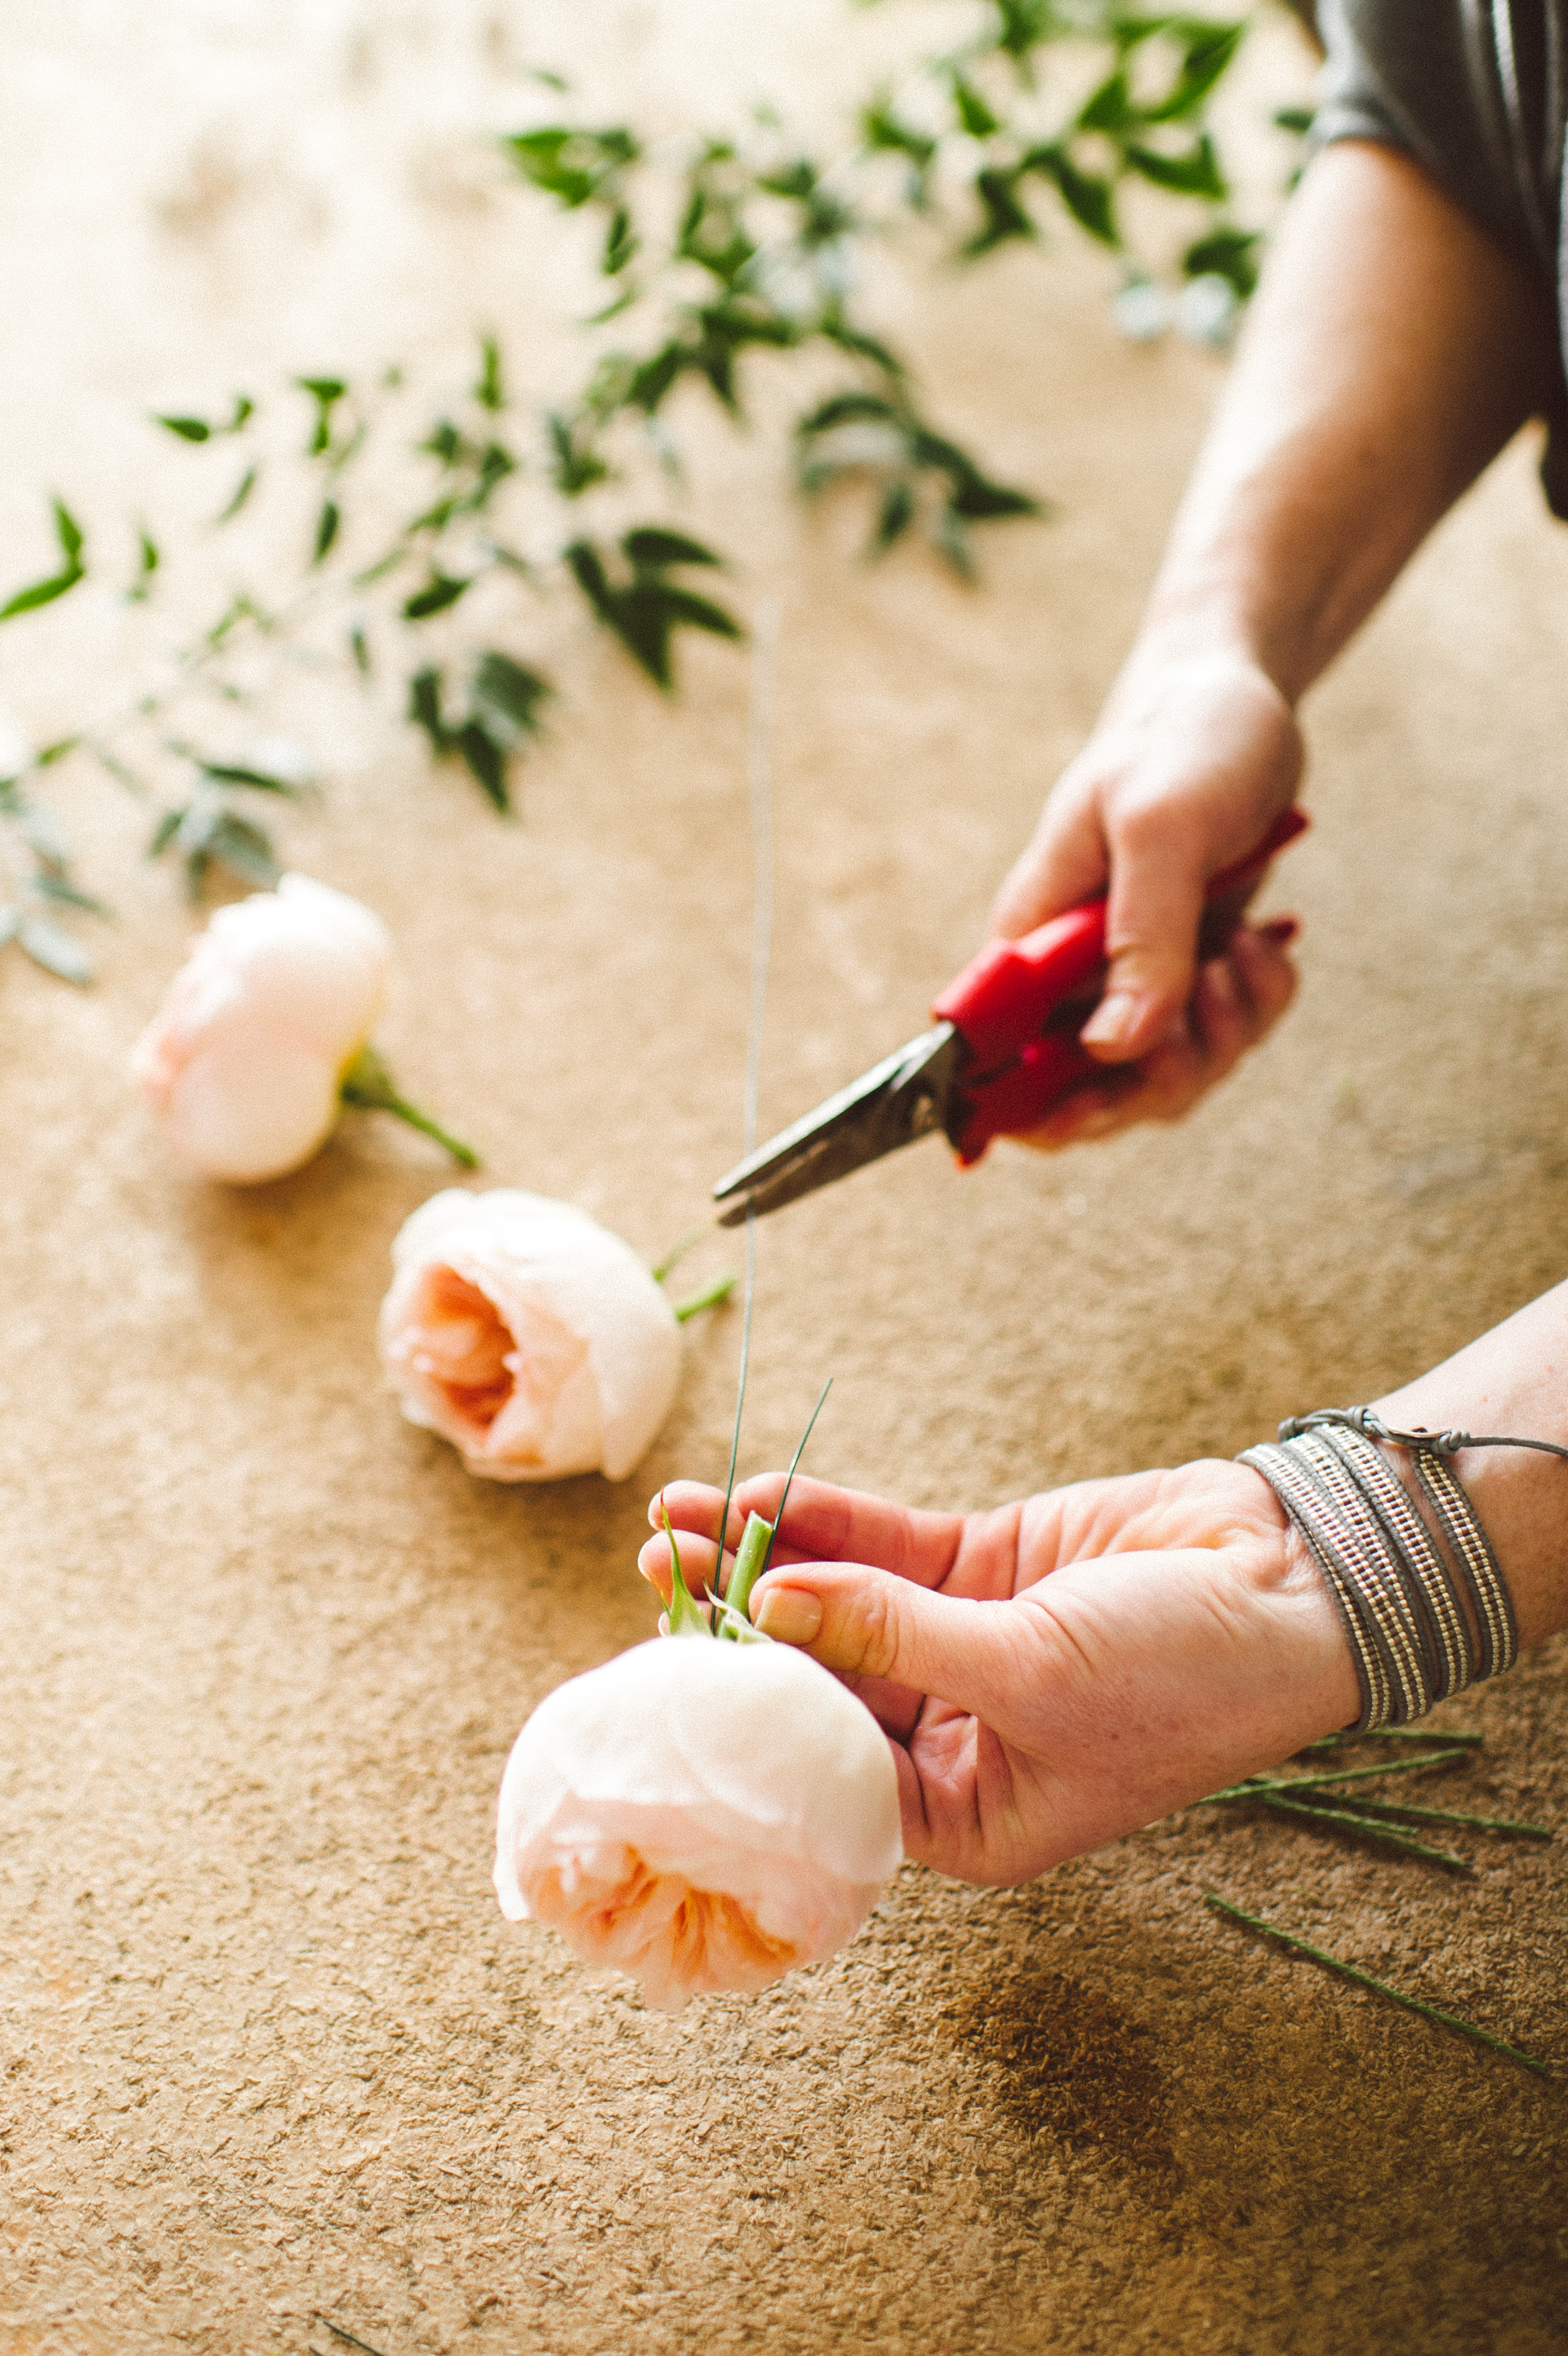
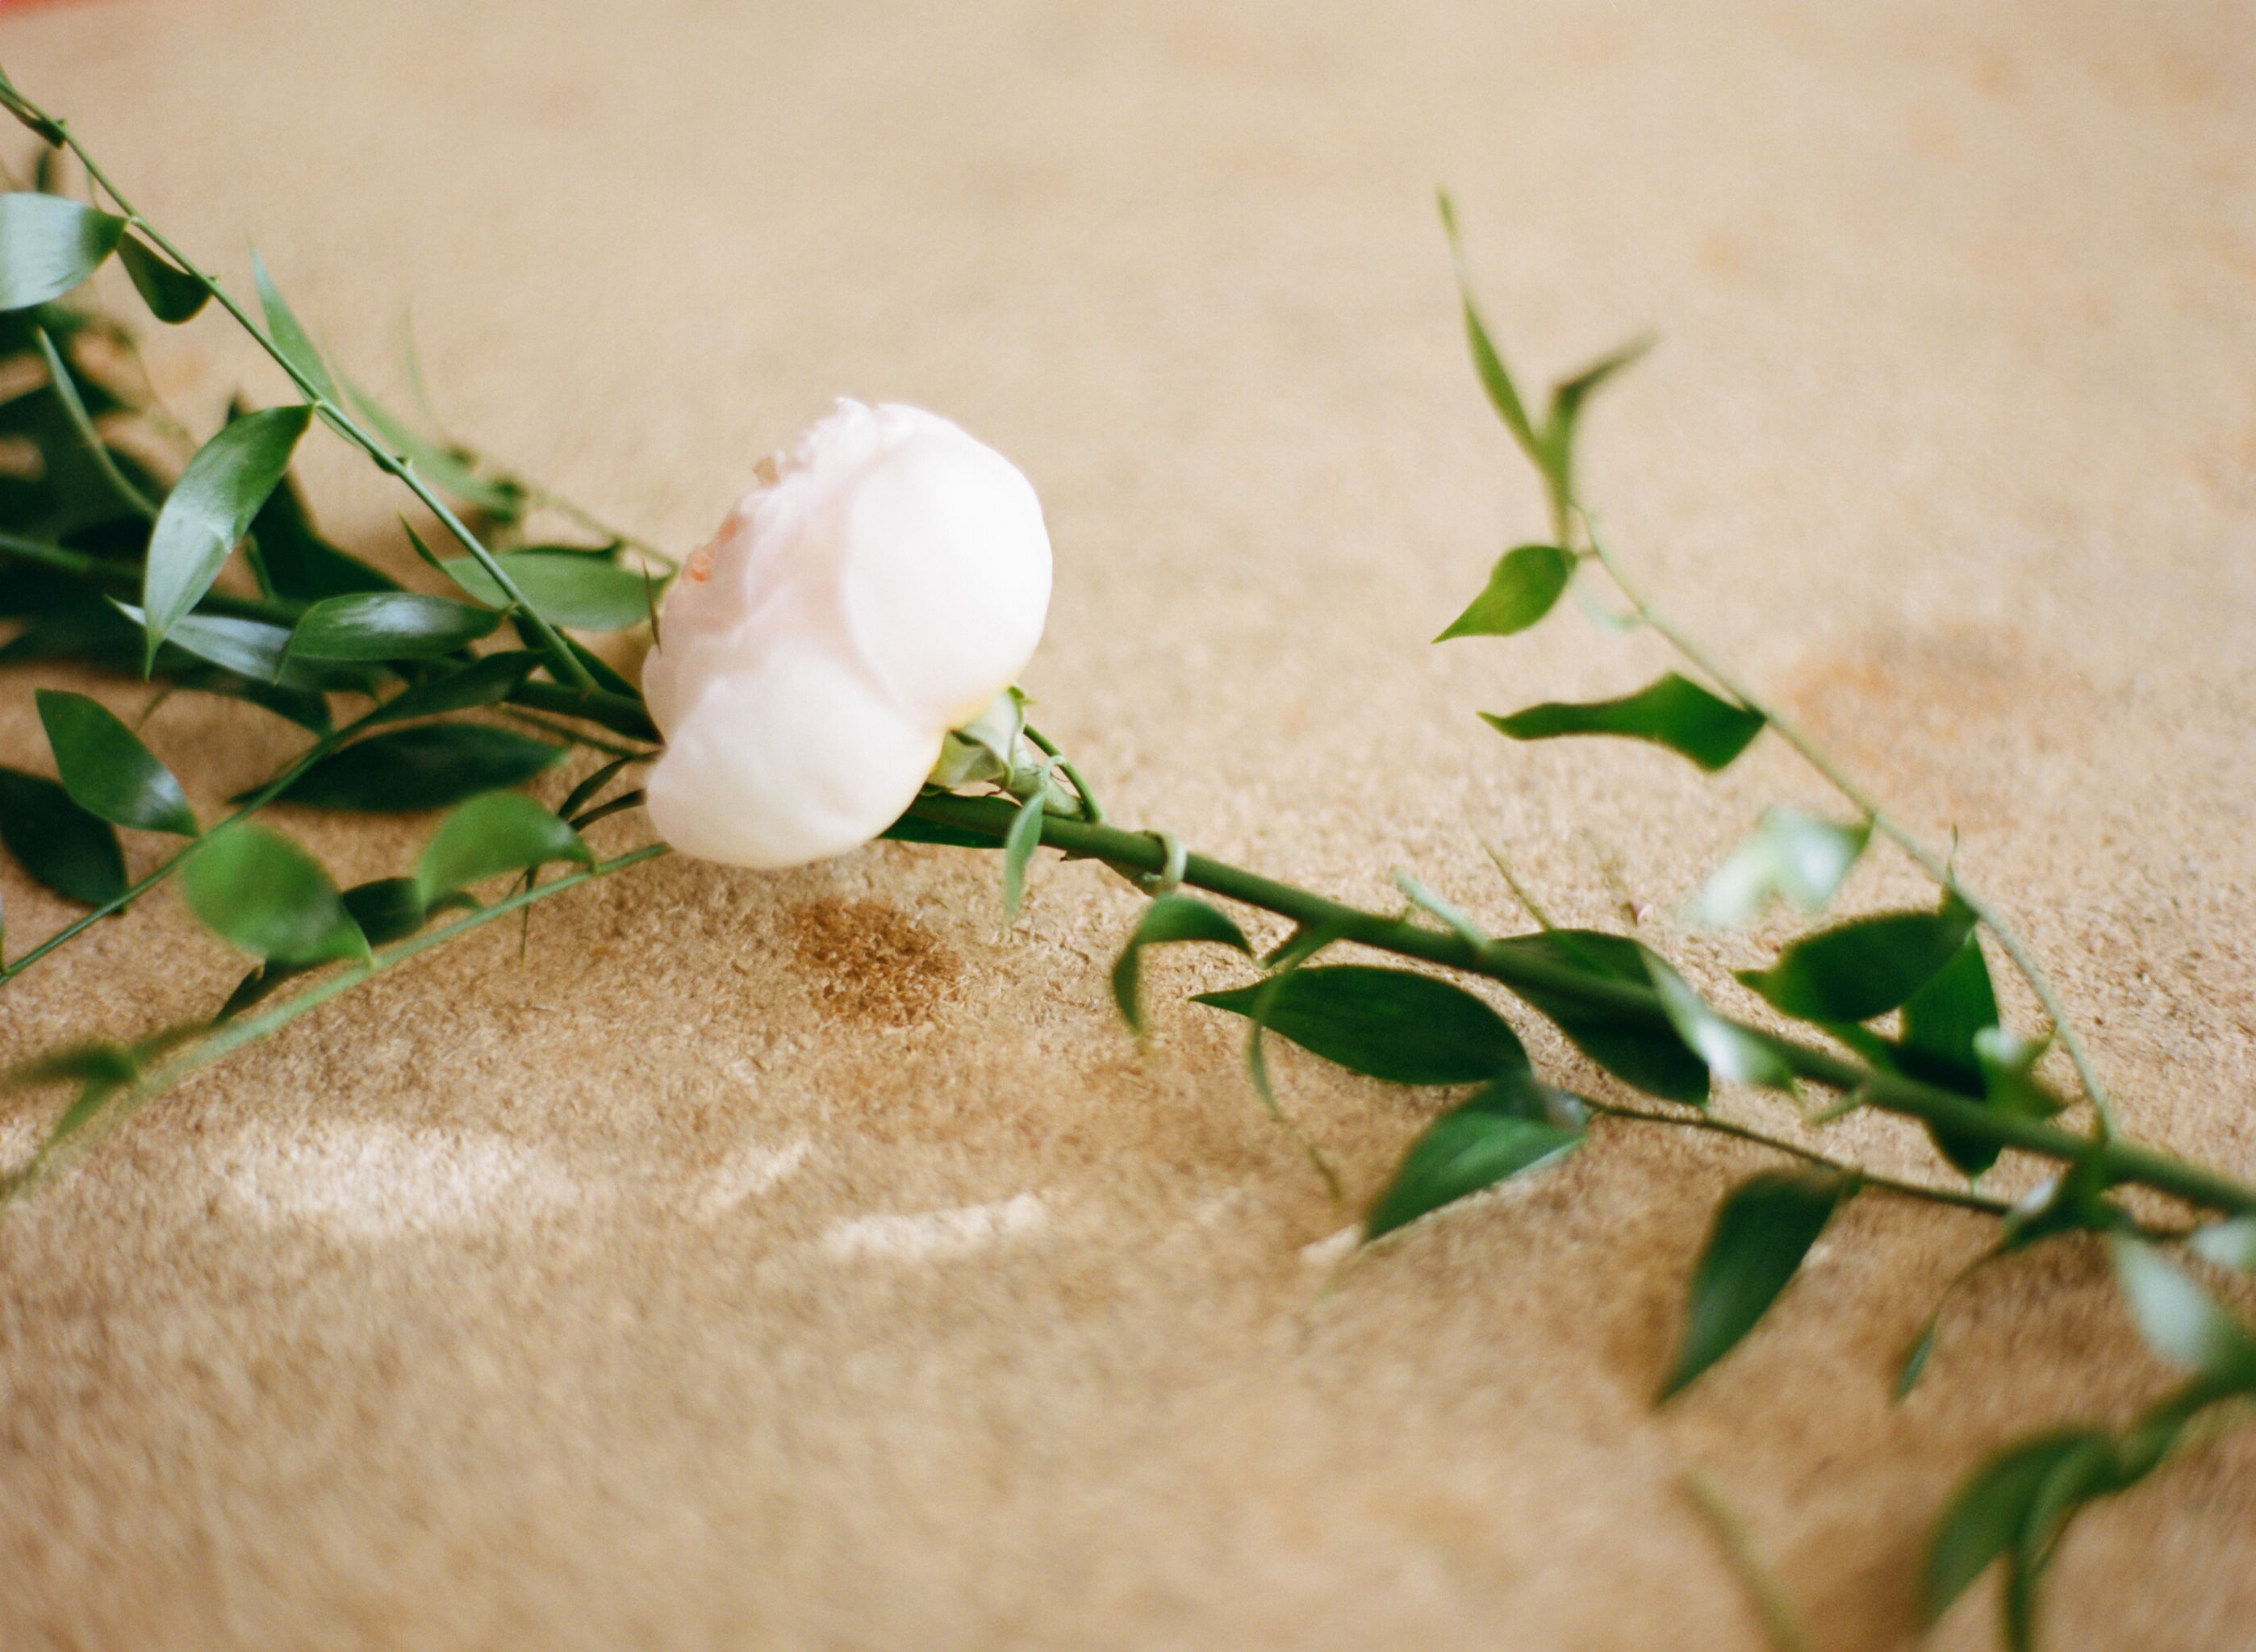
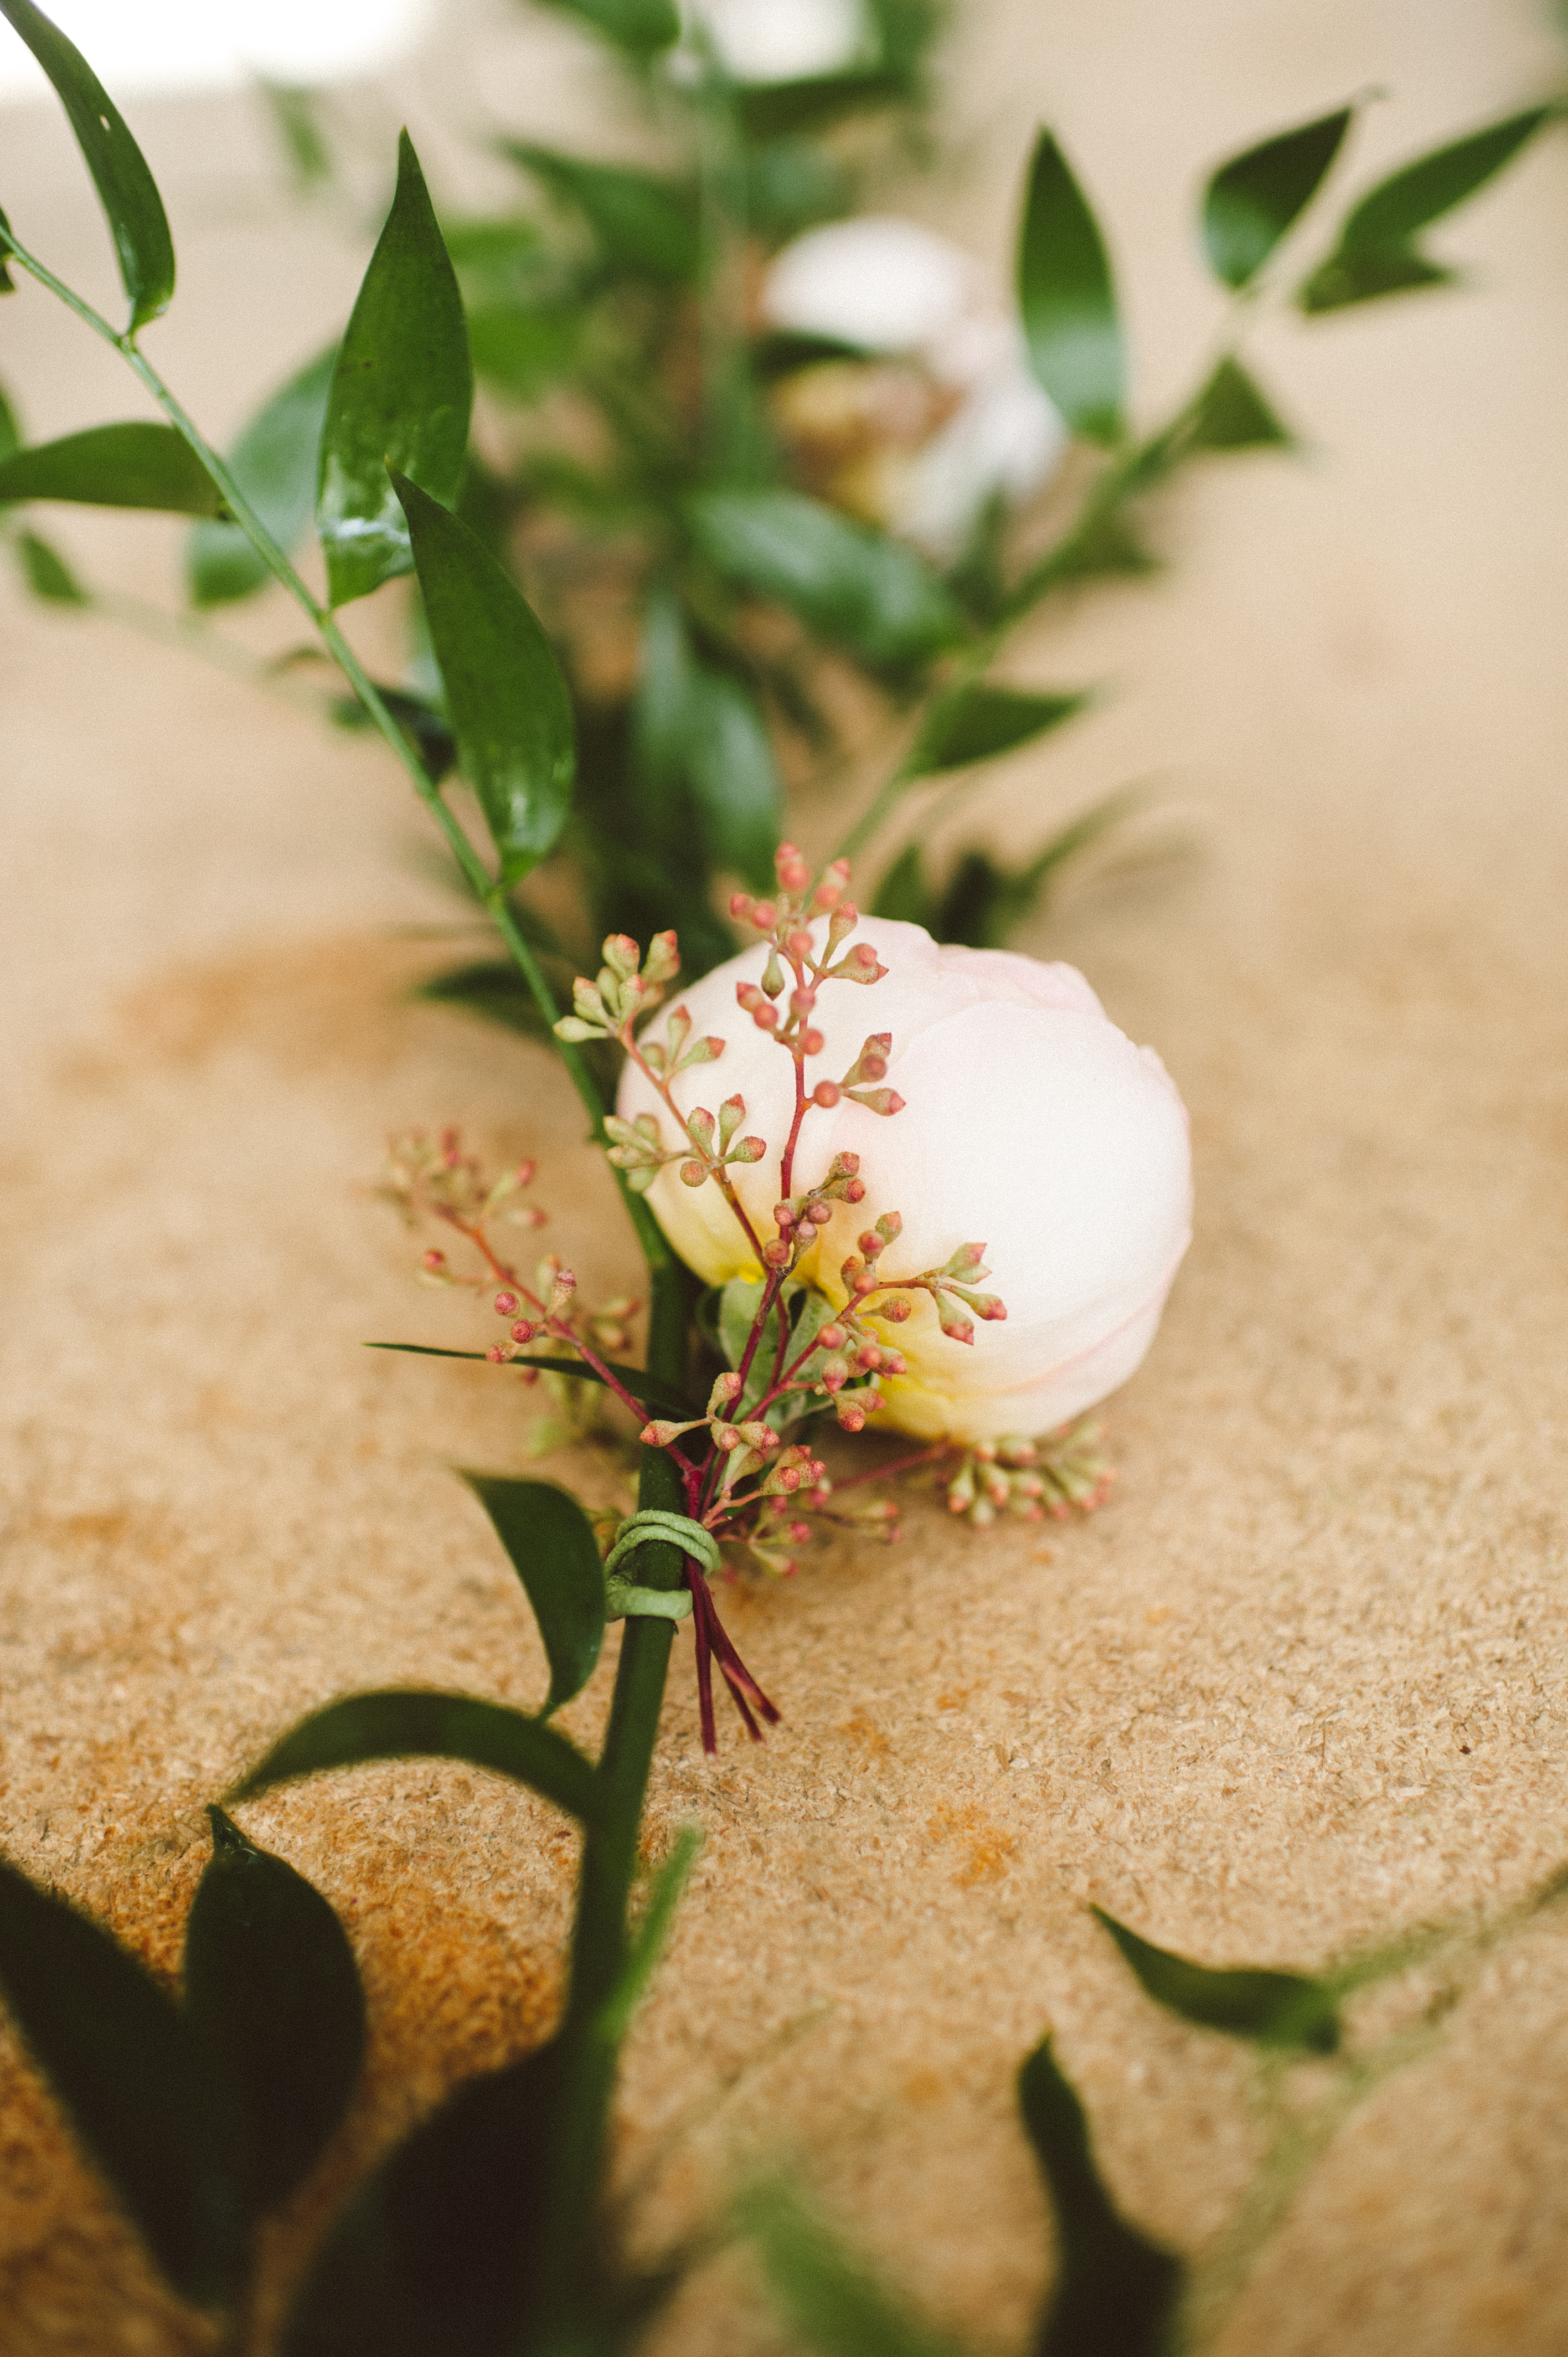
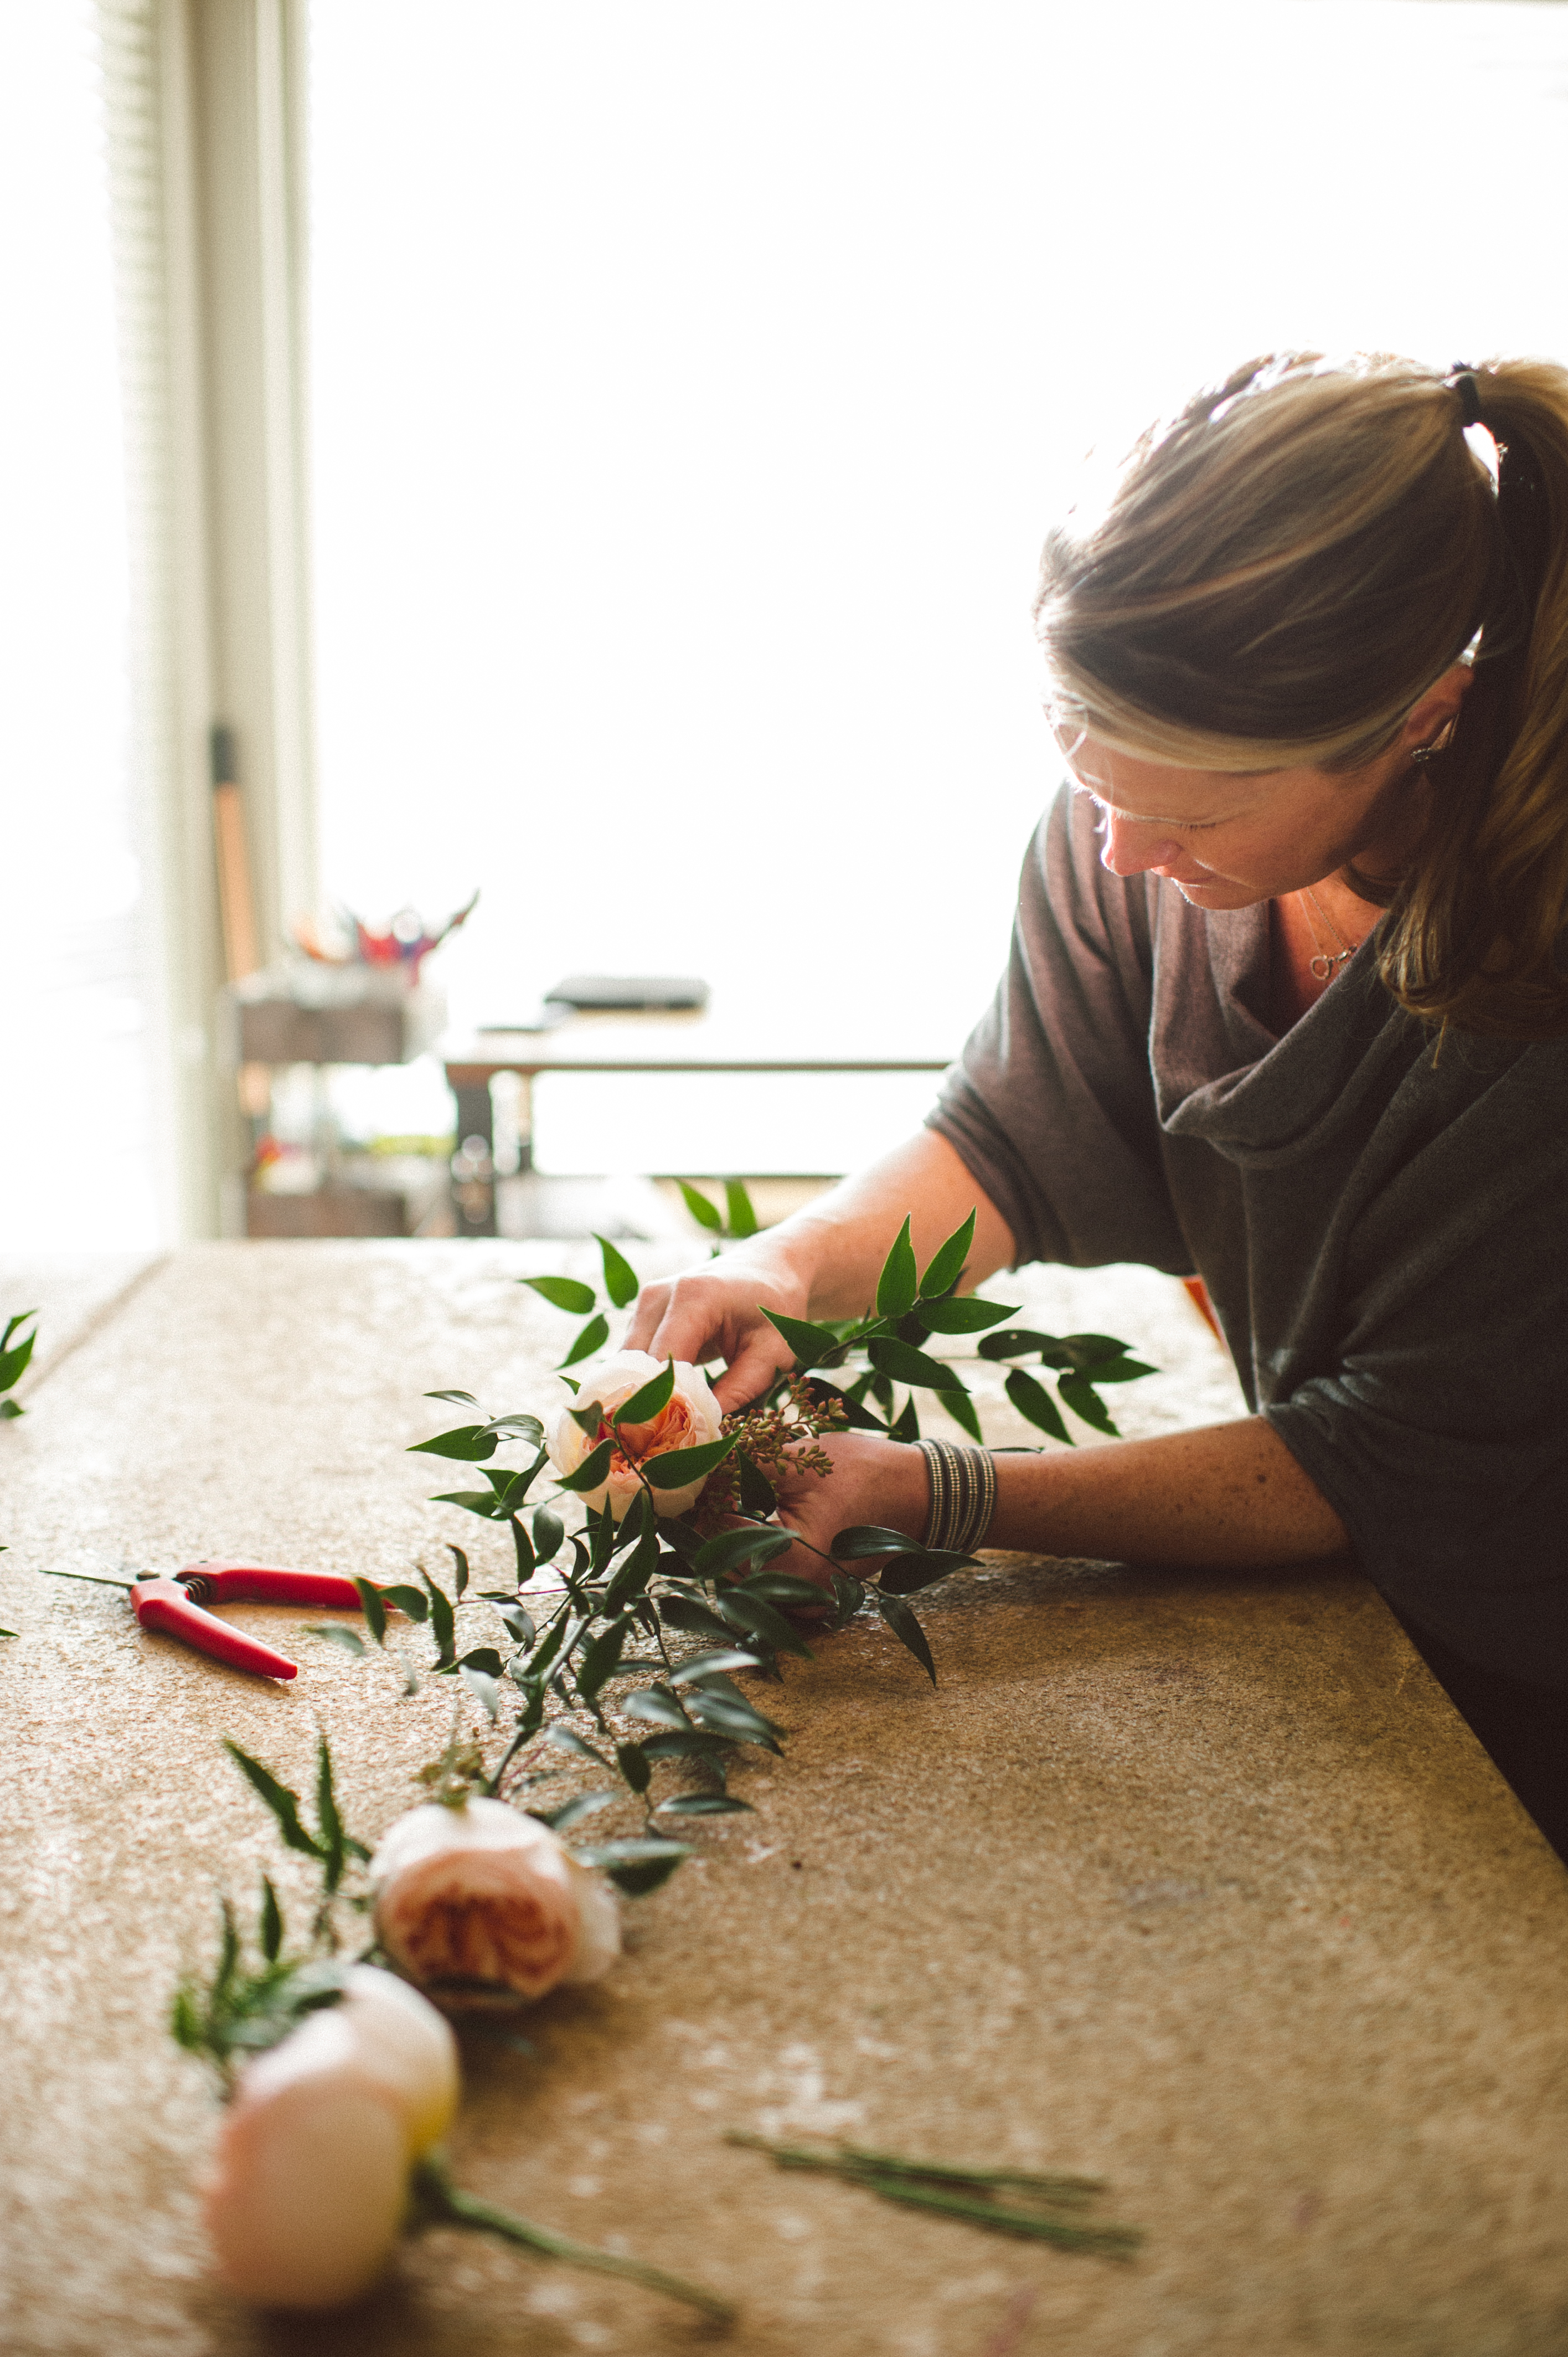
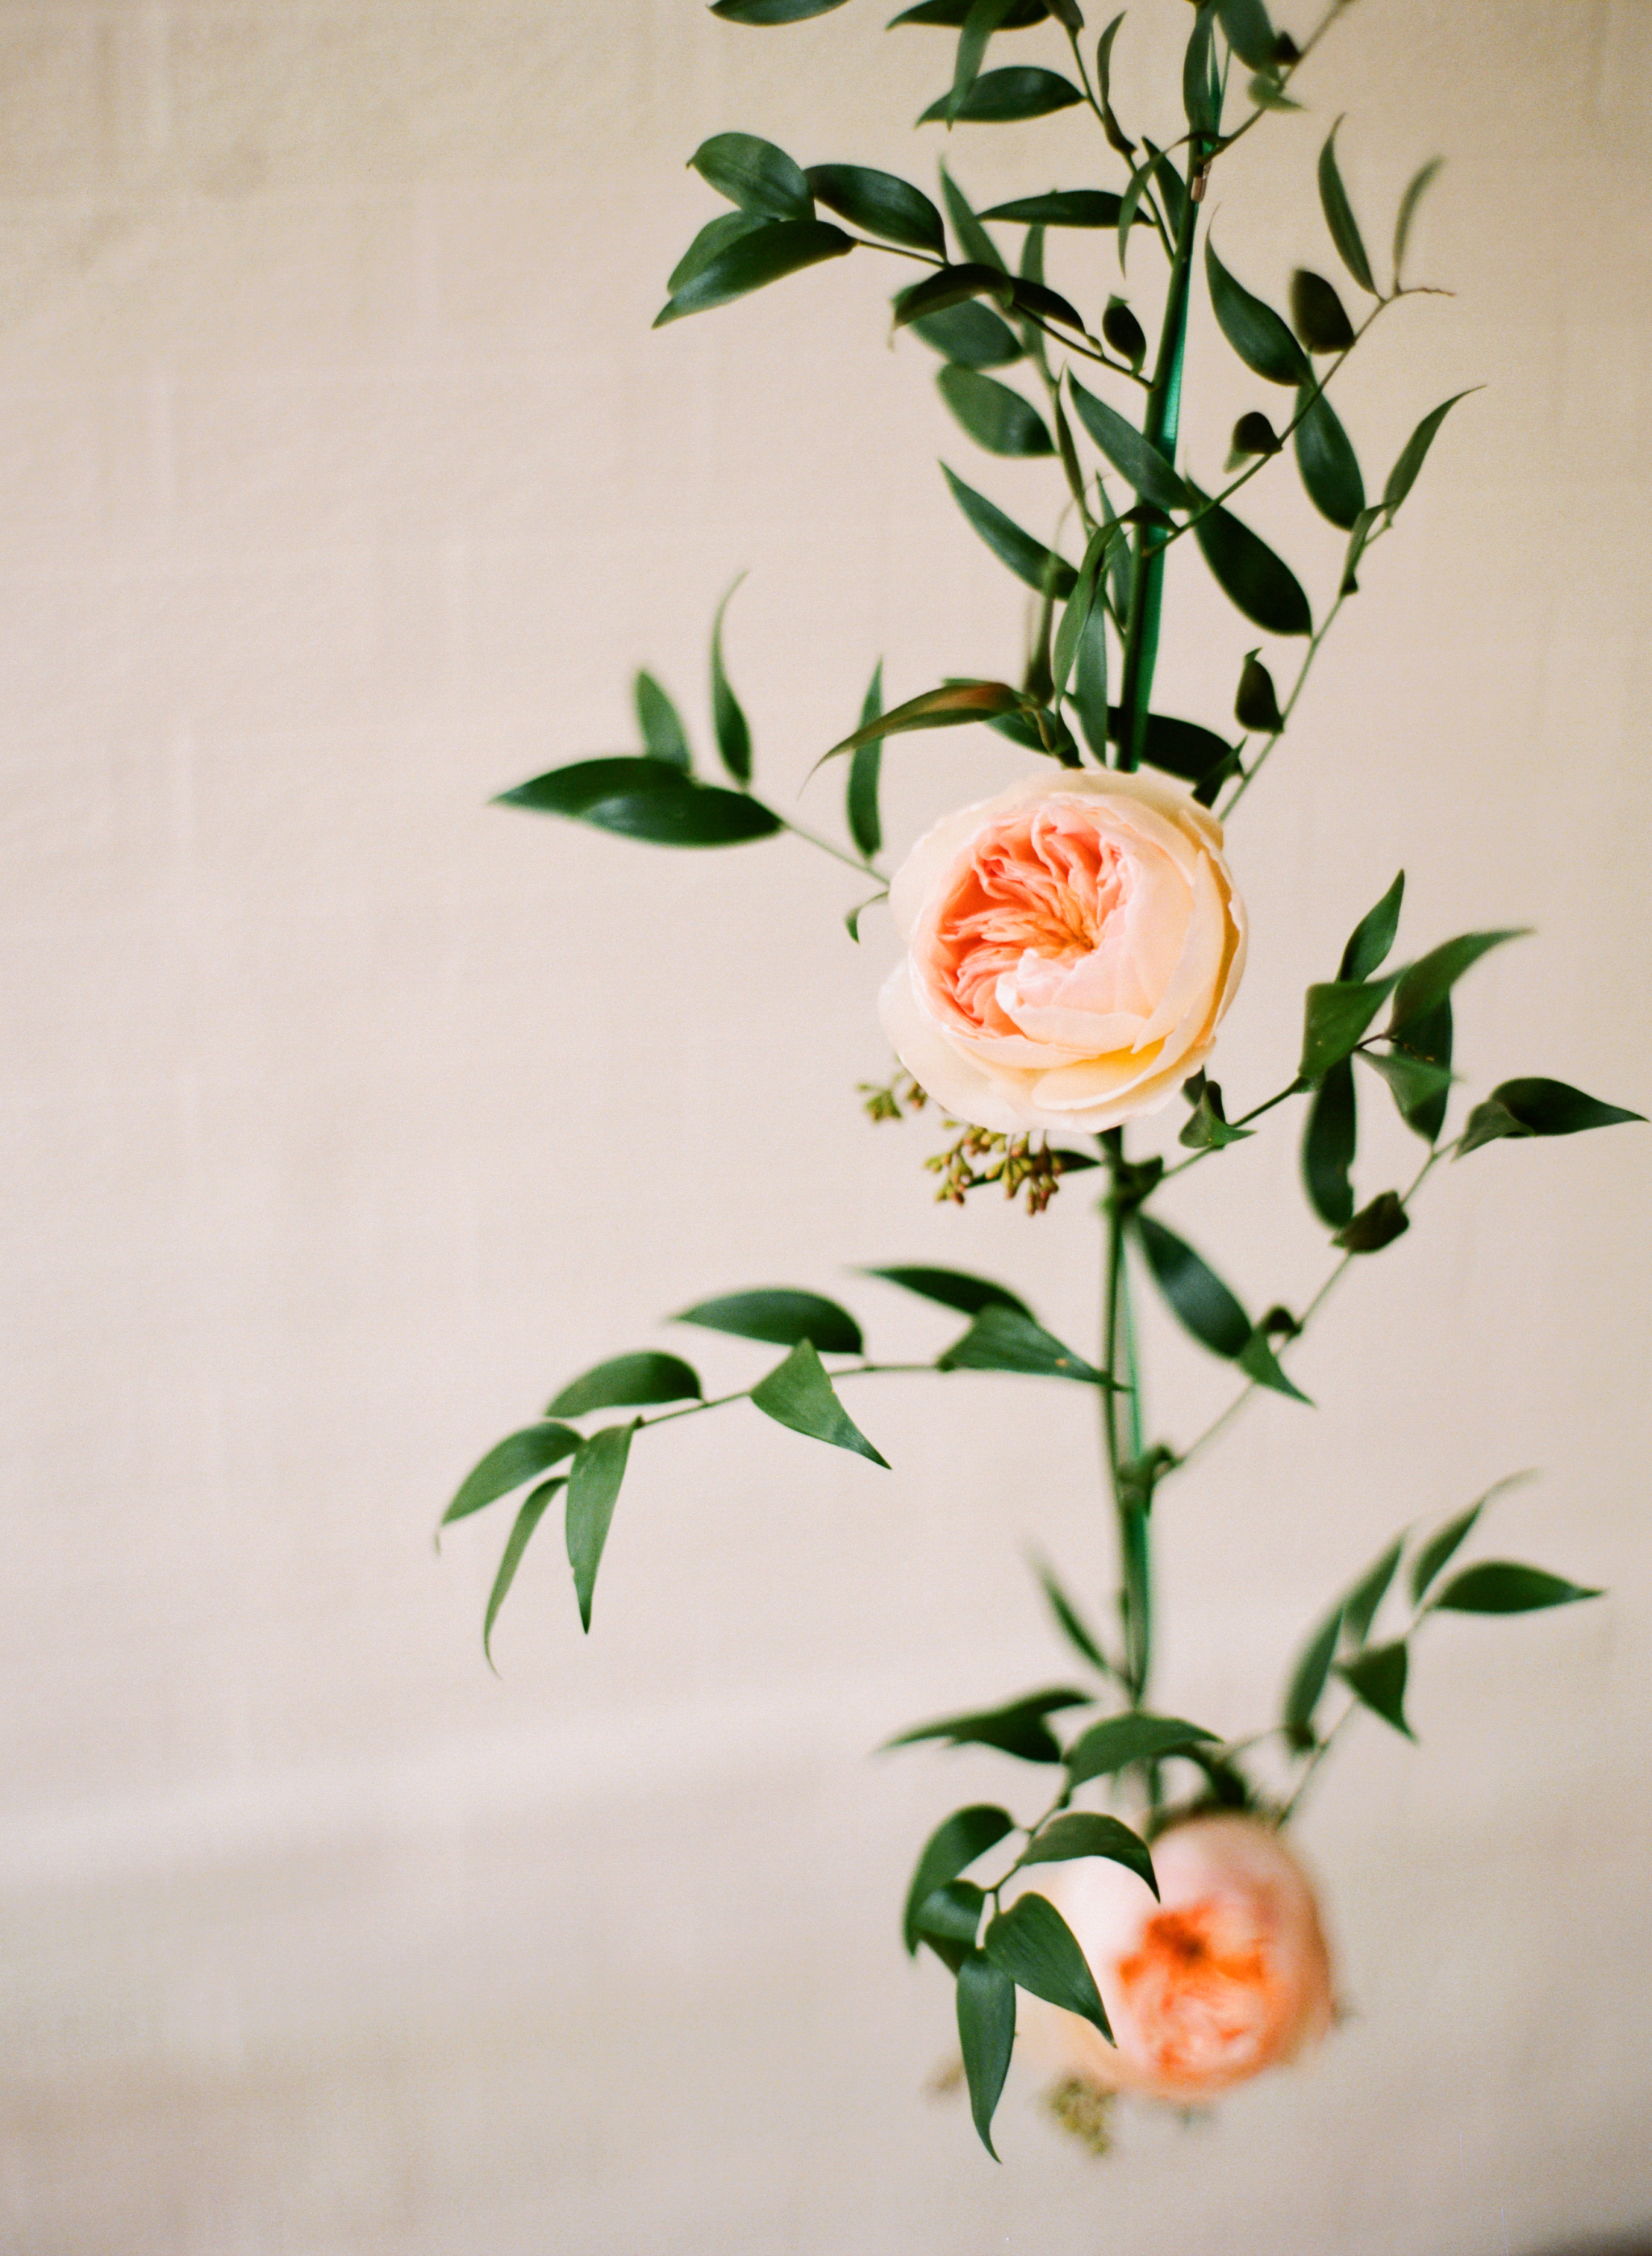
- Supplies needed: 1 bunch naked seeded eucalyptus, 1 to 2 stems of long Italian ruscus and 3 or 4 peach Juliette garden roses from your local florist (the Juliette’s may need to be special ordered in advance), floral clippers, green floral tape and floral wire (easily obtained at a craft store).


- Clip small pieces of the eucalyptus pods off of the main stem for garland accents. Clip the Juliette rose stems down to about 1.5-2″.
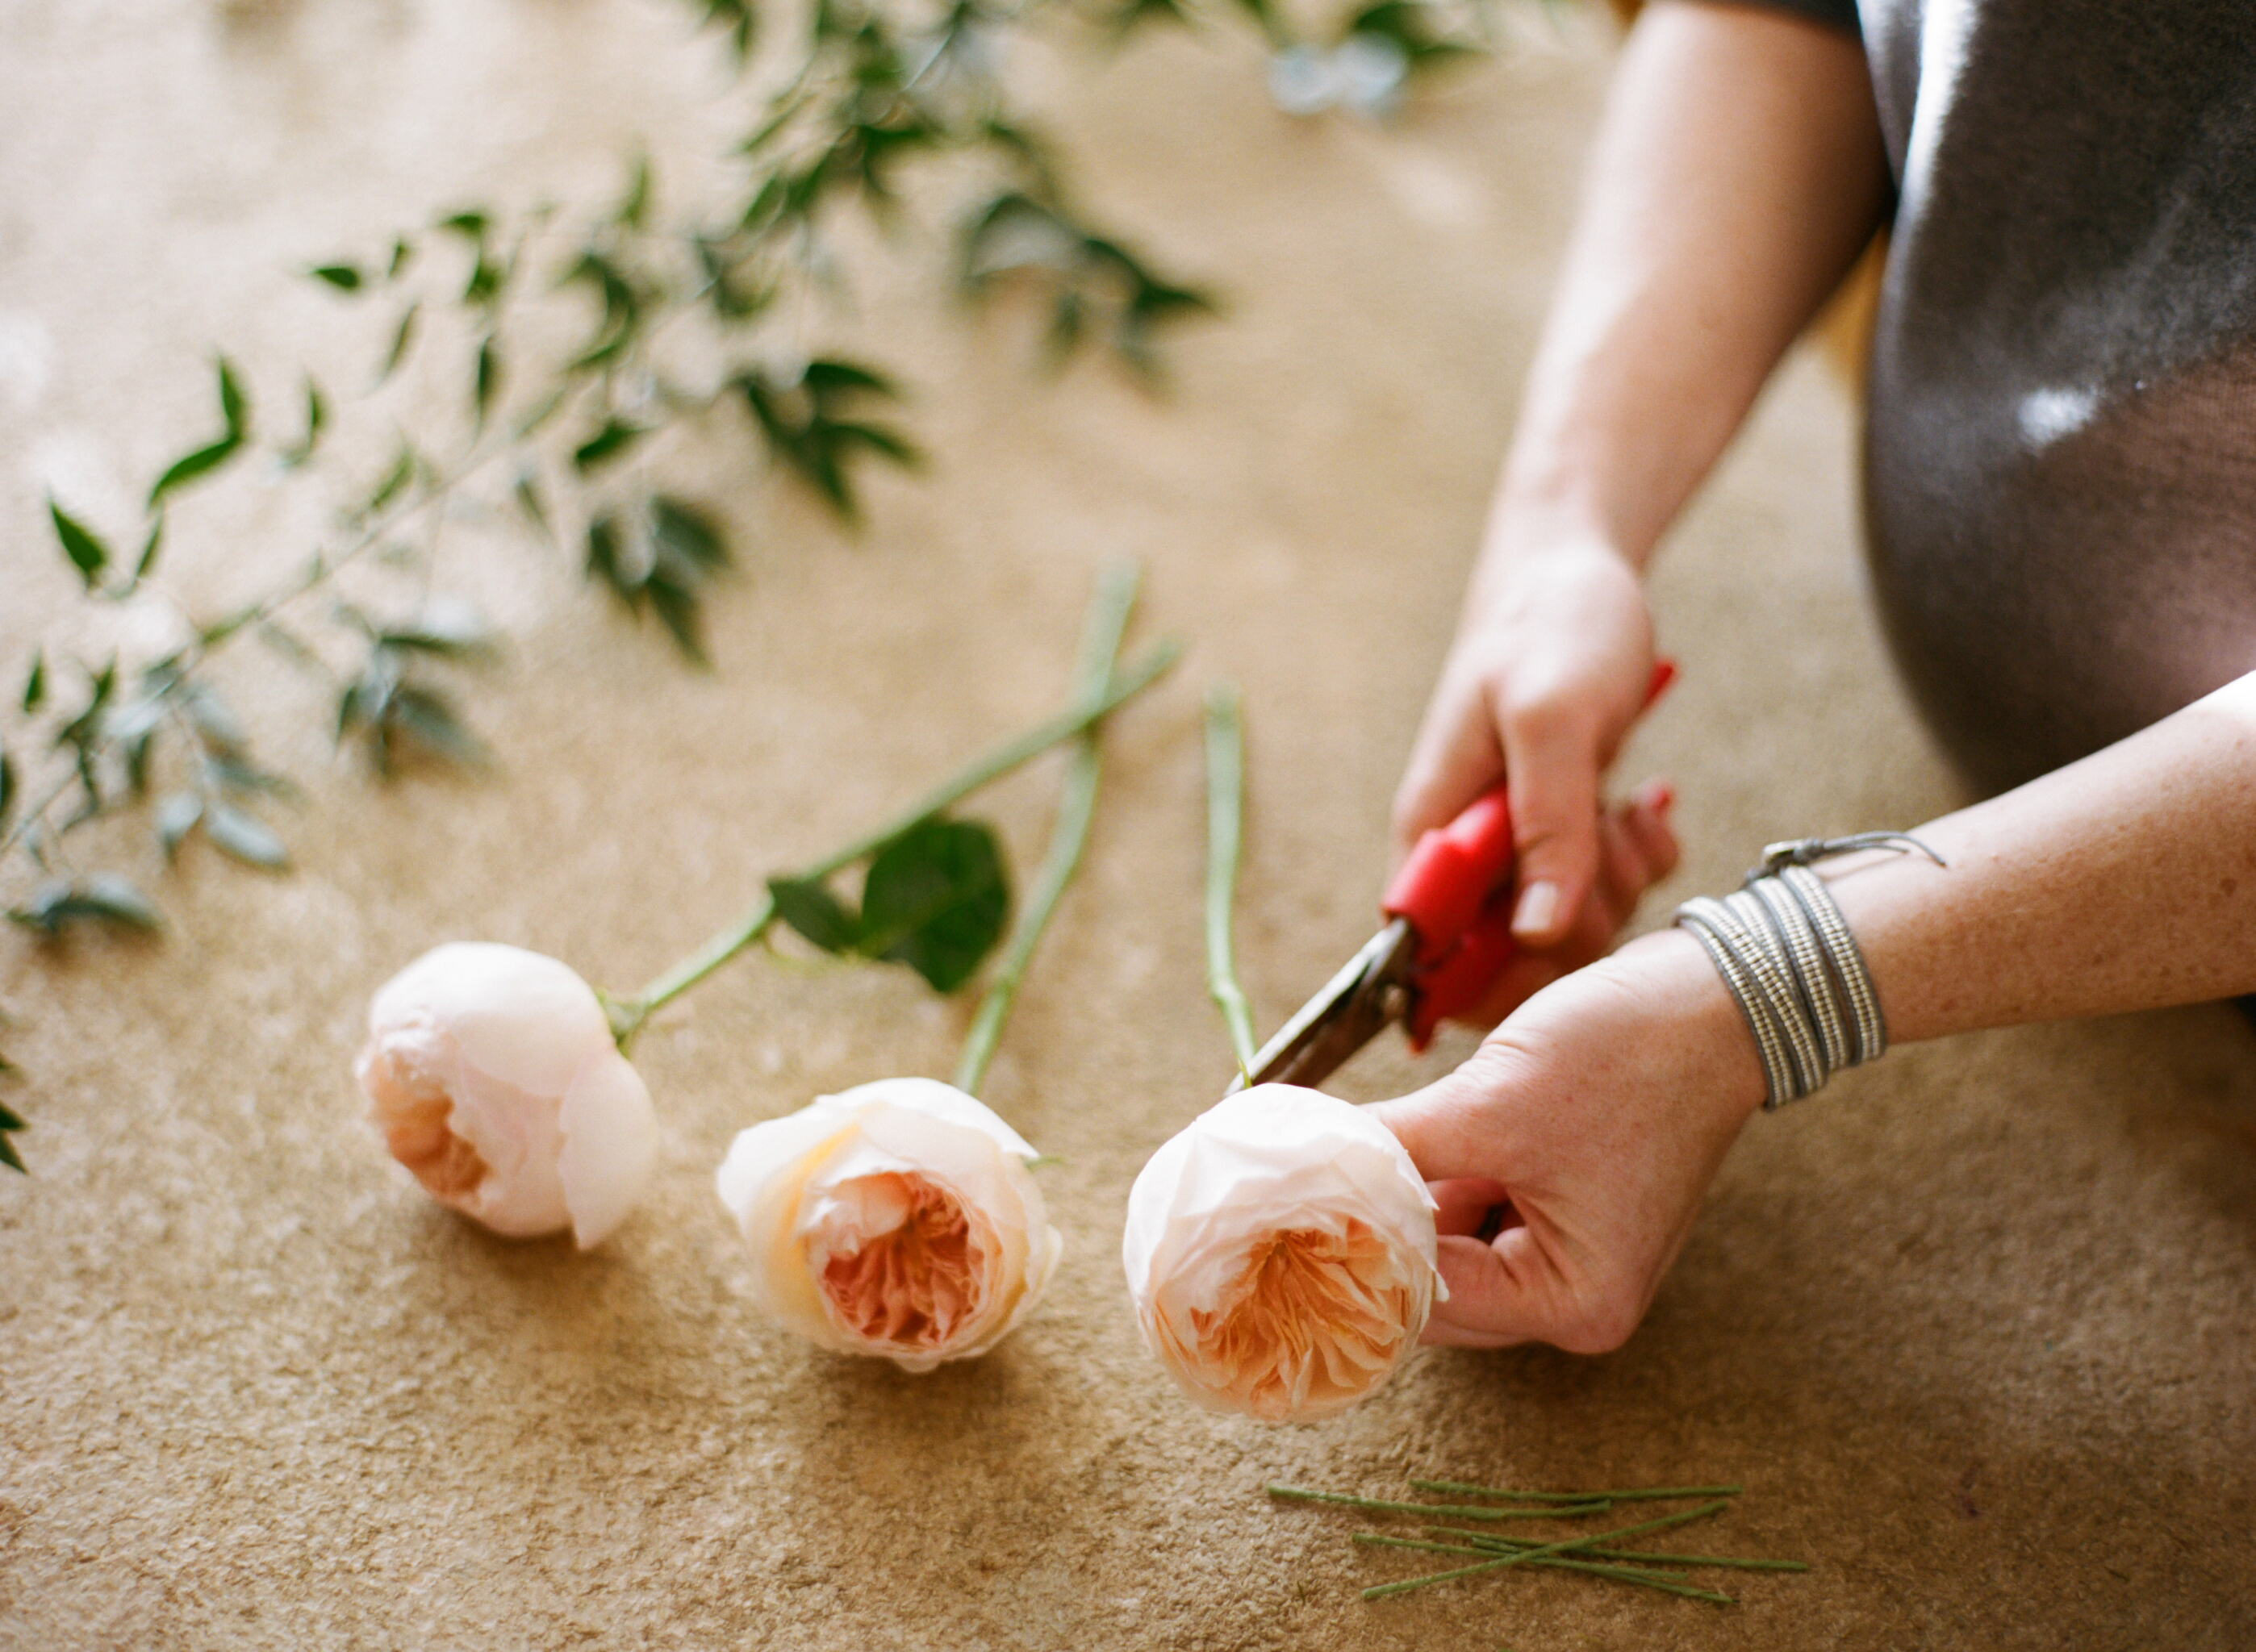
- Place a floral wire through the Juliette stem, as shown, and thread about 3″ through. Bend the 3″ side down, back towards the stem, so that the two pieces of wire are parallel. Clip the remaining wire off about 1-2″ below the flower stem.
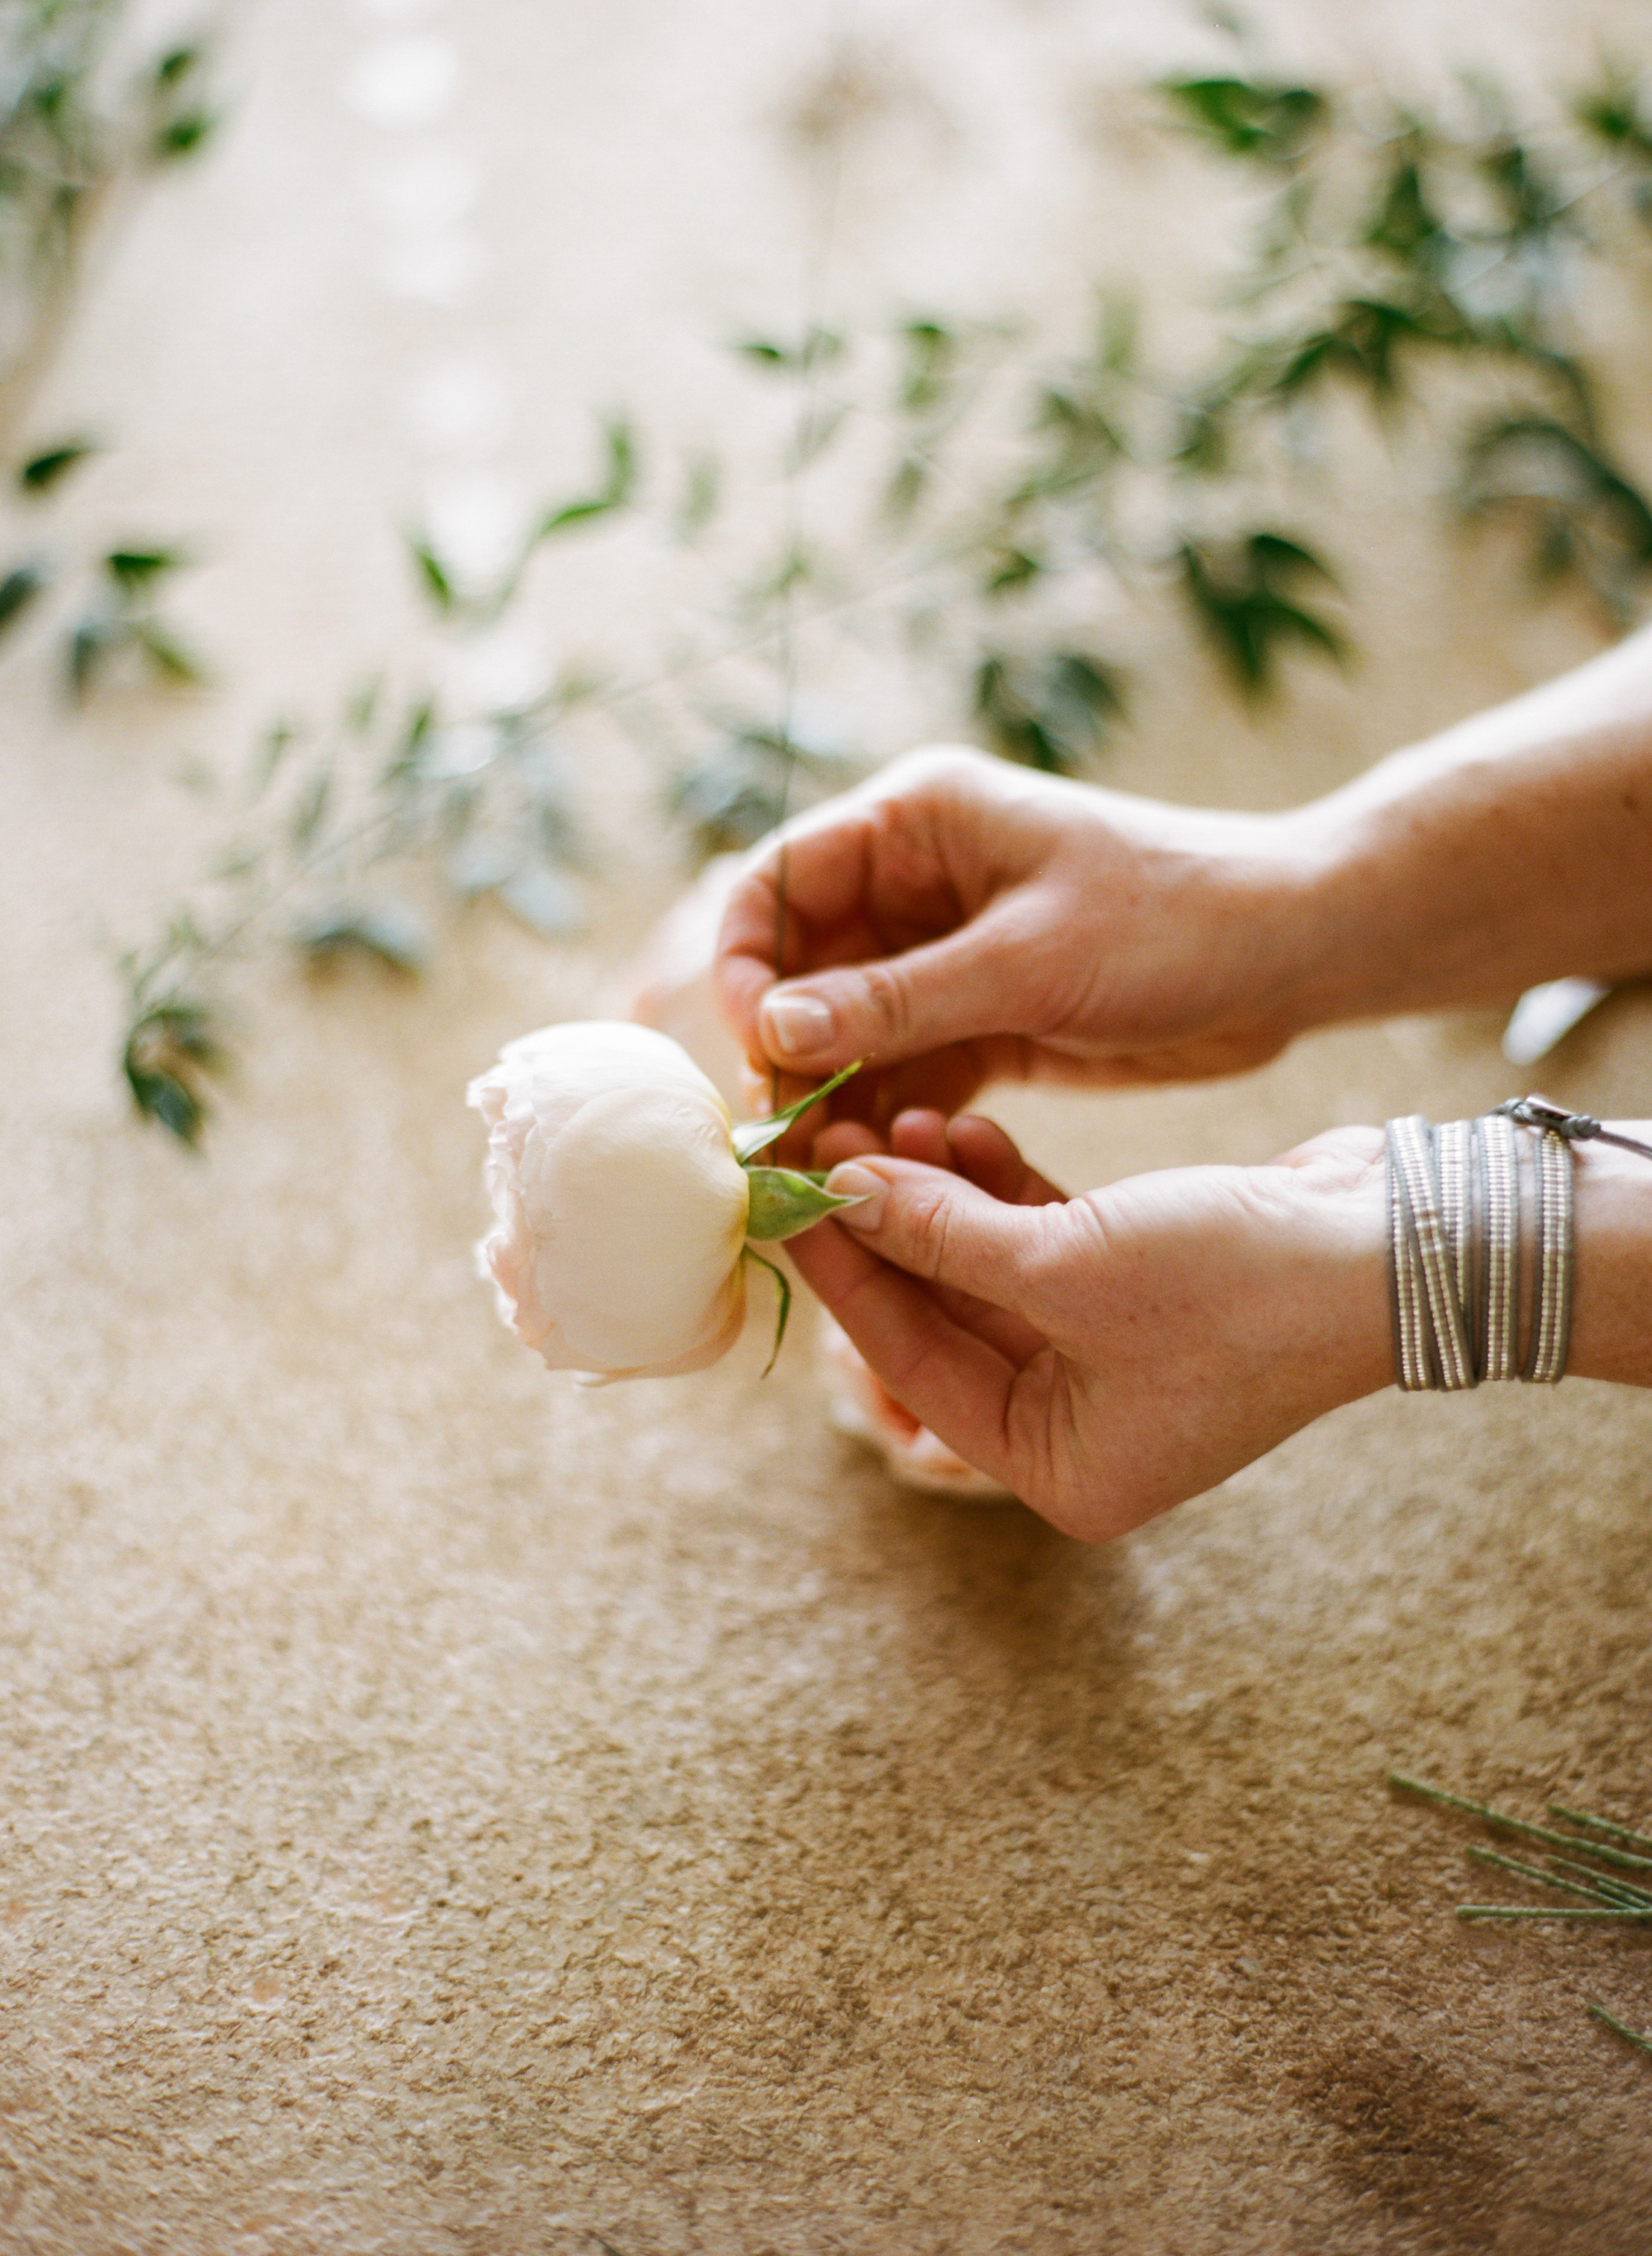
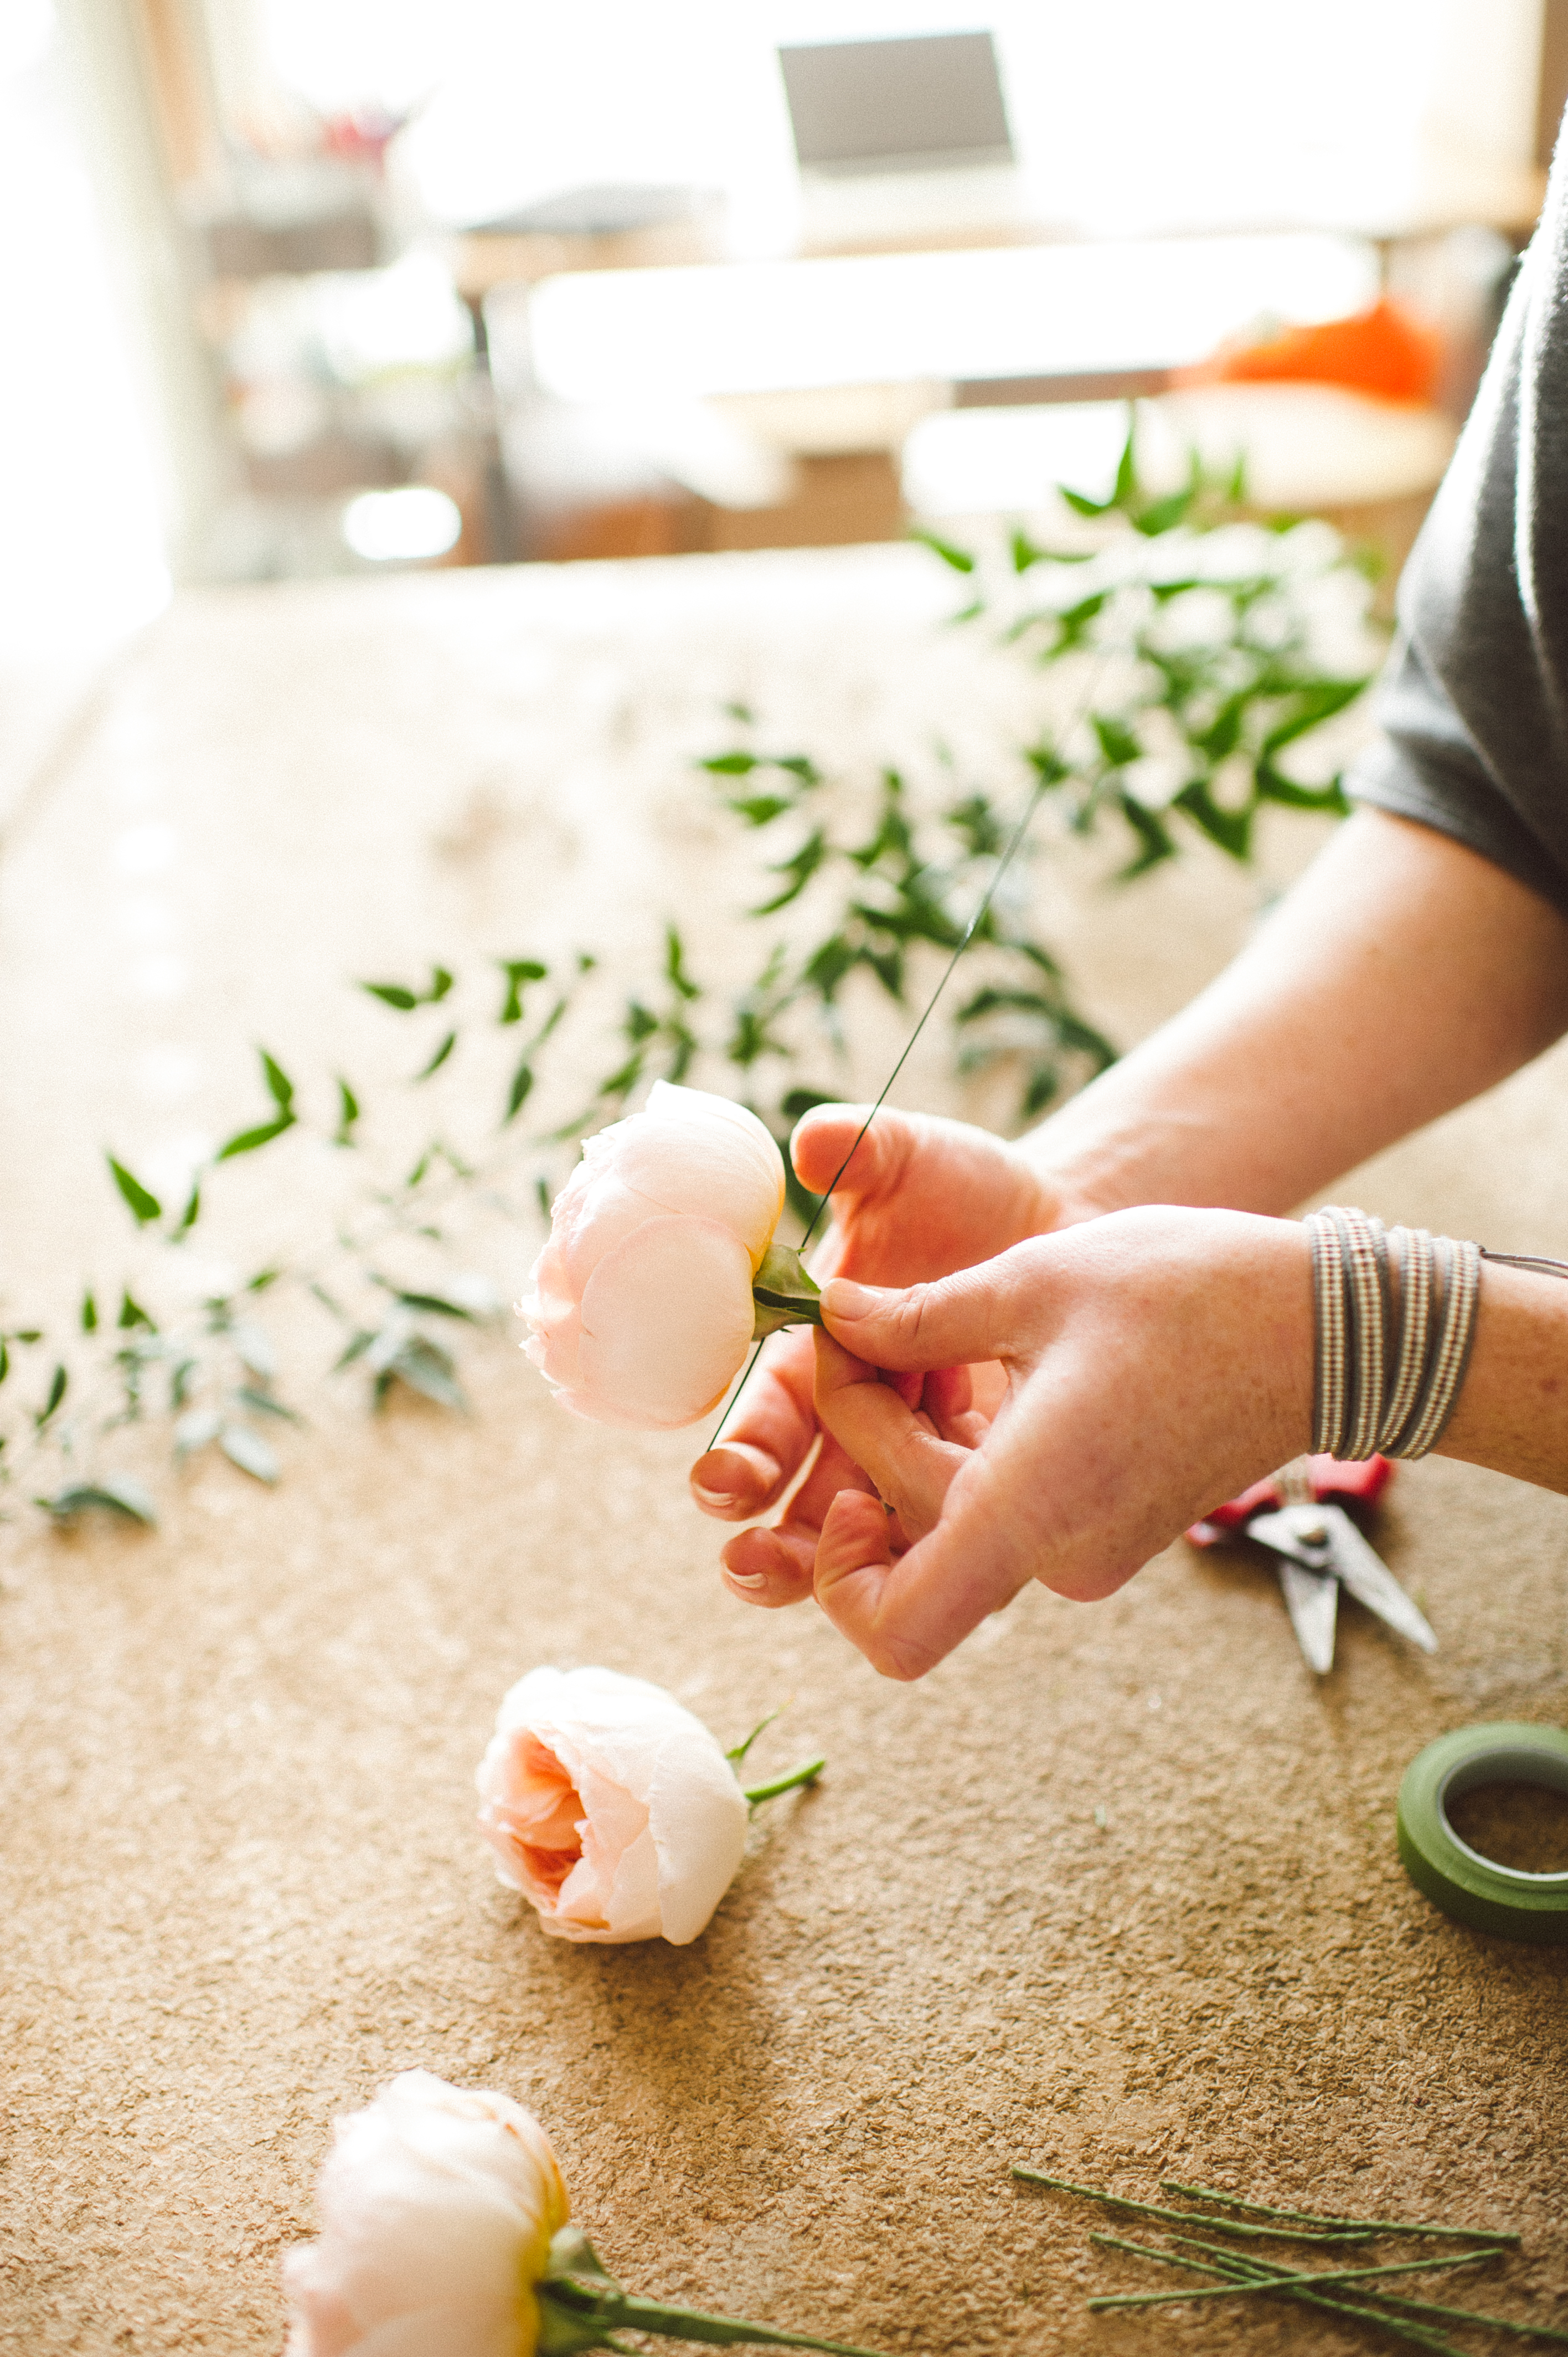
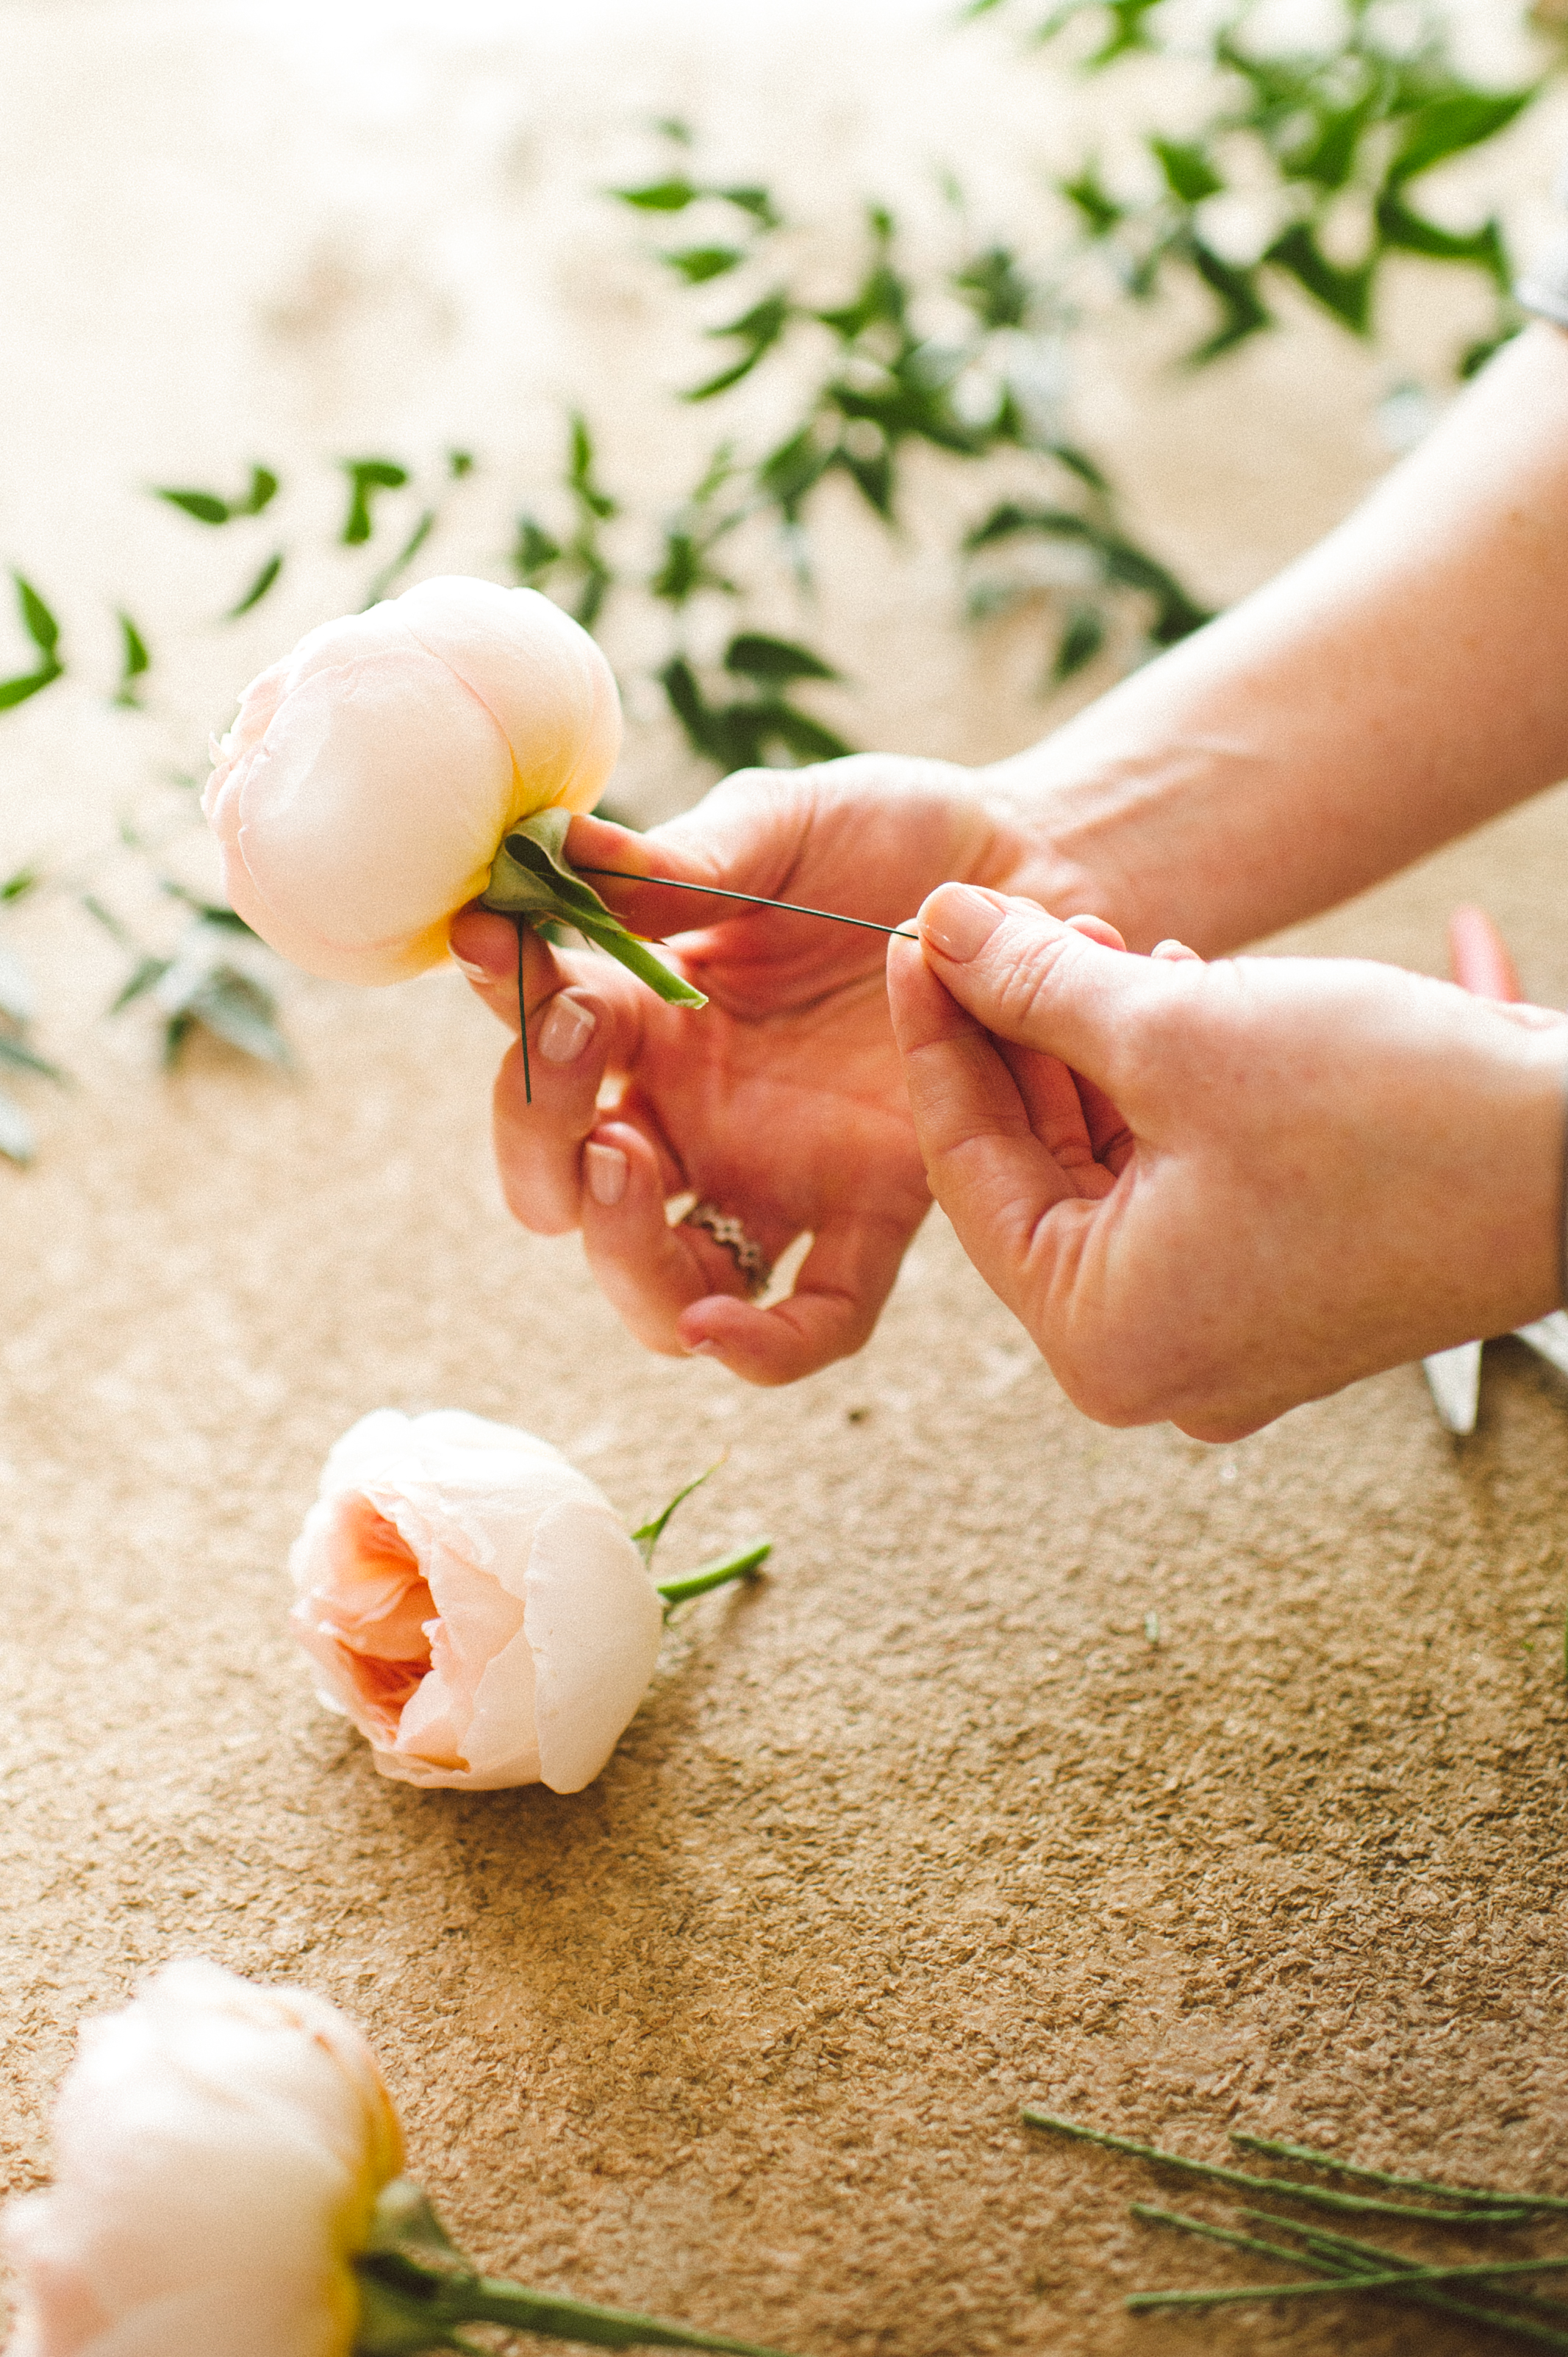
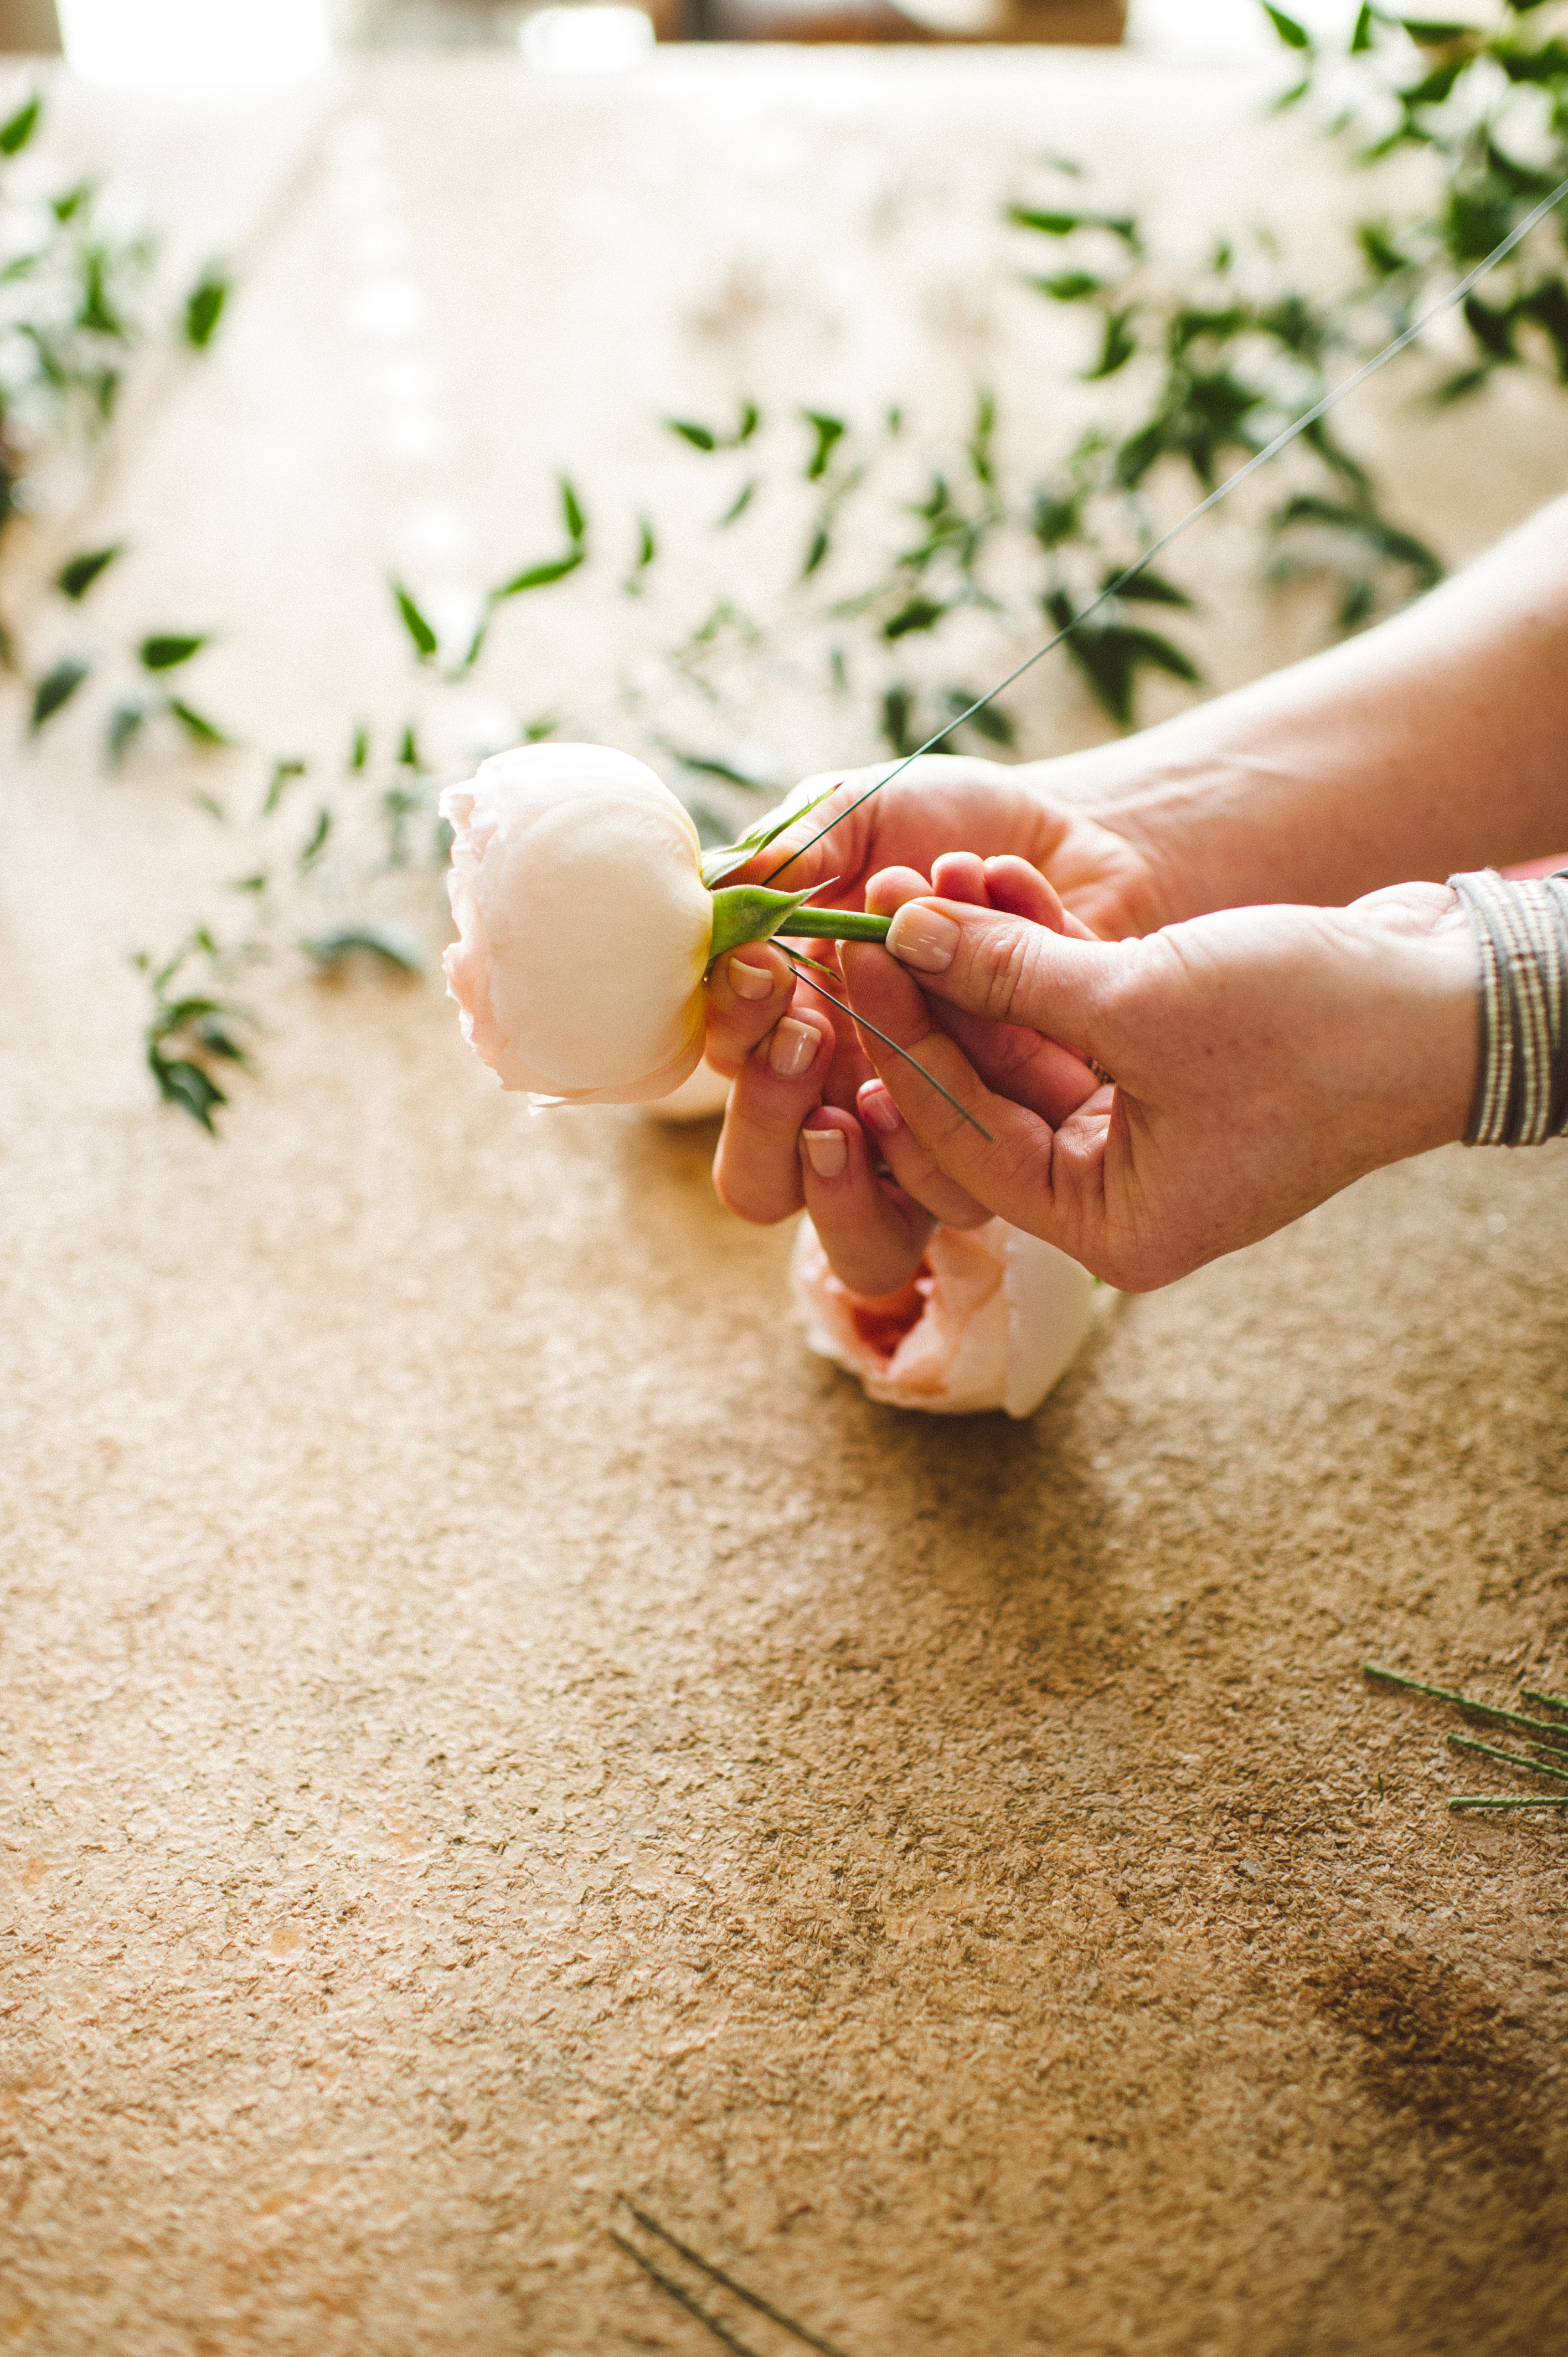
- Take green floral tape and start from the top of the stem (right under the neck of the flower), wrapping it tightly around the wire and stems. Continue to wrap tightly down the stem length and onto the bare wire.
- You should now have a rose head with about 2″ of taped stem/wire and a bottom about 1-2″ that is only wire and tape (so it is flexible). Repeat this process on the other three roses.
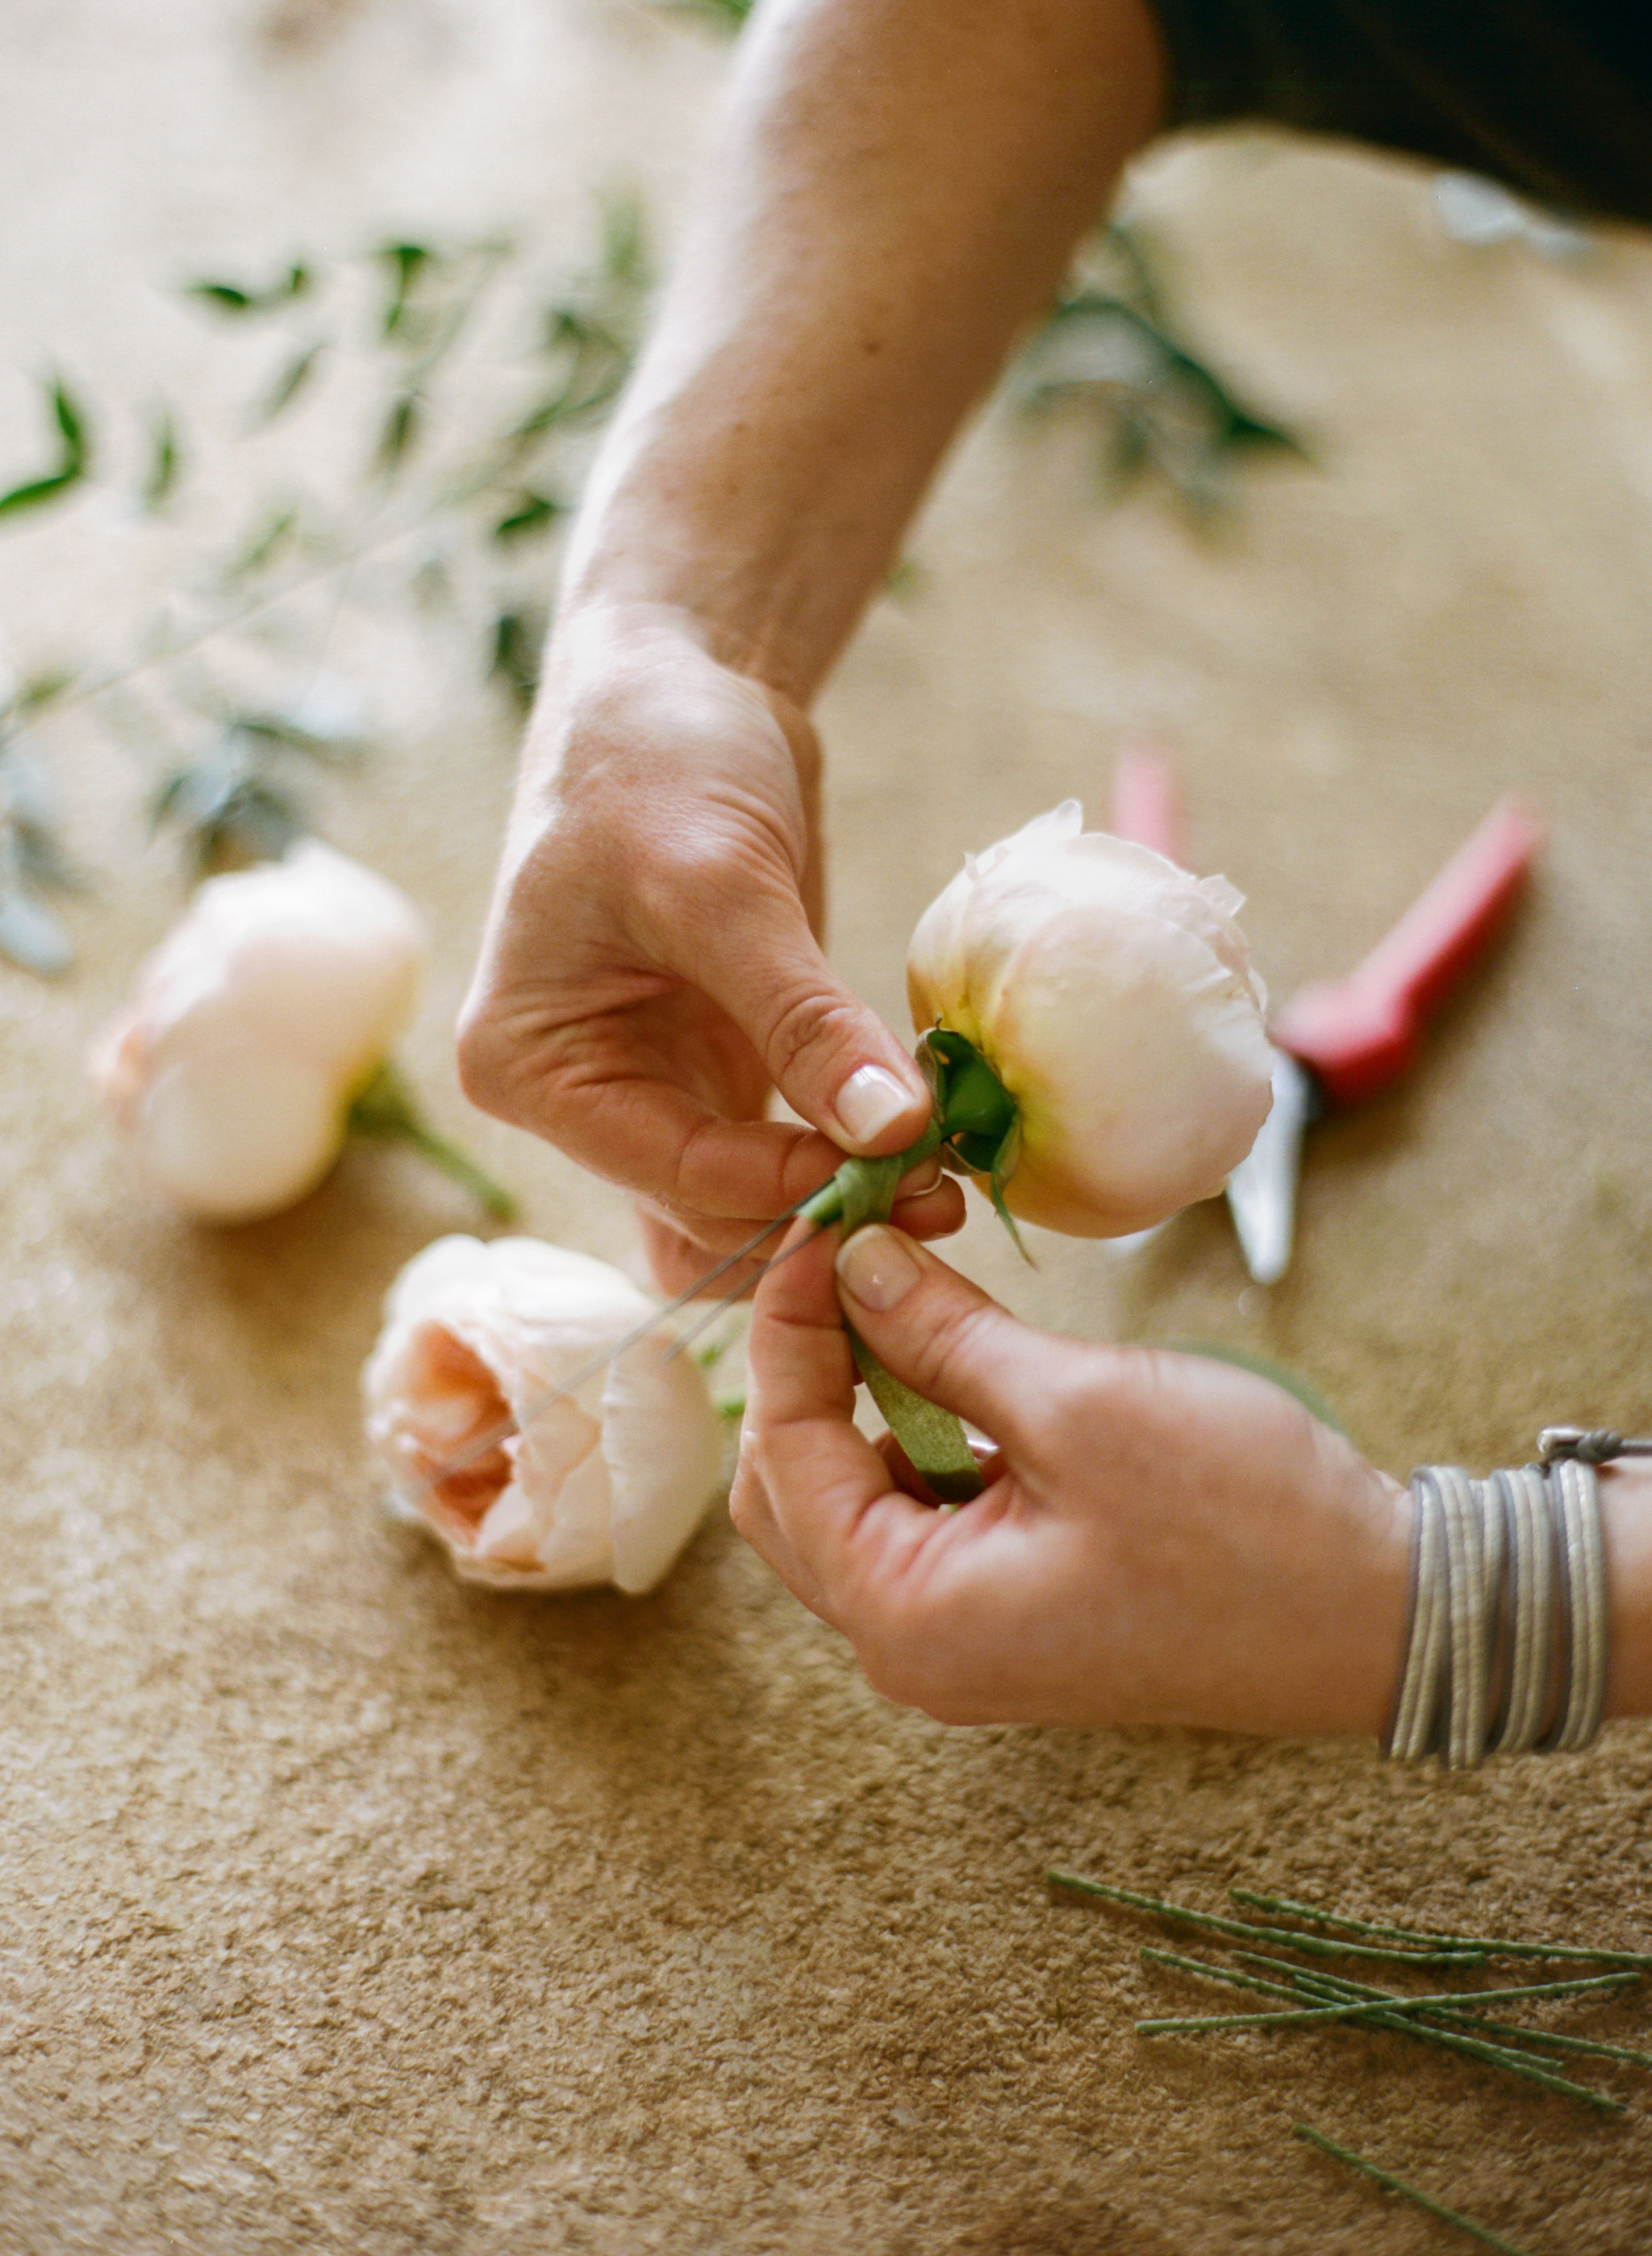
- Take the remaining wire scraps (2-3″ pieces are ideal) and wrap floral tape tightly and smoothly around it (this may take some practice, try to pull the tape tightly as you wrap) so that the wire is covered.
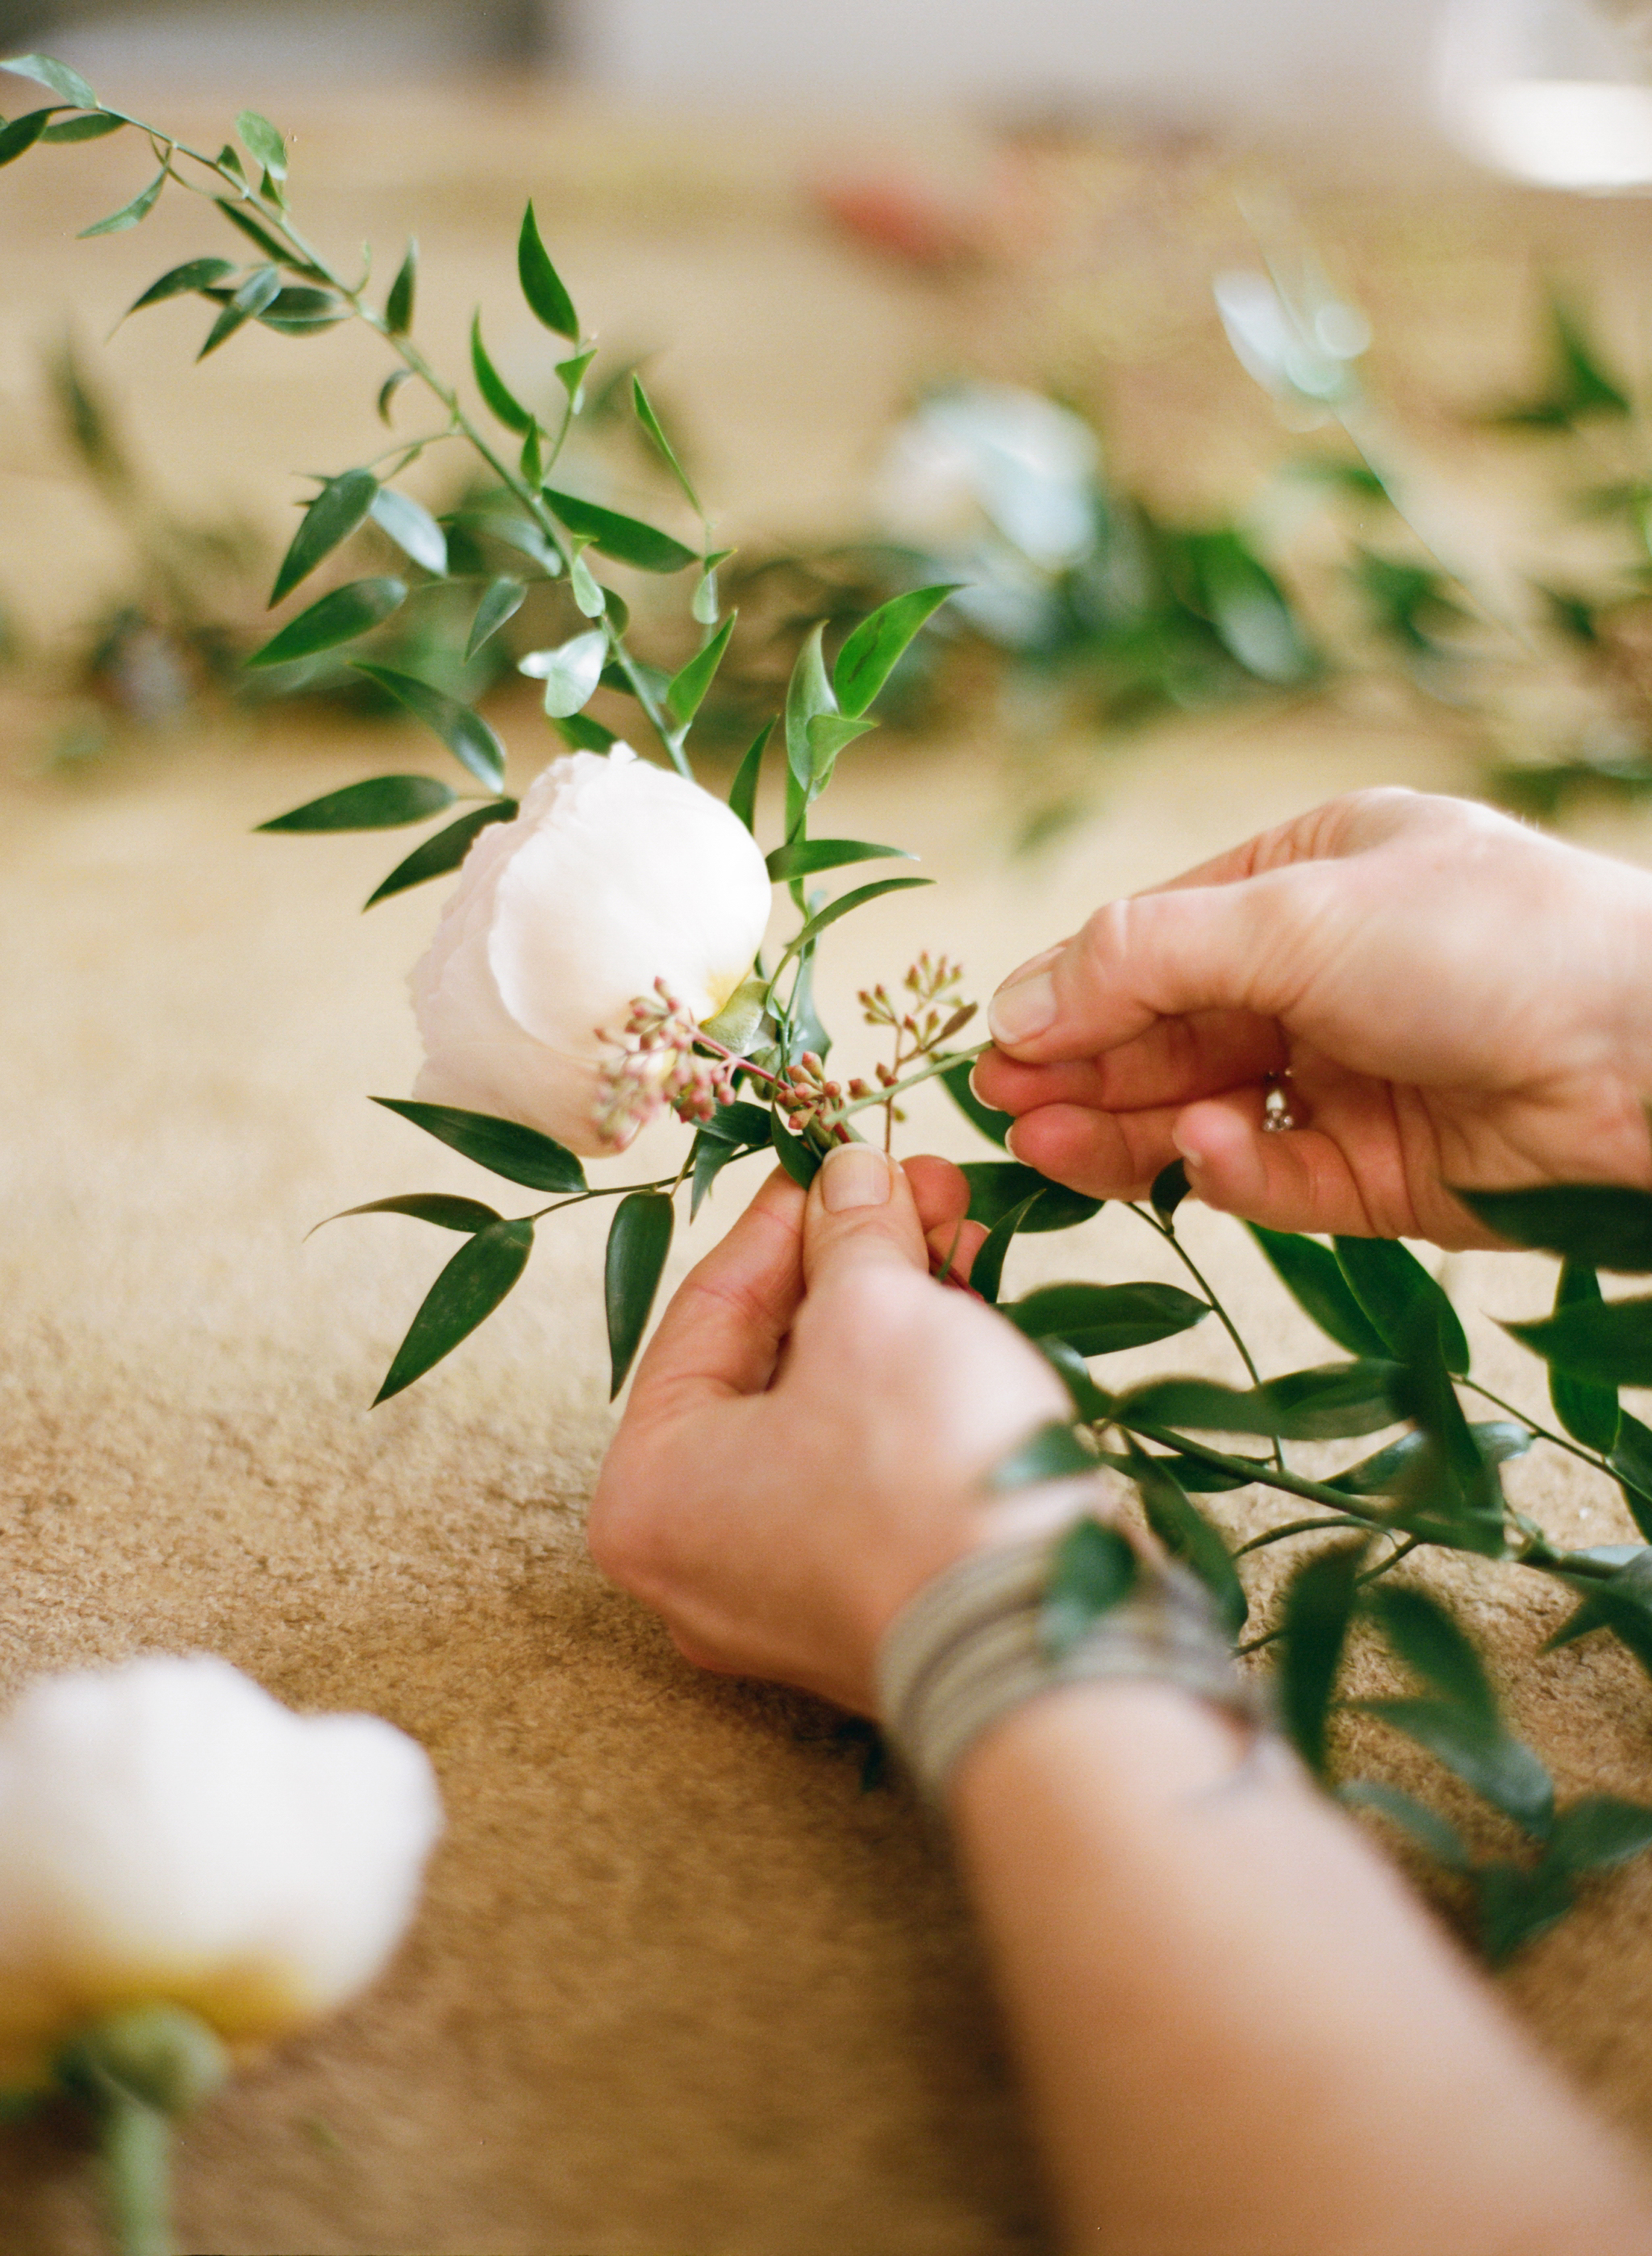
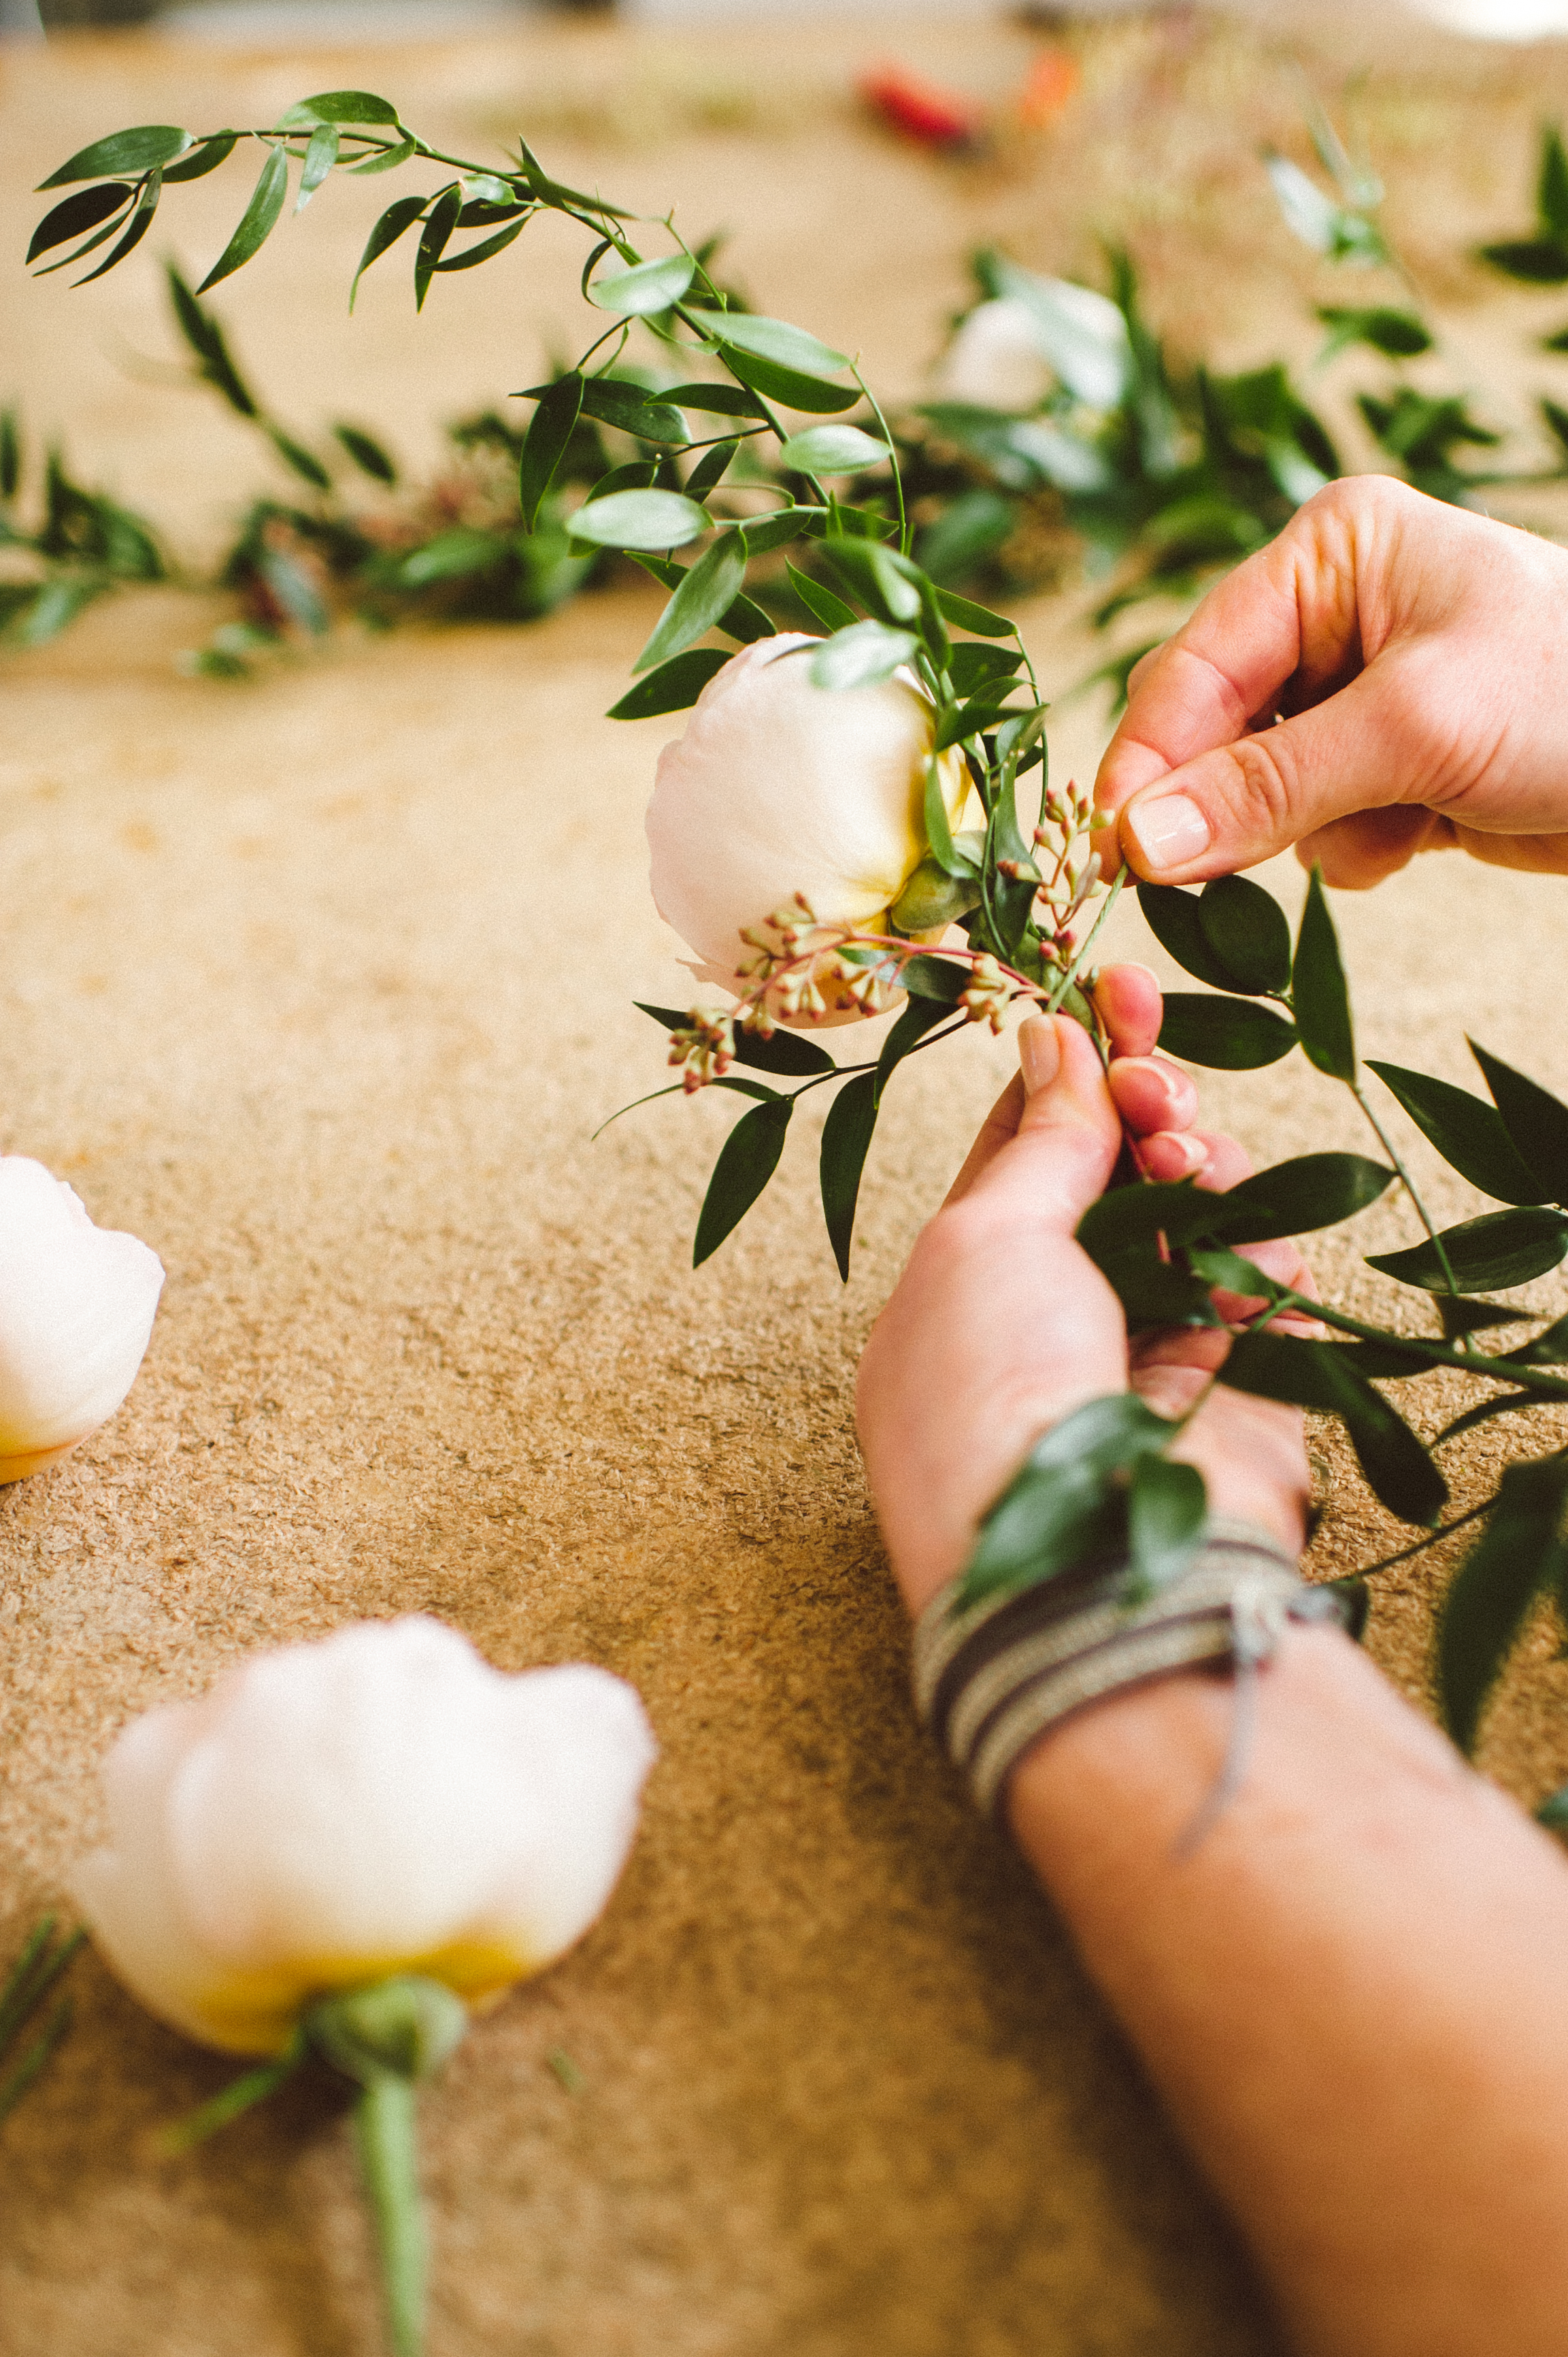
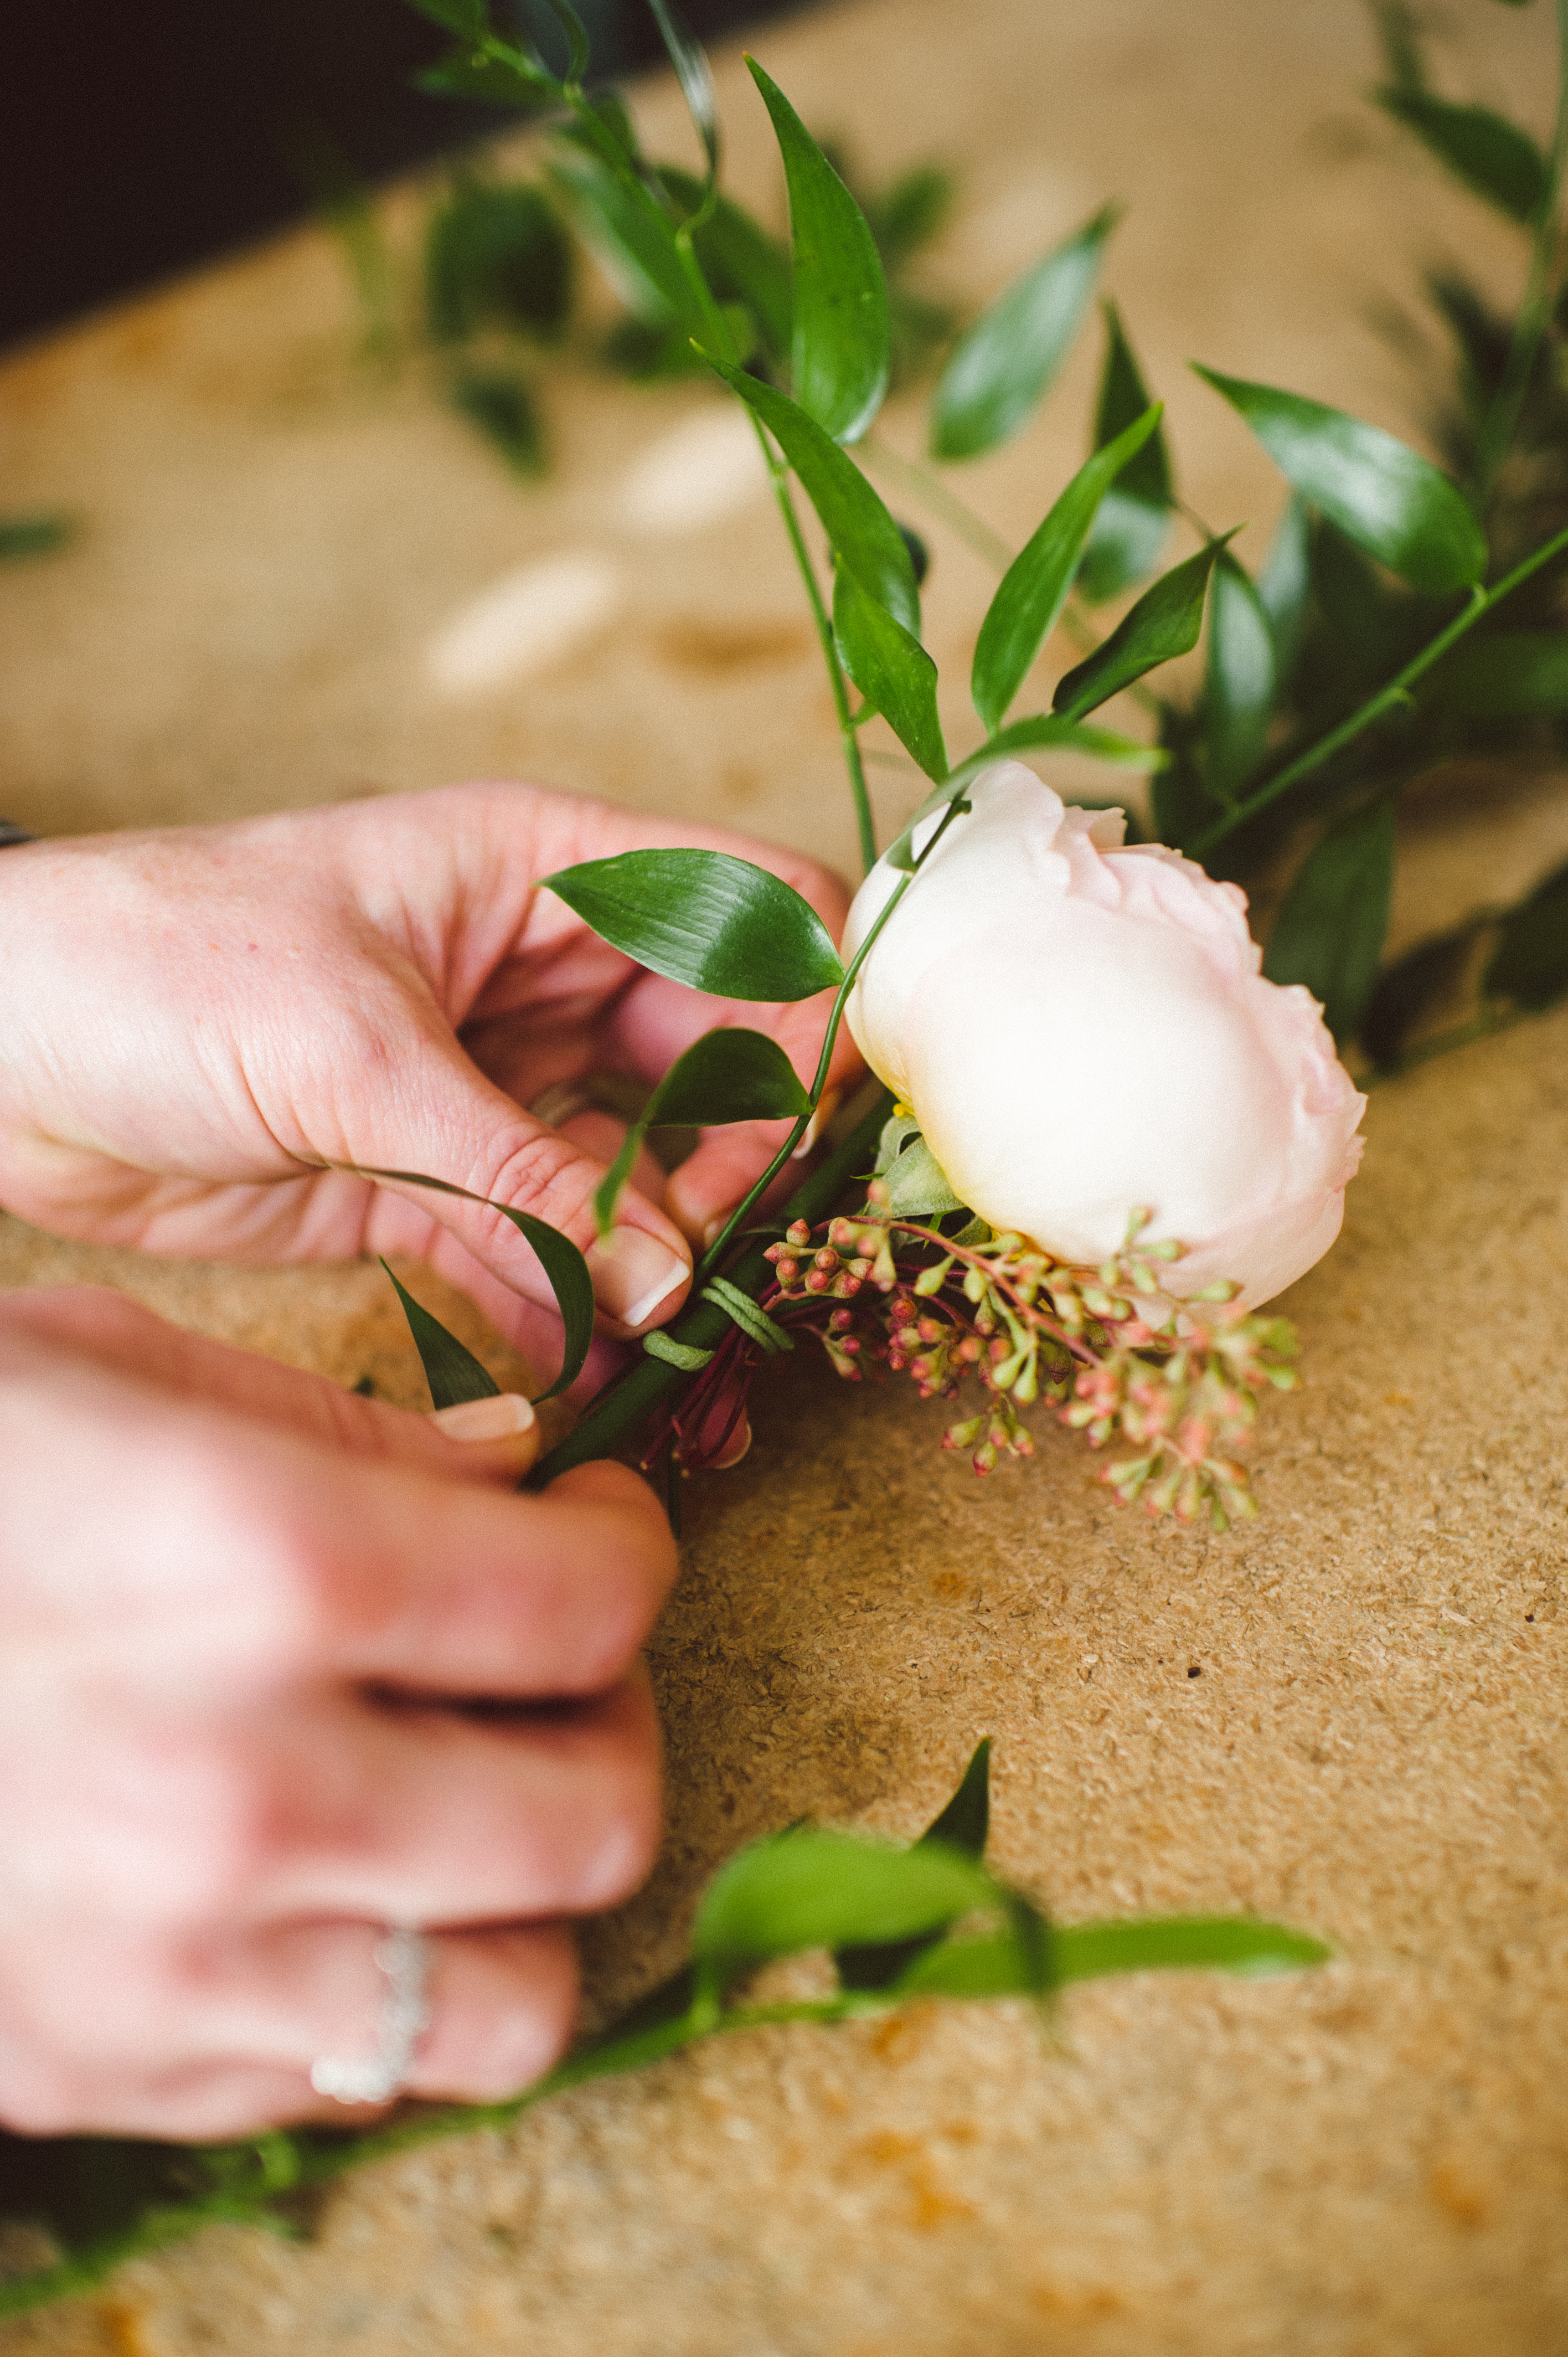
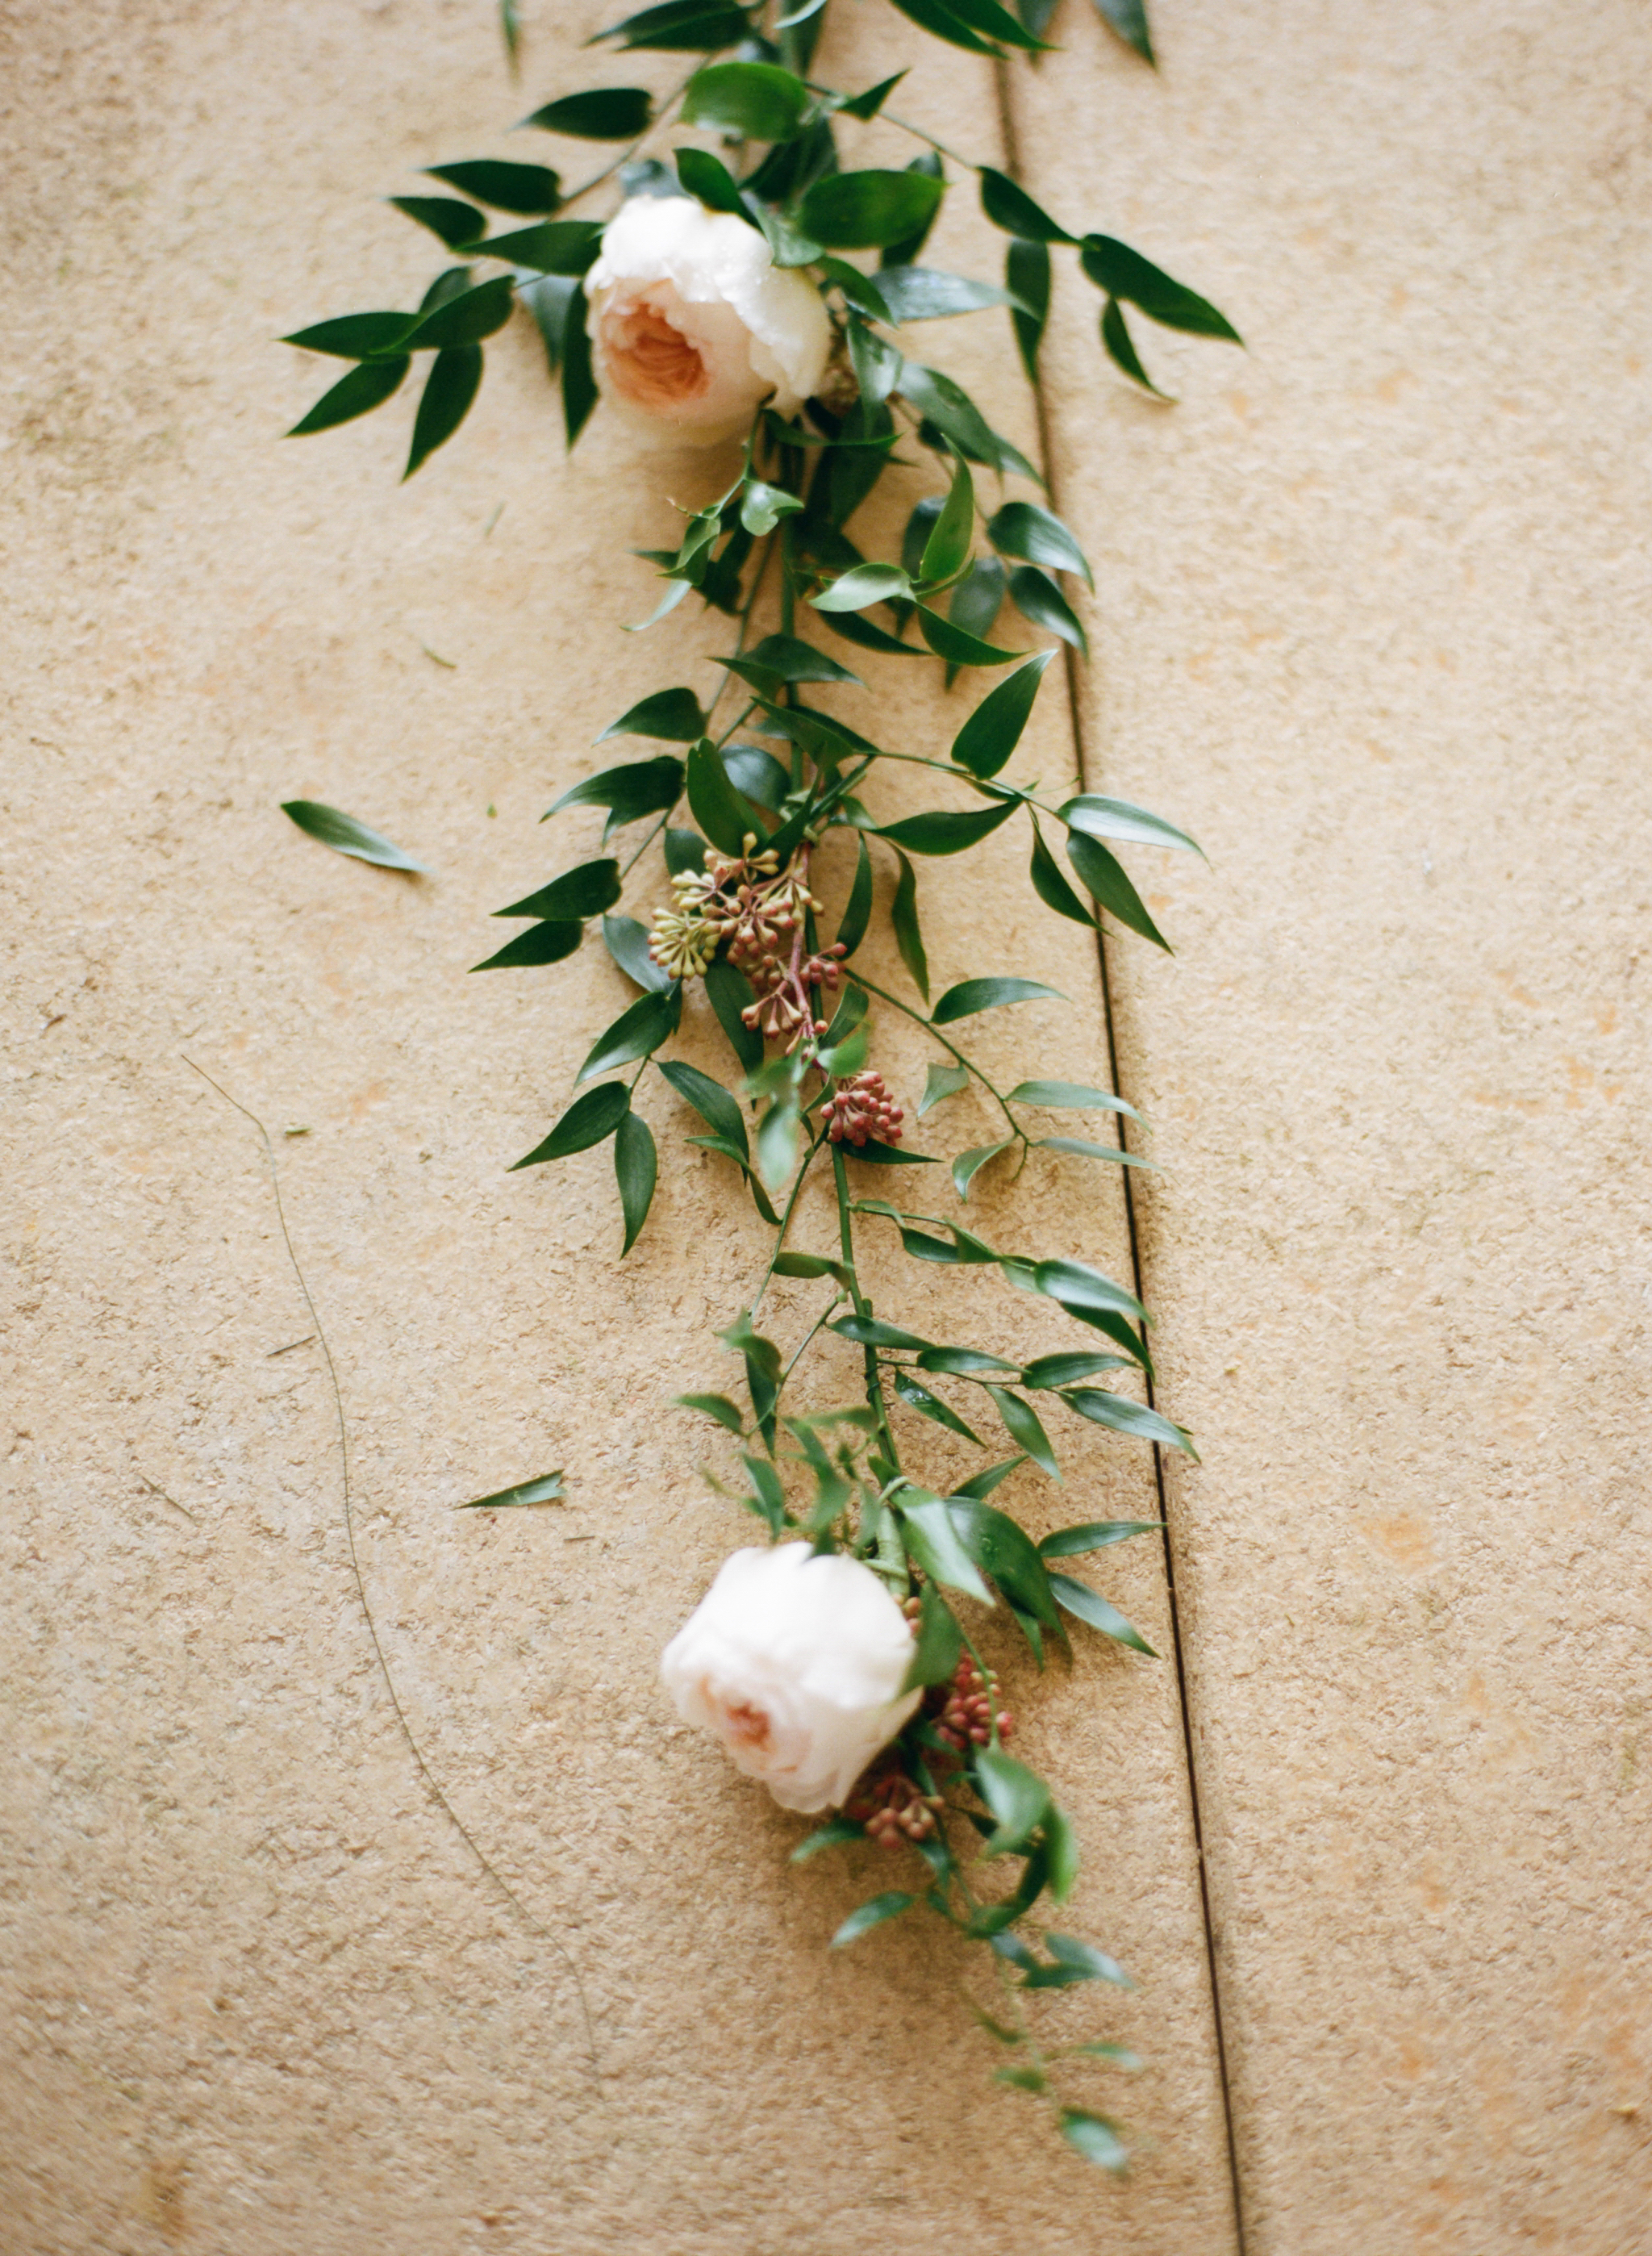
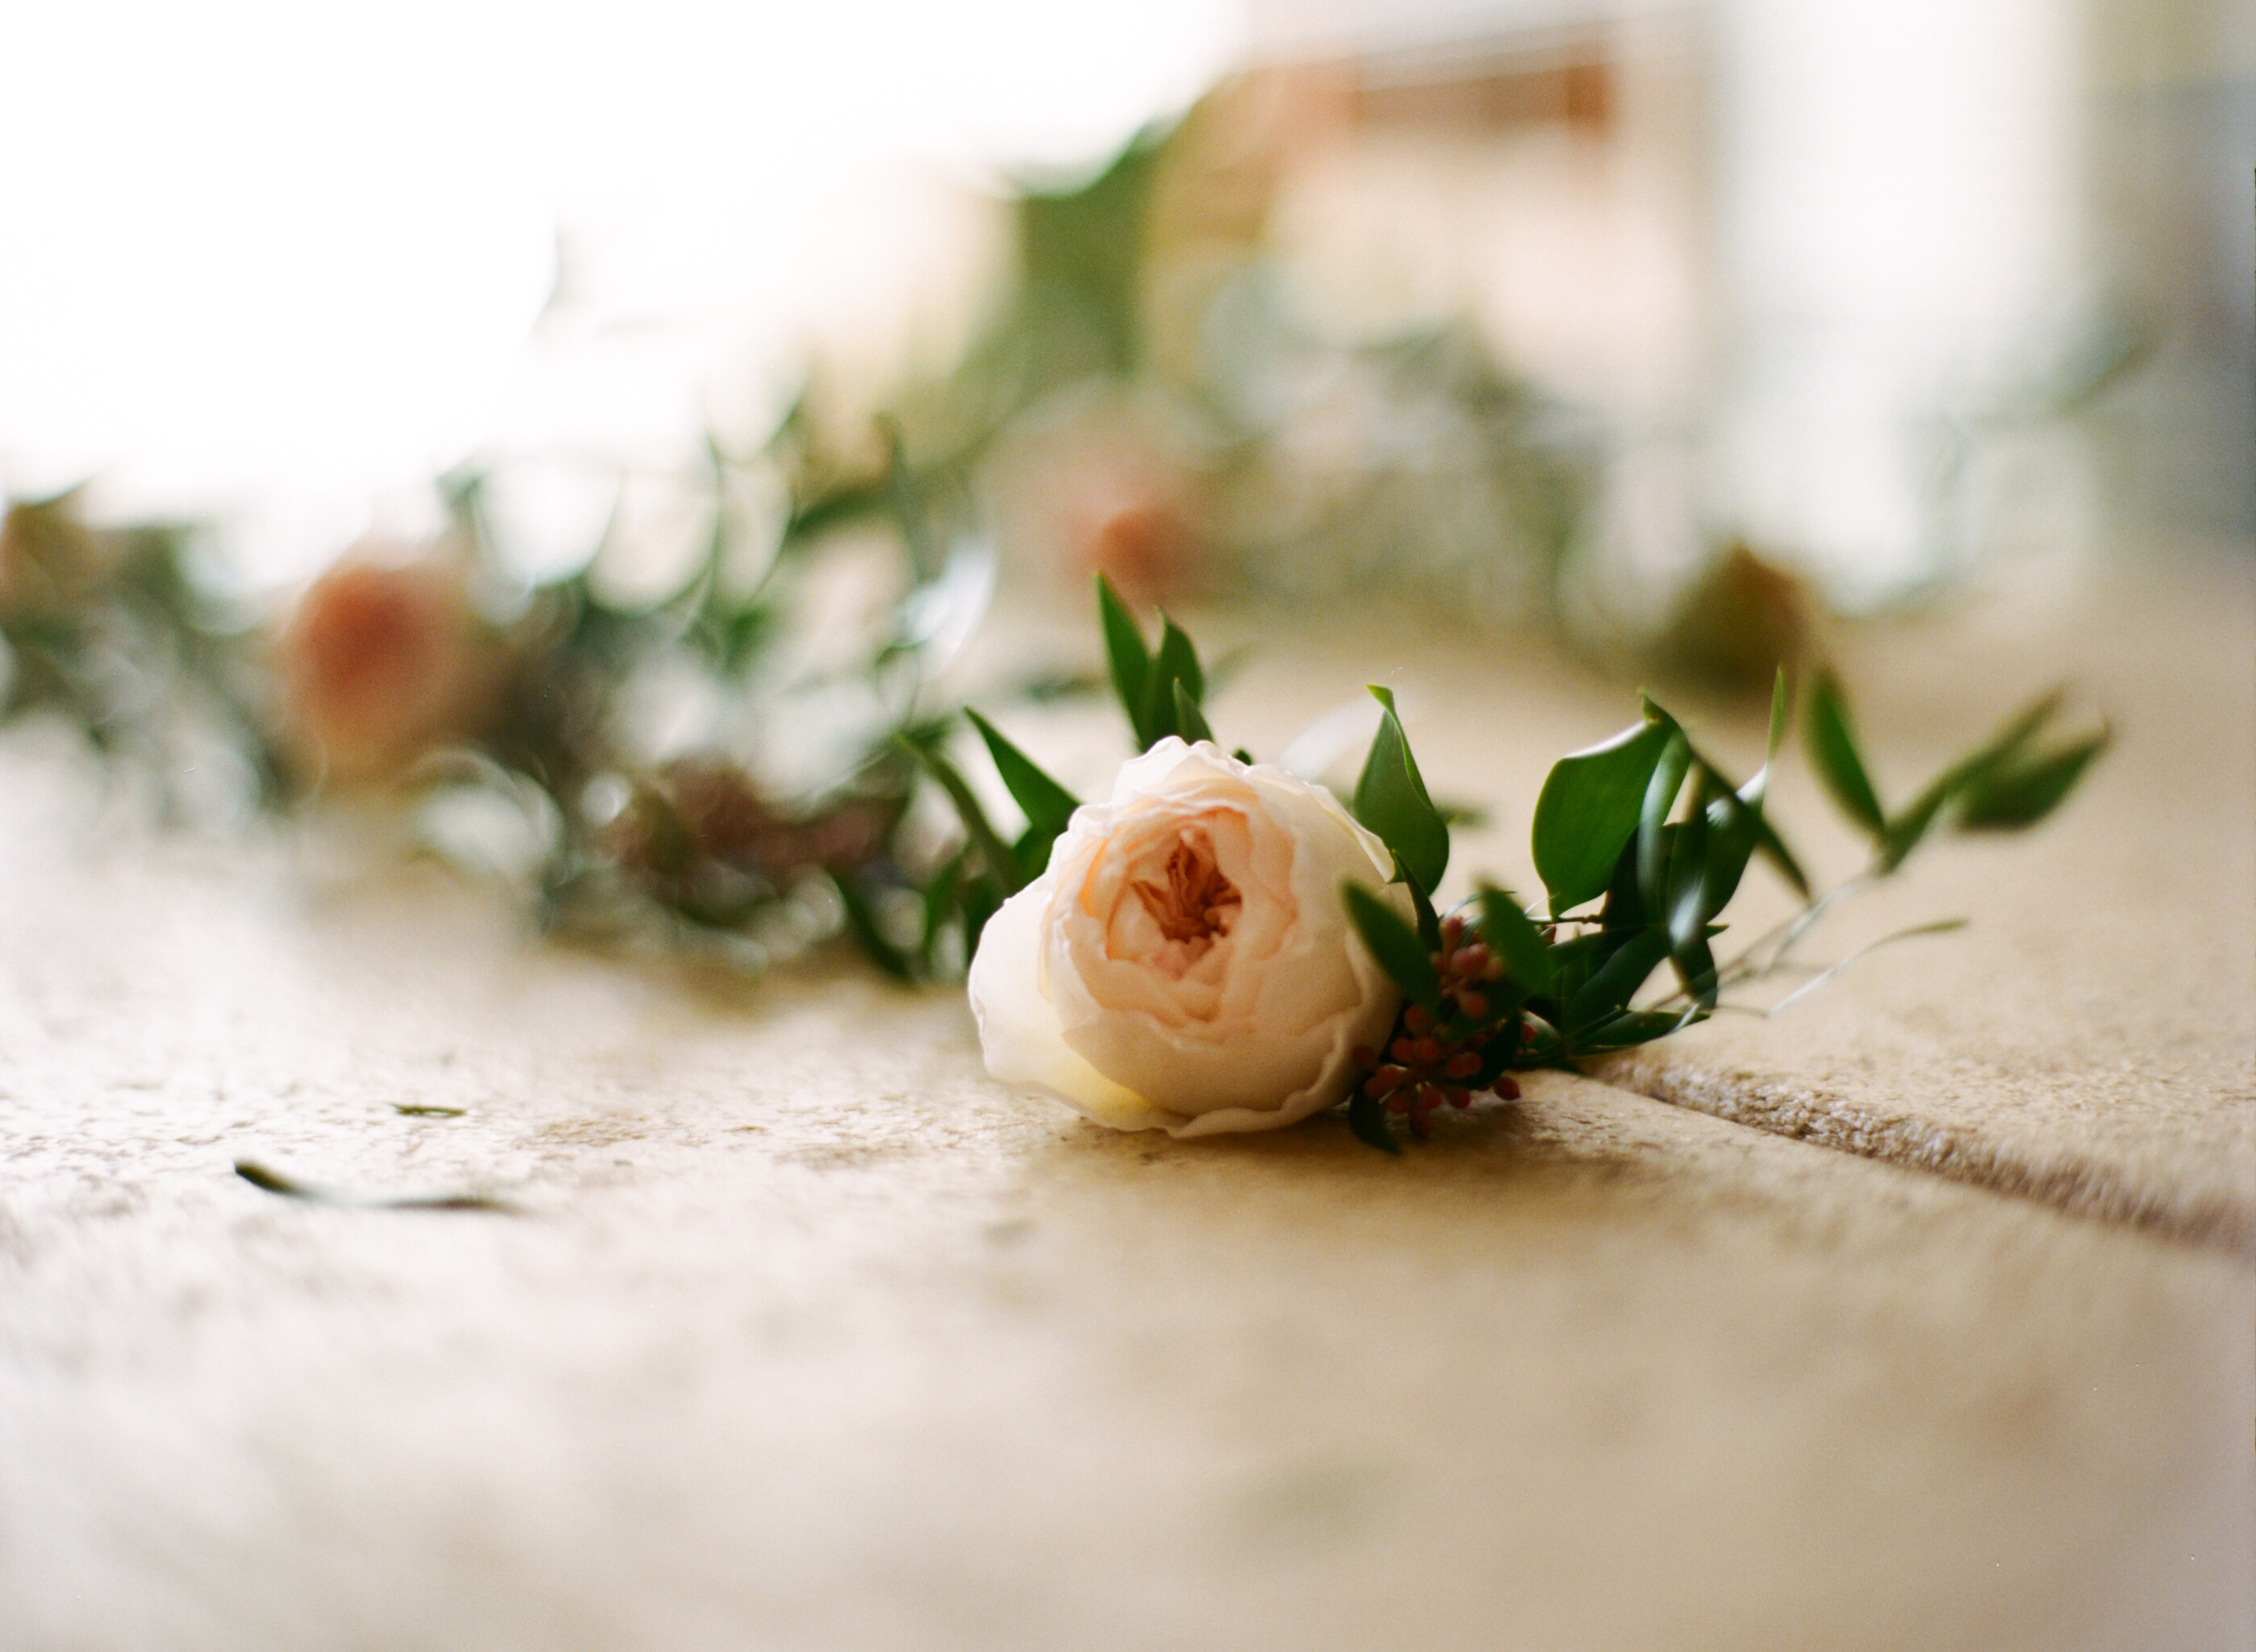
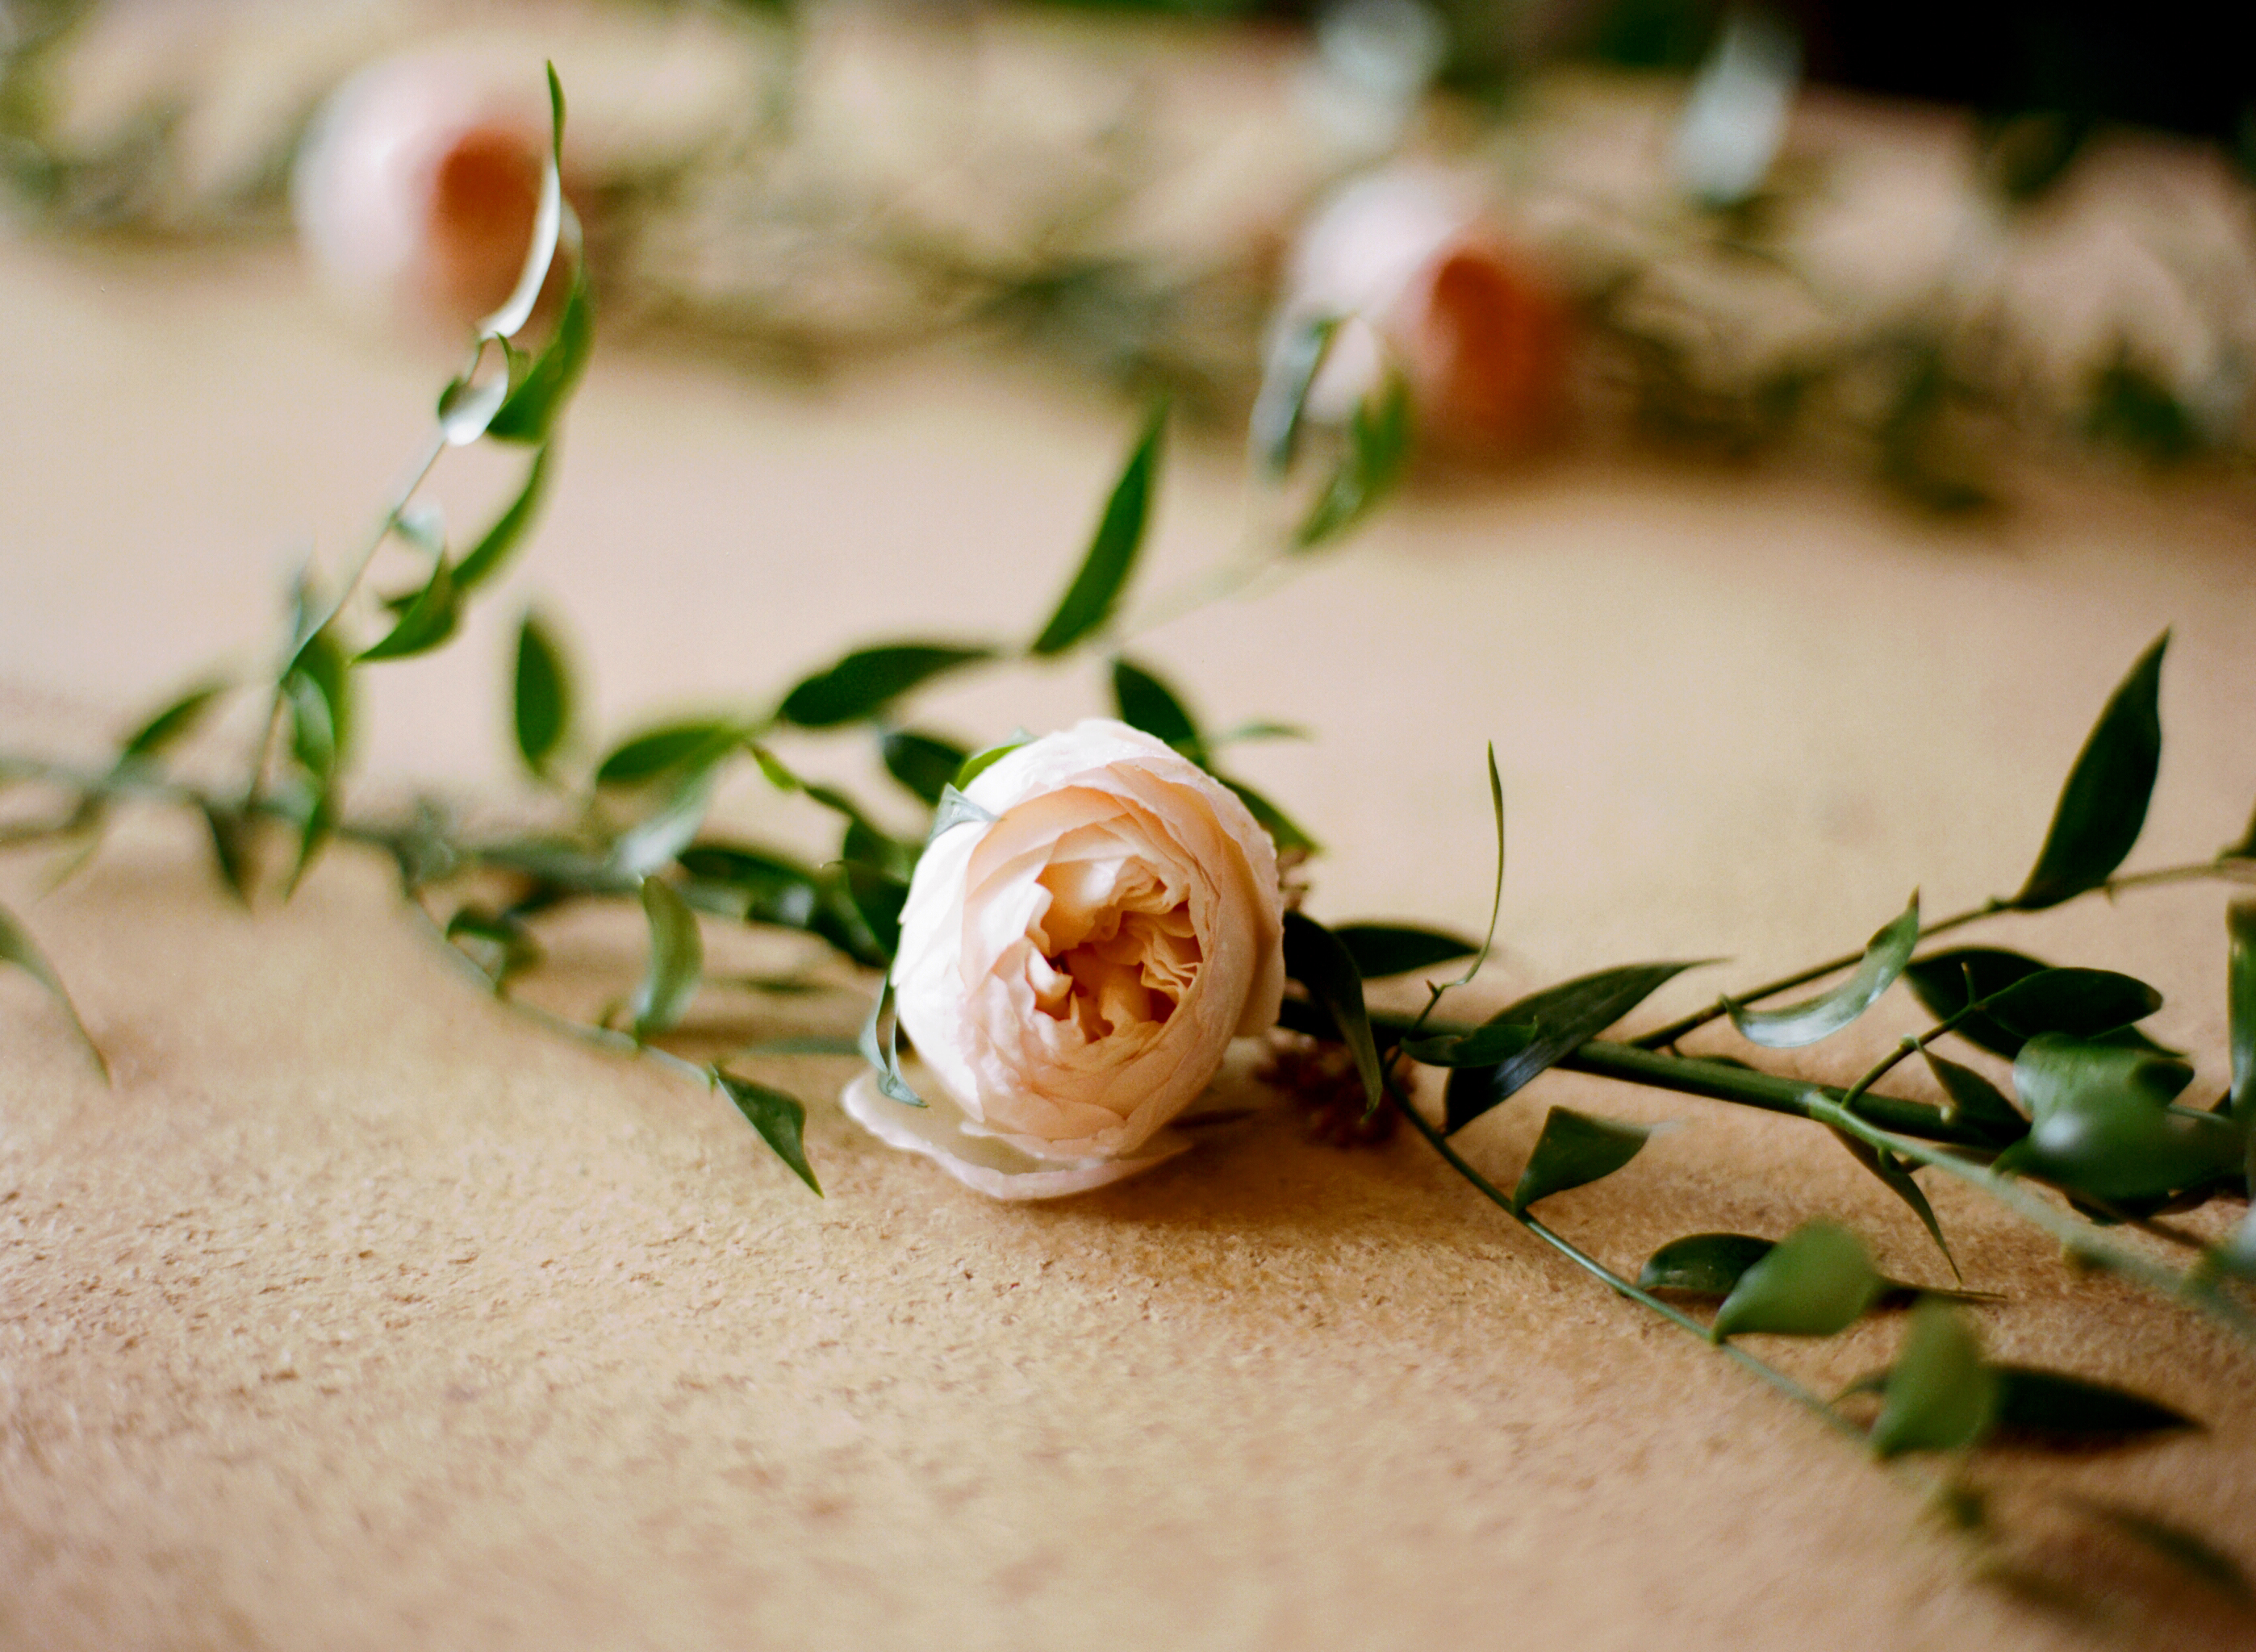
- Place the long stem of ruscus on the table and line up a rose head on the stem of the ruscus so it is parallel. Gently manipulate the bottom of the rose stem (the malleable part with the wire/tape only) around the ruscus stem to secure the flower to the garland.

- Use a piece of your tape wrapped wire like a twist-tie, wrapping it around the top of the rose stem (right under the heavy flower head) and the ruscus stem. Clip any wire that is sticking out after the twist is secure.
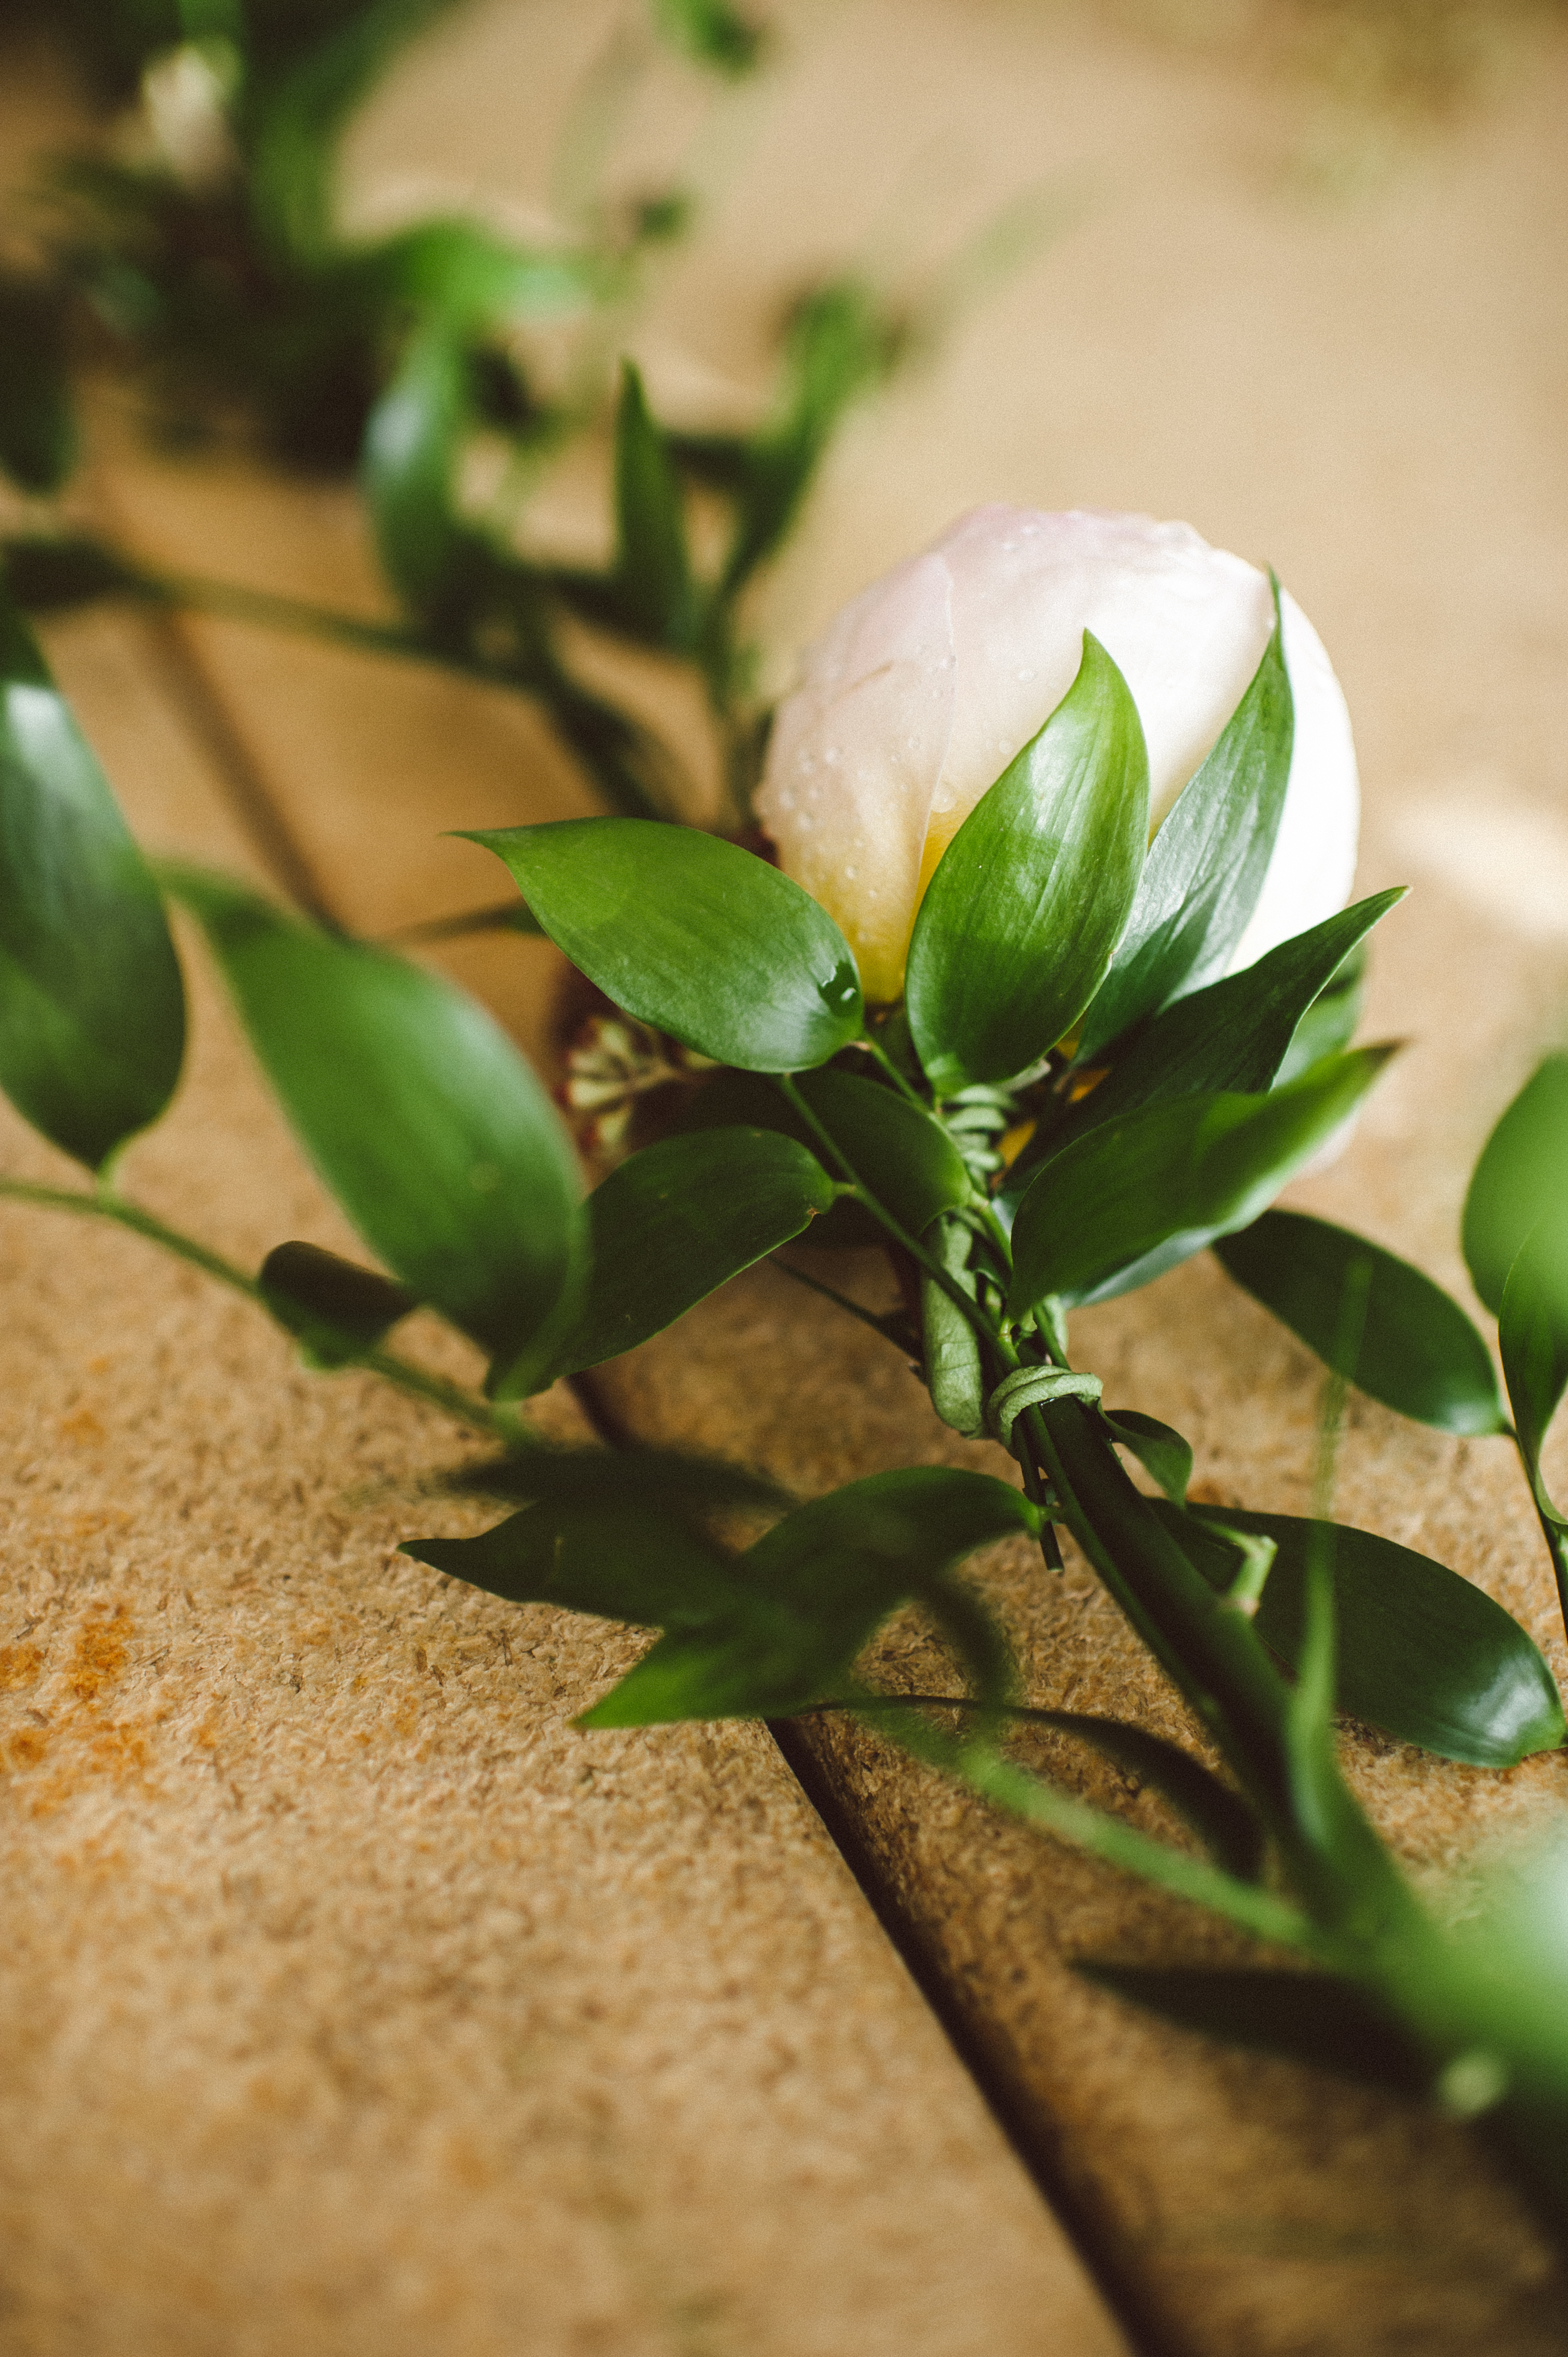
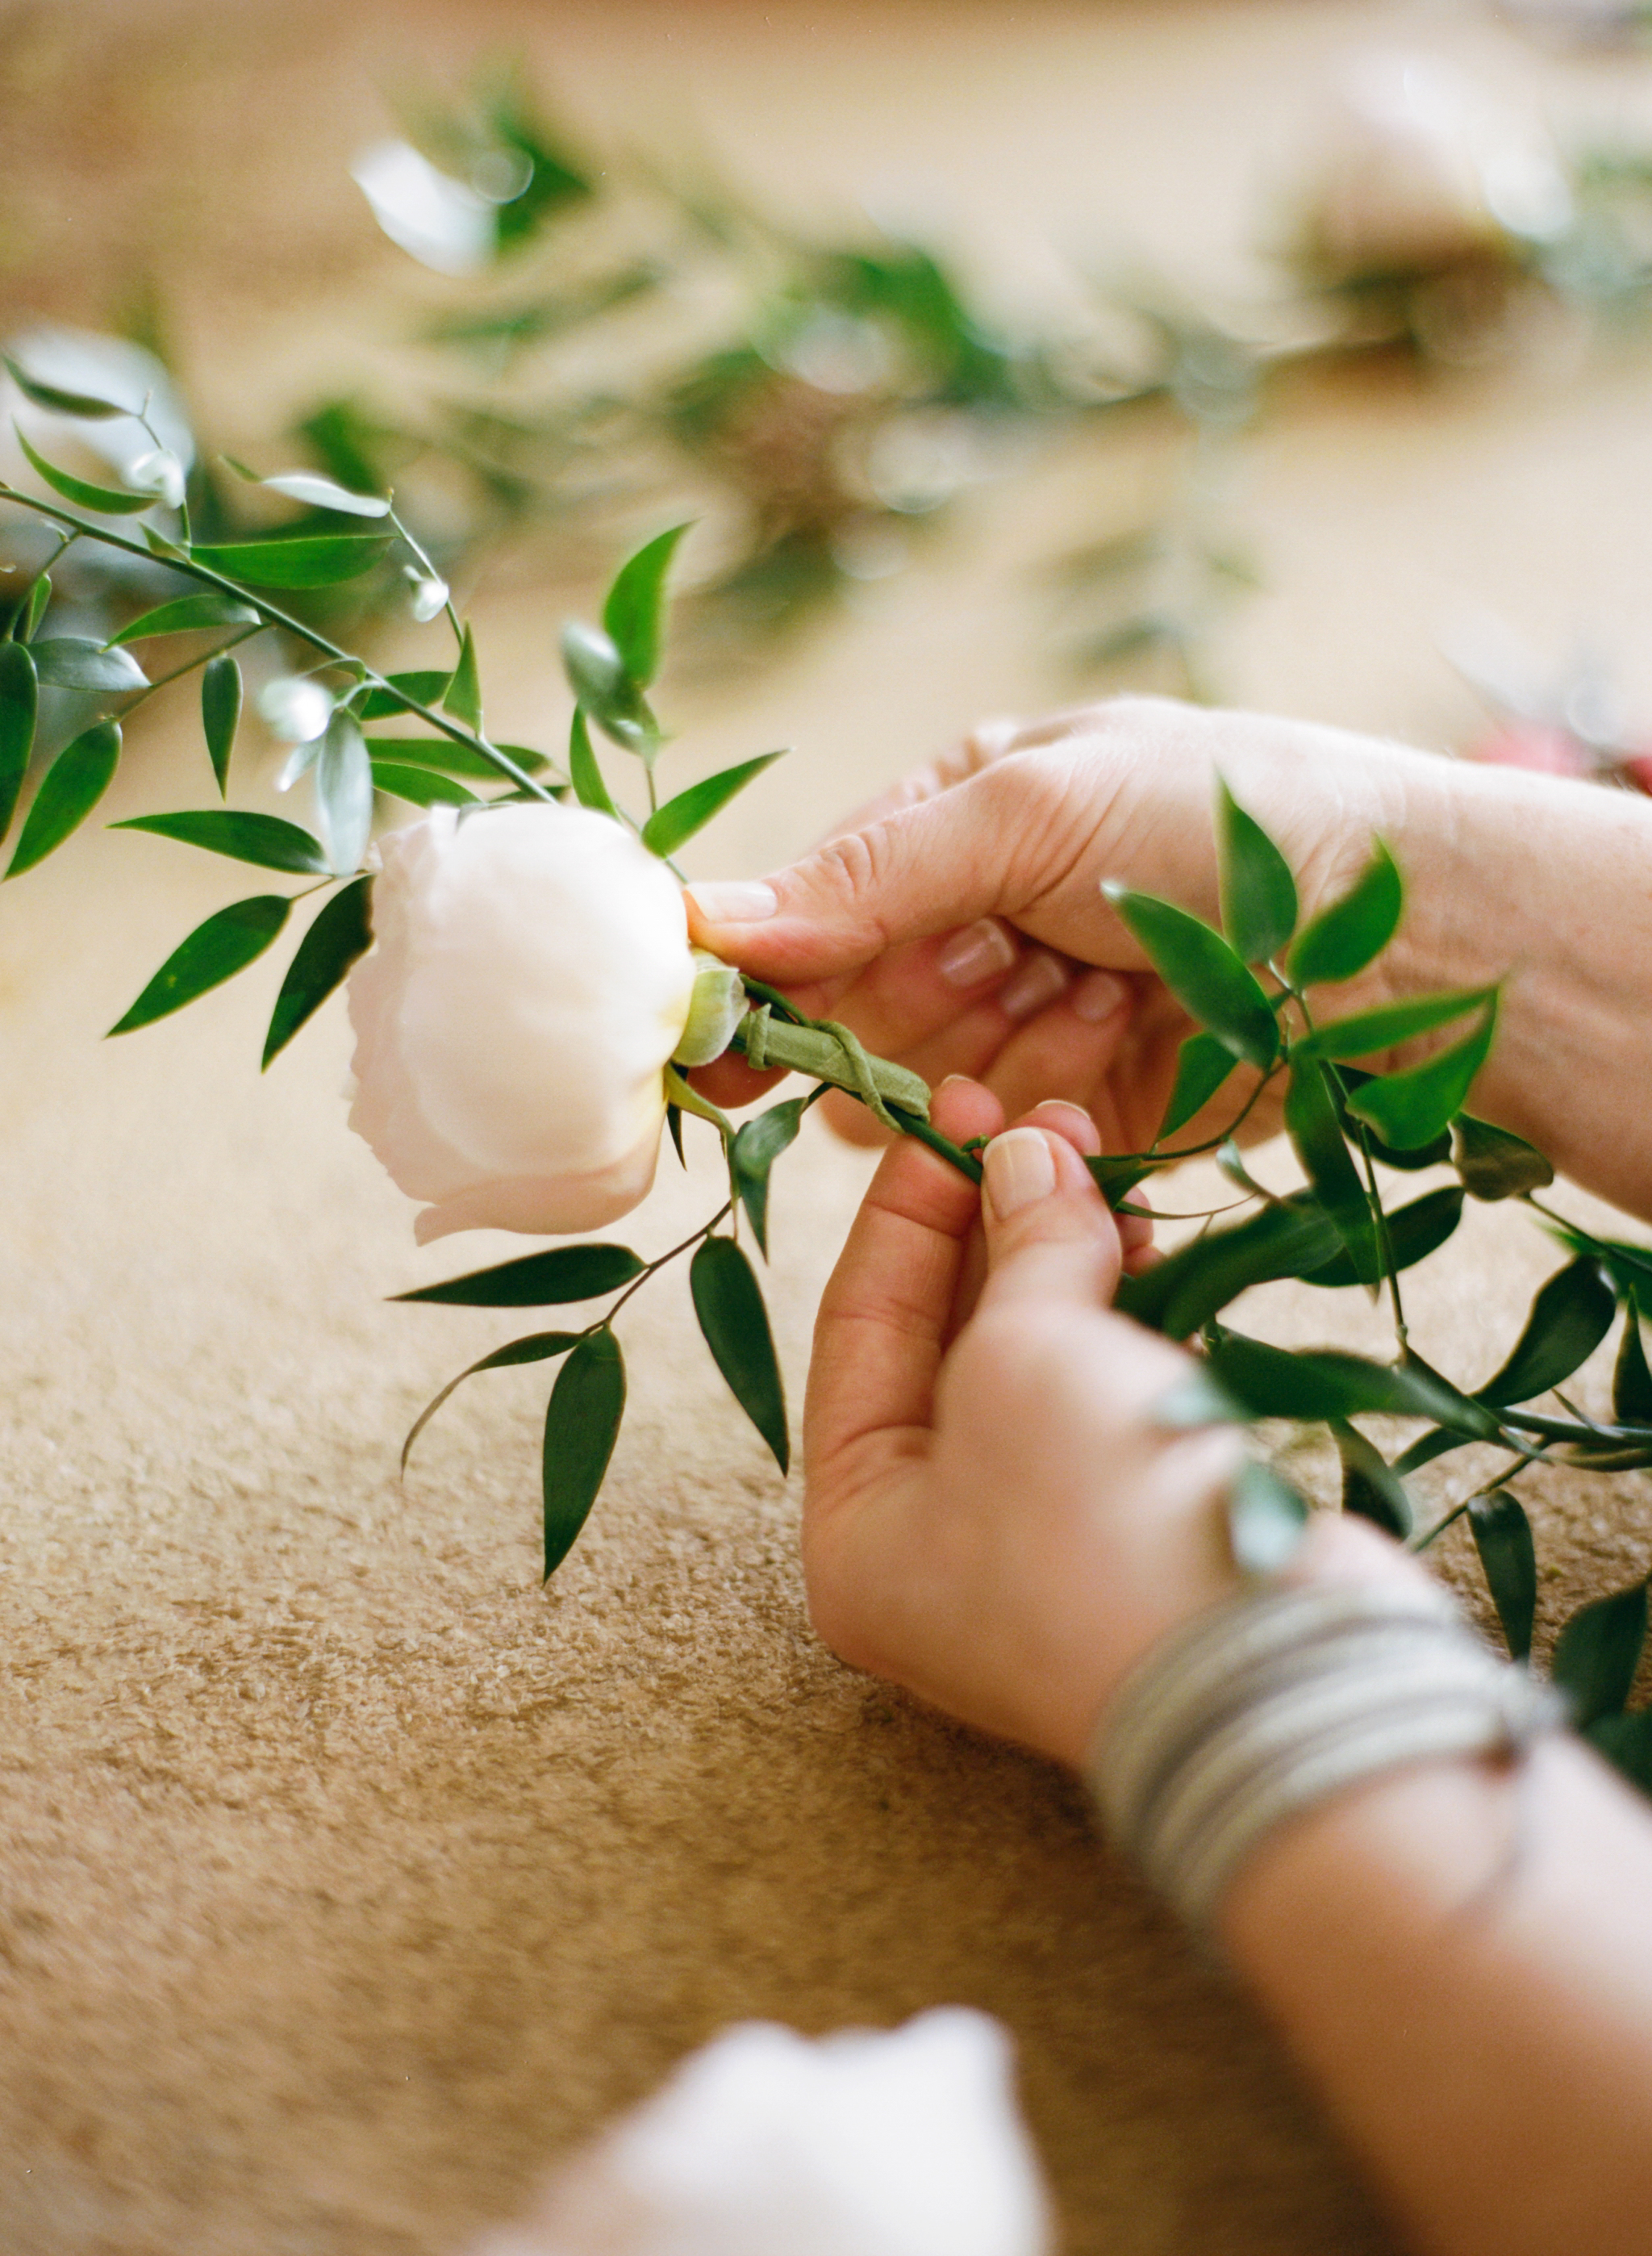
- Take the small pieces of seeded eucalyptus and place them together in a cluster. Use a small piece of taped wire and twist it around the stems, at the base of the rose neck, to attach them.

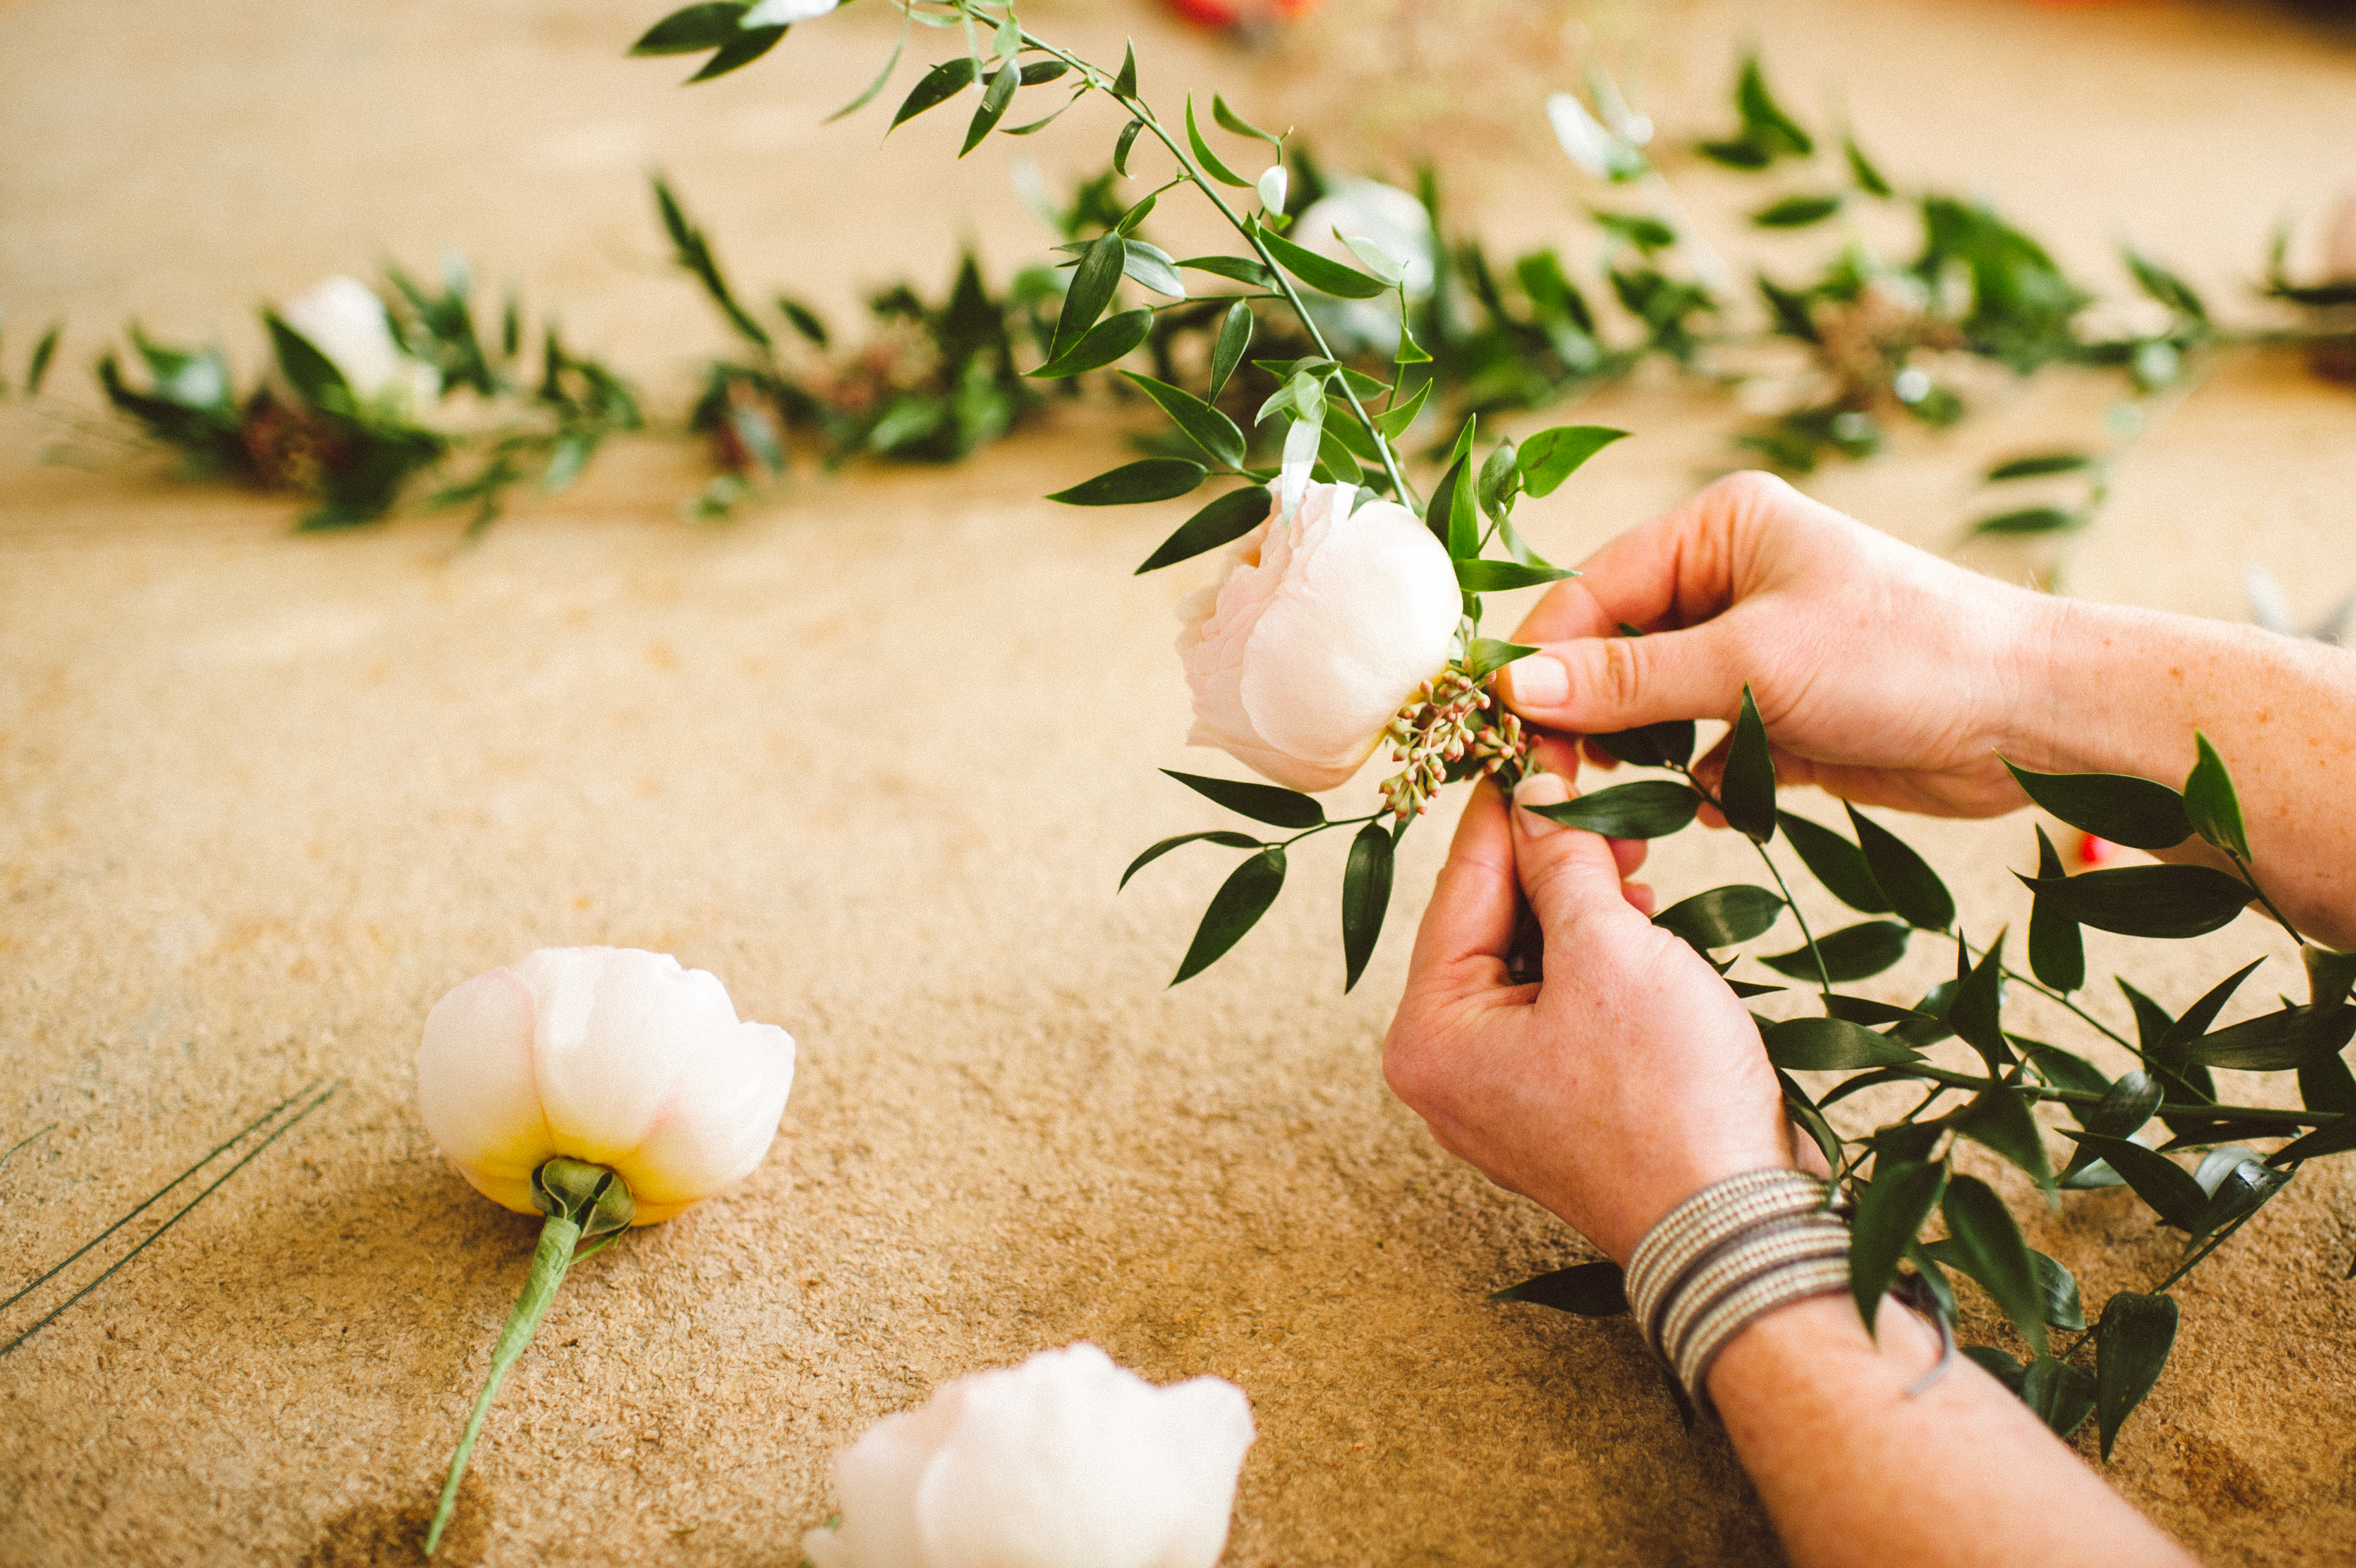

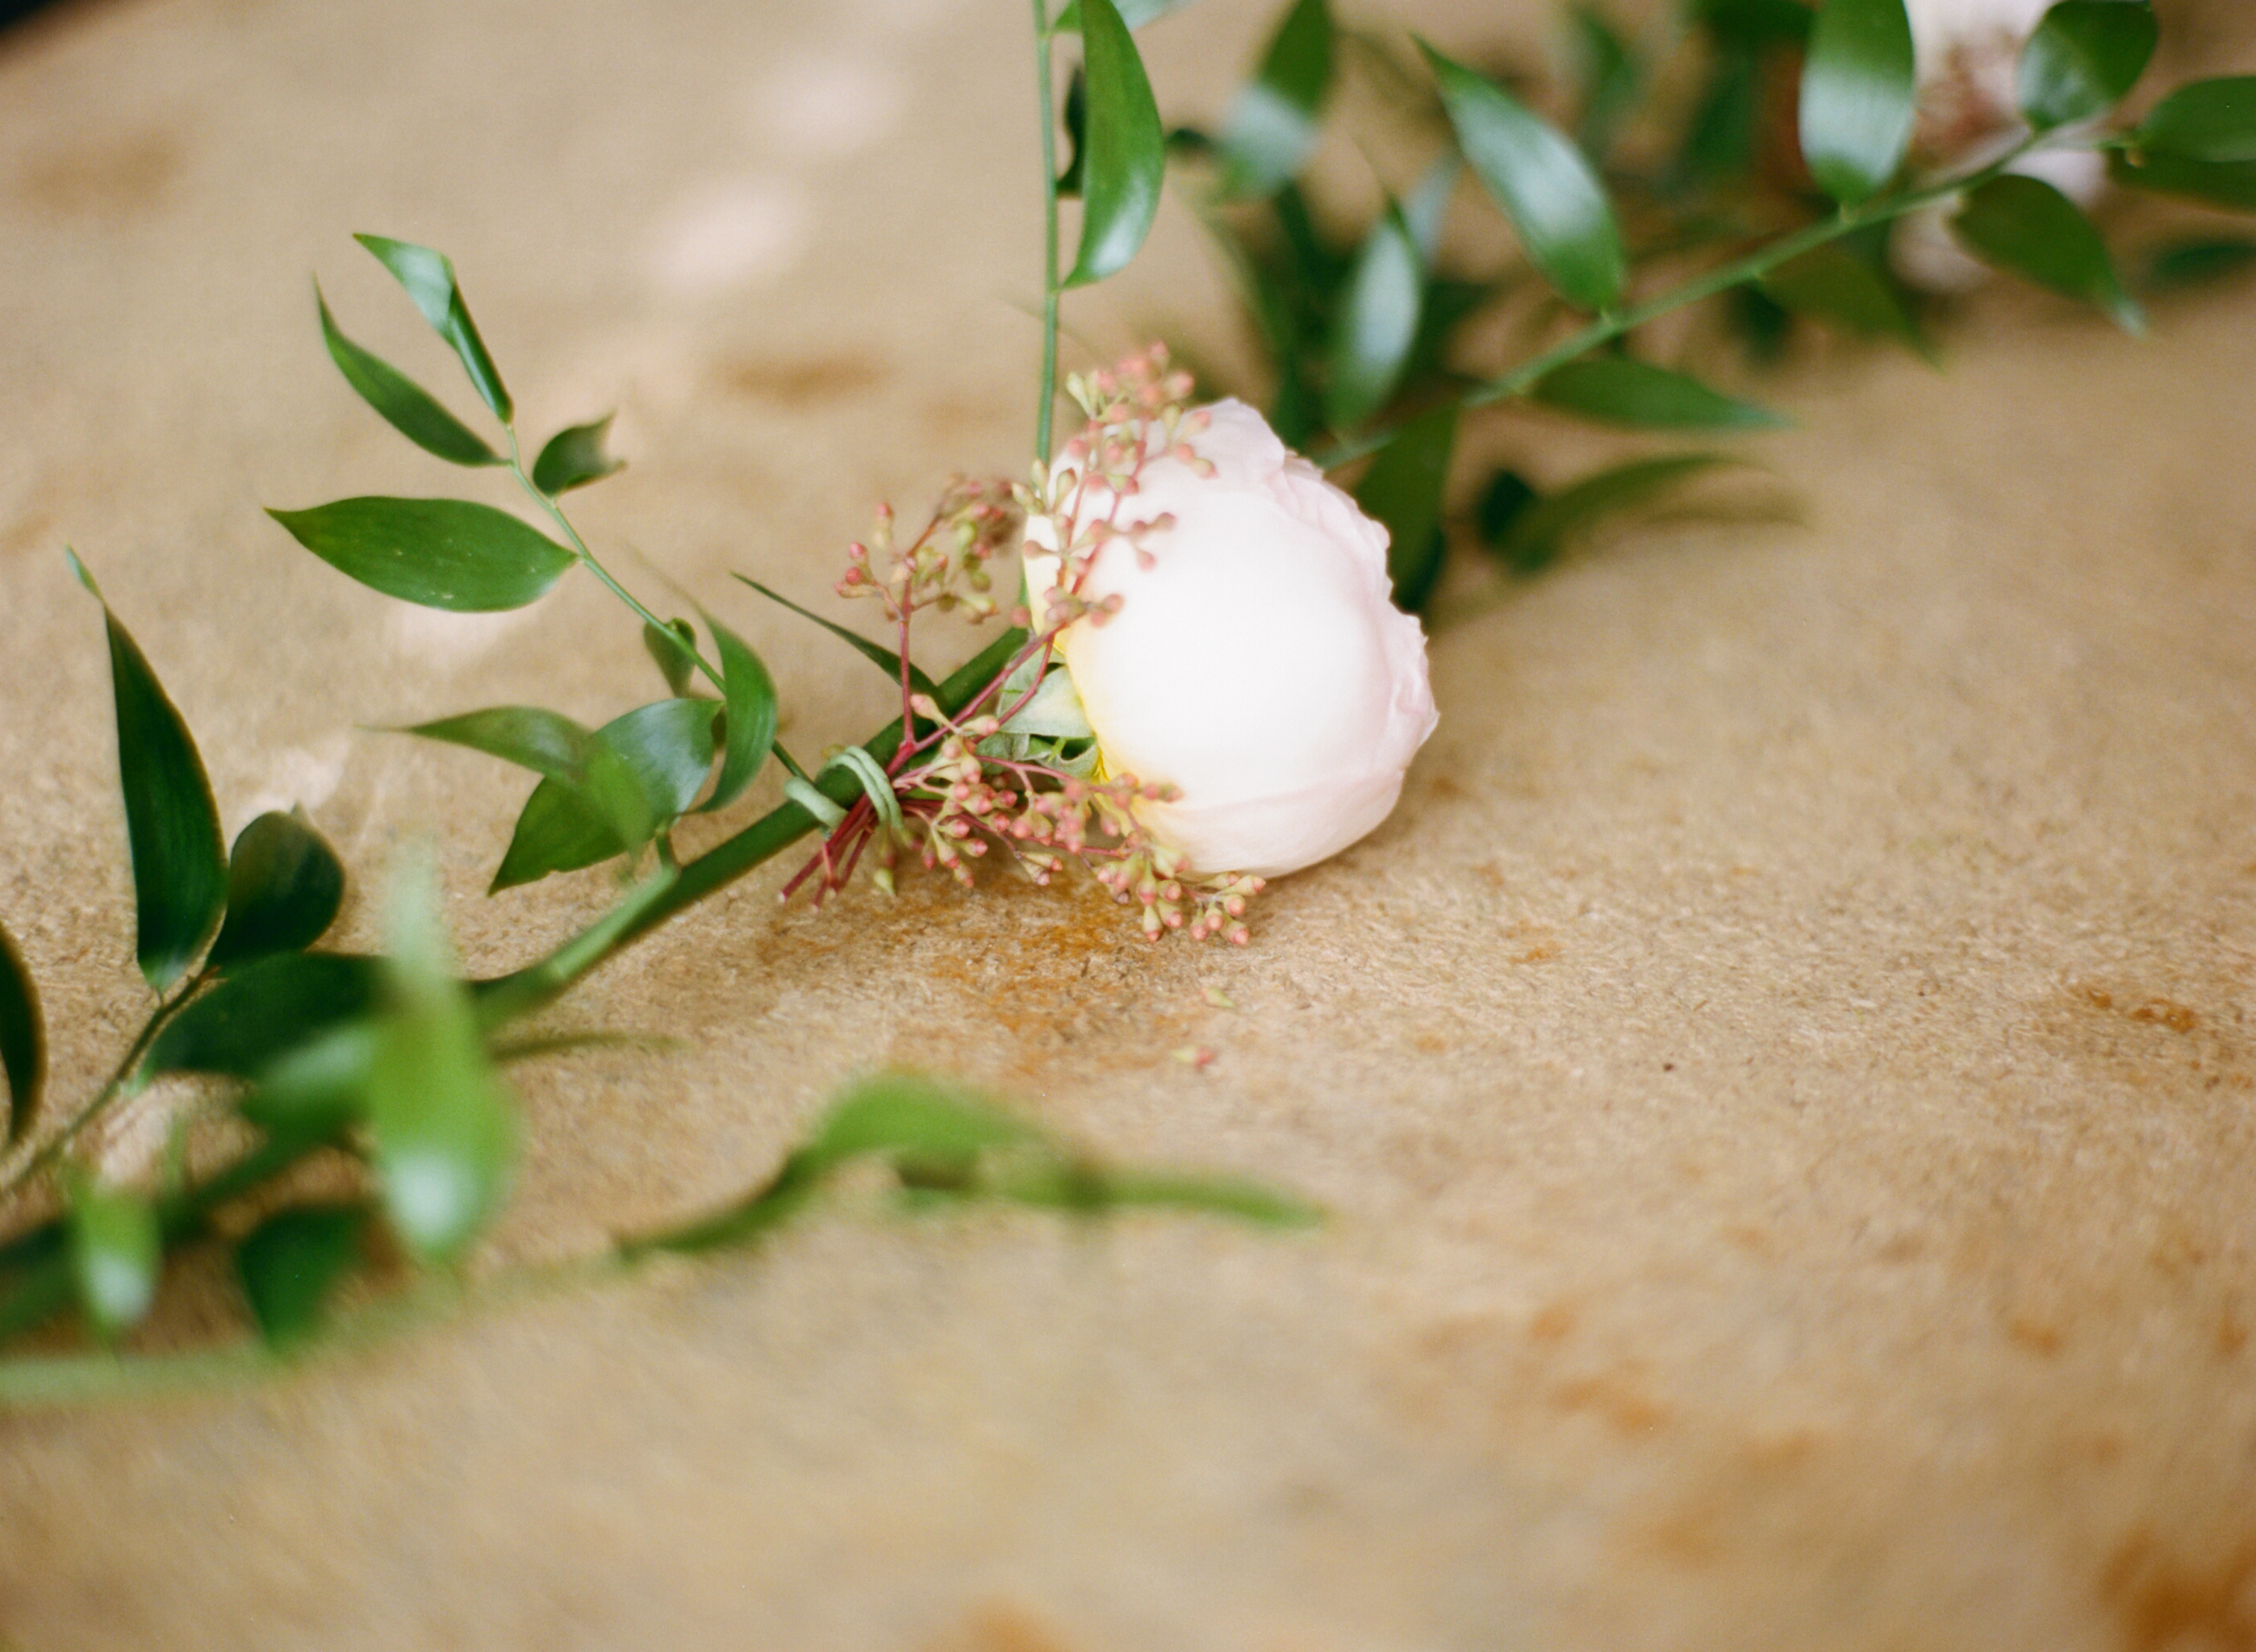
- Adhere the other Juliette roses further down the garland and add clusters of seeded eucalyptus to them, as well as to other areas of the ruscus stem as accents.


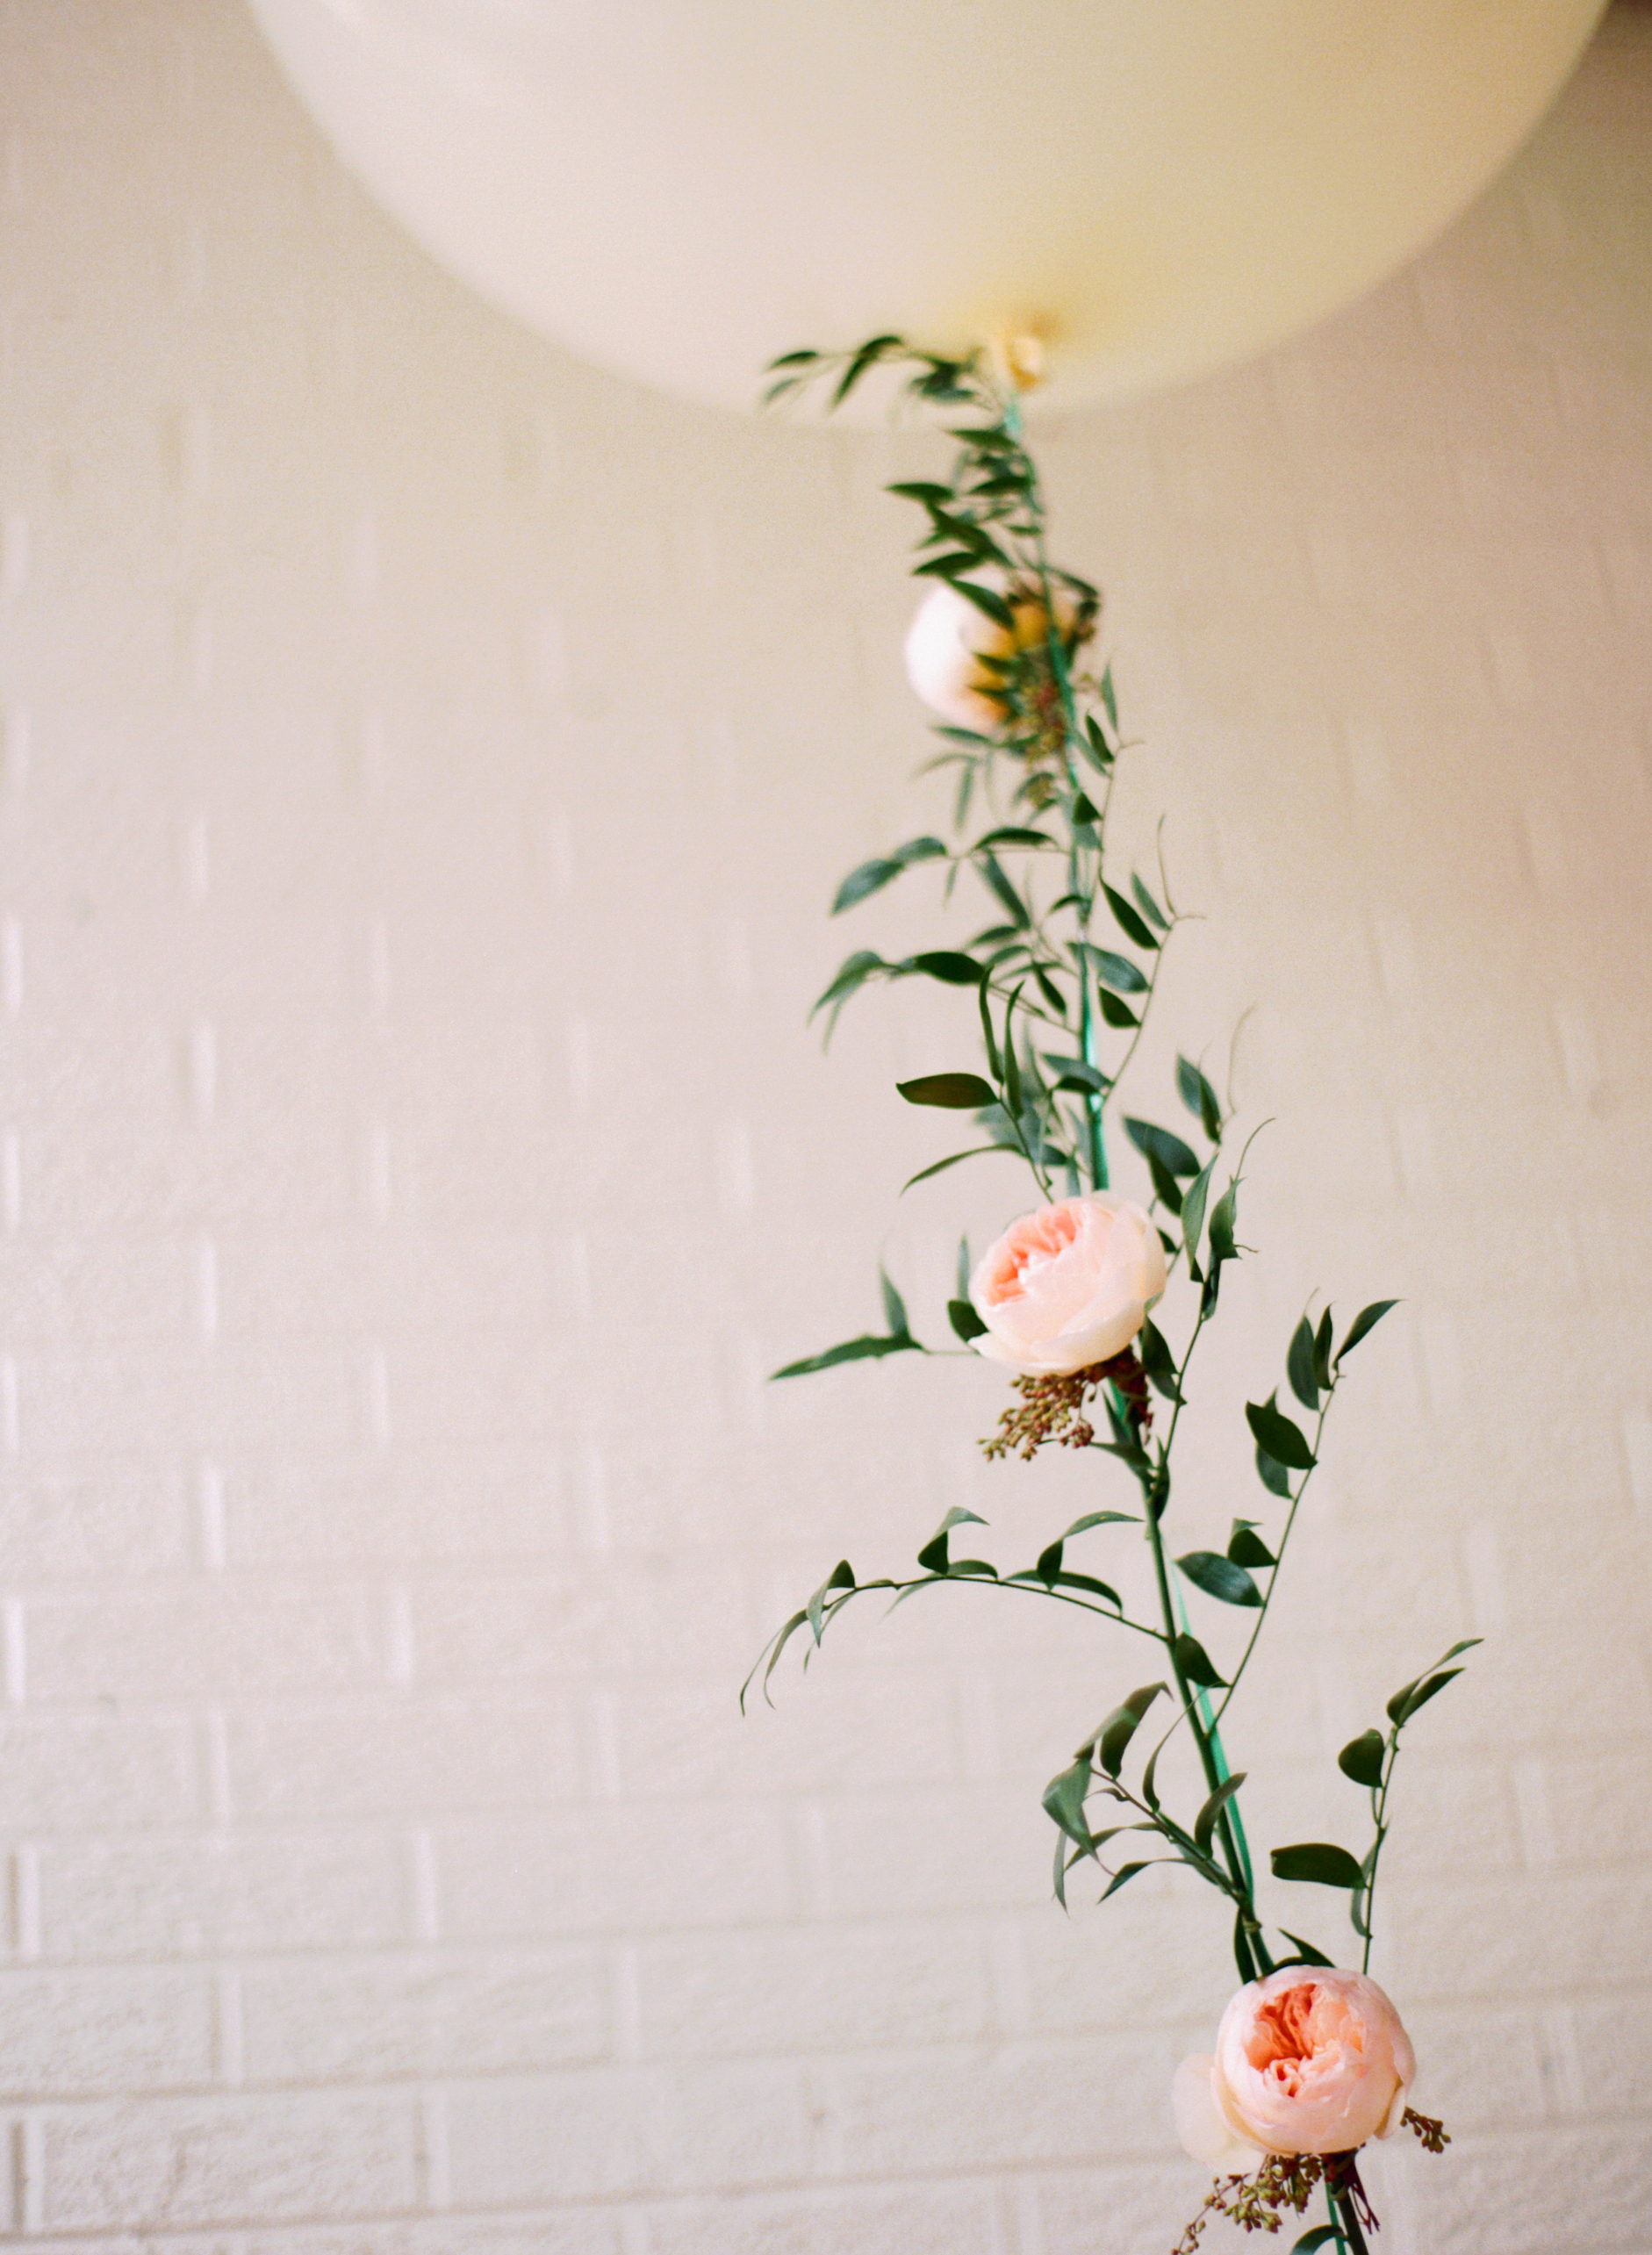
- Line the top of the ruscus stem up with the top of the balloon string. Use an additional taped wire piece and twist the wire tightly around the ruscus and string, securing the garland to the string.
- Do this again at the middle and bottom of the string and in any other spots where the garland is not aligned to securely adhere the garland to the string.
- Find a lovely baby as cute as Adelyn and make her pose next to your new, gorgeously adorned balloon! 🙂
Lovely Photography by Michele Hart


